How to Increase Photo DPI for Free (Get to 300 DPI for Print)
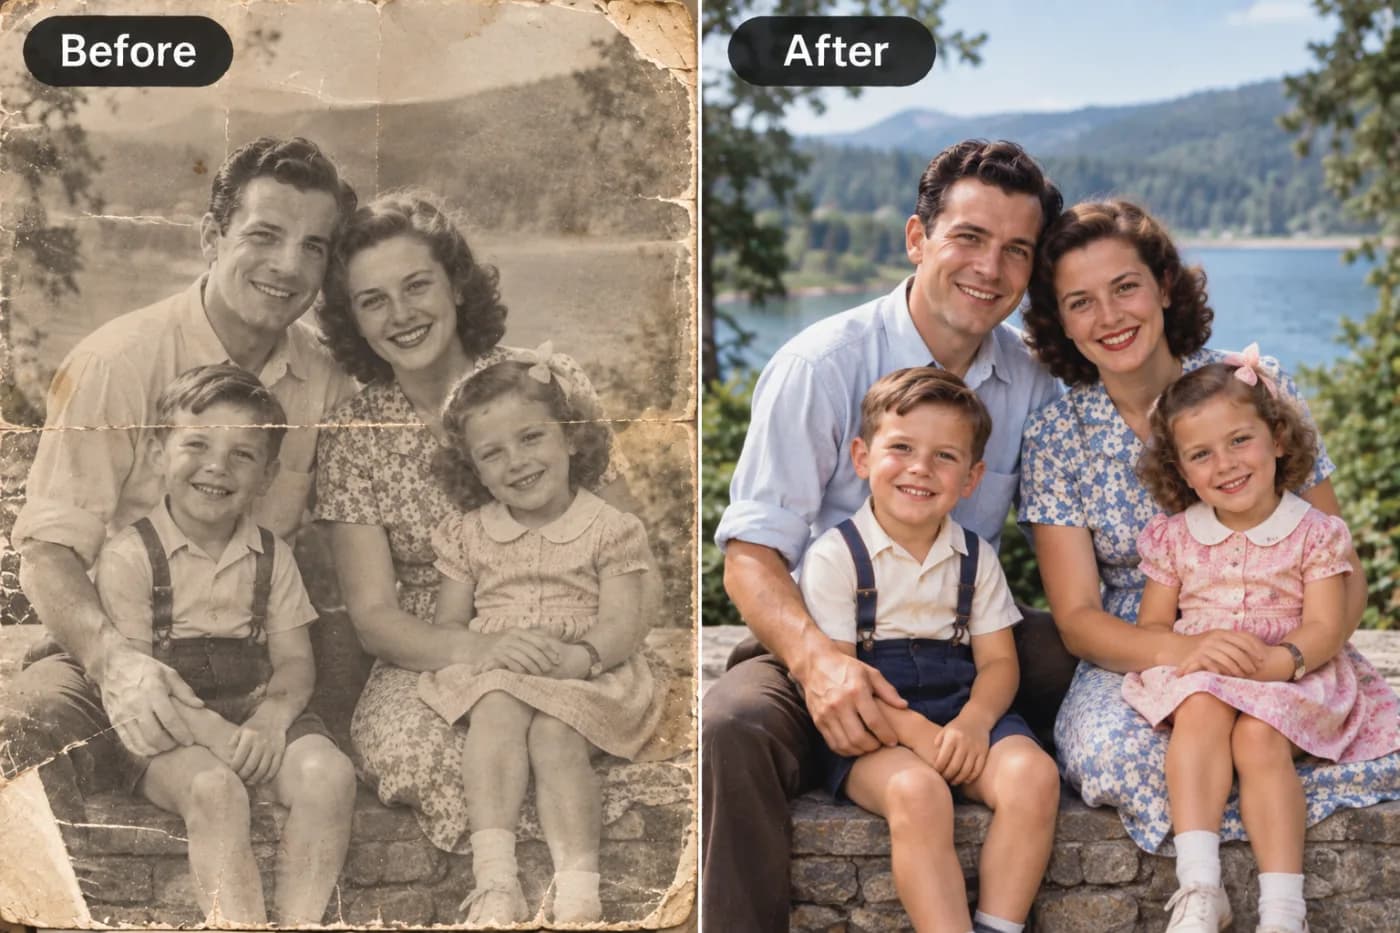
"Image must be 300 DPI for print." Here's what DPI really means and how to increase it for free so your photos print sharp.
If you've ever sent a photo to a printer, you've probably heard "we need it at 300 DPI." Then you check your image, it says 72 DPI, and panic sets in. Here's the reassuring truth: DPI is mostly a print instruction, and what actually makes a print sharp is having enough *pixels*. Increase the resolution (upscale), and you get the effective DPI a good print needs — for free.
DPI, explained simply
DPI (dots per inch) is how many pixels get packed into each printed inch. At 300 DPI, a 3-inch-wide print needs 900 pixels across; at 72 DPI it'd only need 216. So "300 DPI" is really a demand for *enough pixels* at your print size. Just changing the DPI number in some app doesn't add pixels — it only changes how big the image prints. To truly hit 300 DPI at a decent size, you need more real pixels. That's upscaling.
How to increase effective DPI for free
Work out how many pixels you need: print width (inches) × 300. For a 6-inch print, that's 1800px across. Upload your photo to the upscaler and pick the level (2× or 4×) that gets you to or past that pixel count. Download the higher-resolution file and set it to 300 DPI in your print software — now it has the pixels to back it up. Free, no watermark.
The practical rule
Don't overthink the DPI number — focus on pixels. Upscale so your image comfortably exceeds (print-inches × 300) pixels on each side, start from the sharpest original you have, and your prints will come out crisp. Upscaling first, then setting 300 DPI, beats simply relabelling a low-pixel image every time.
Get print-ready resolution — free
Upload your photo to the free upscaler, boost it to enough pixels for 300 DPI at your print size, and download. No watermark, no cost — just sharp prints.