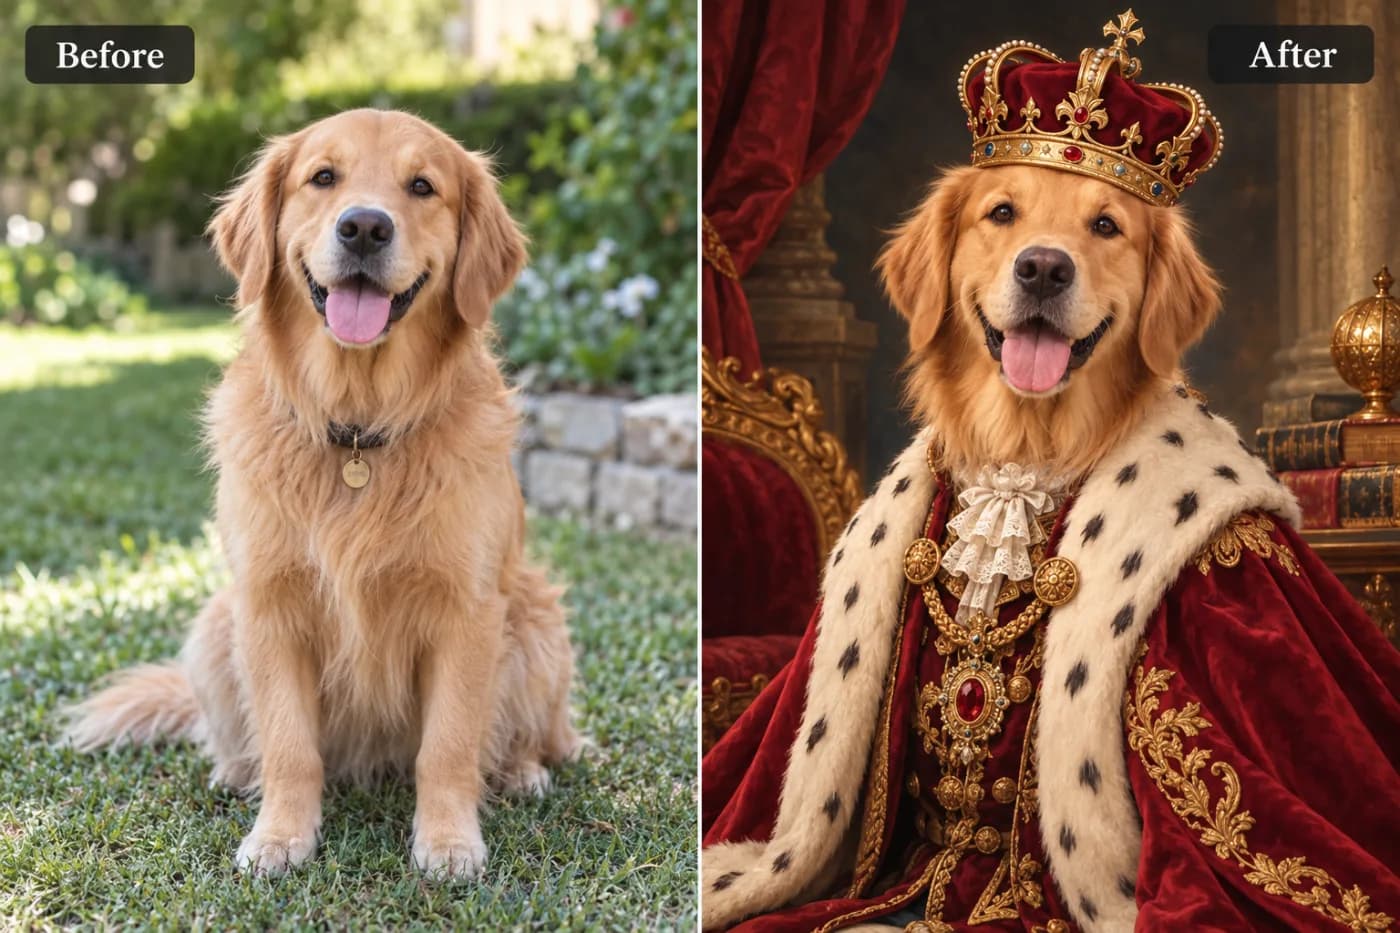
AI Upscale Before and After: See the Real Difference on Real Photos
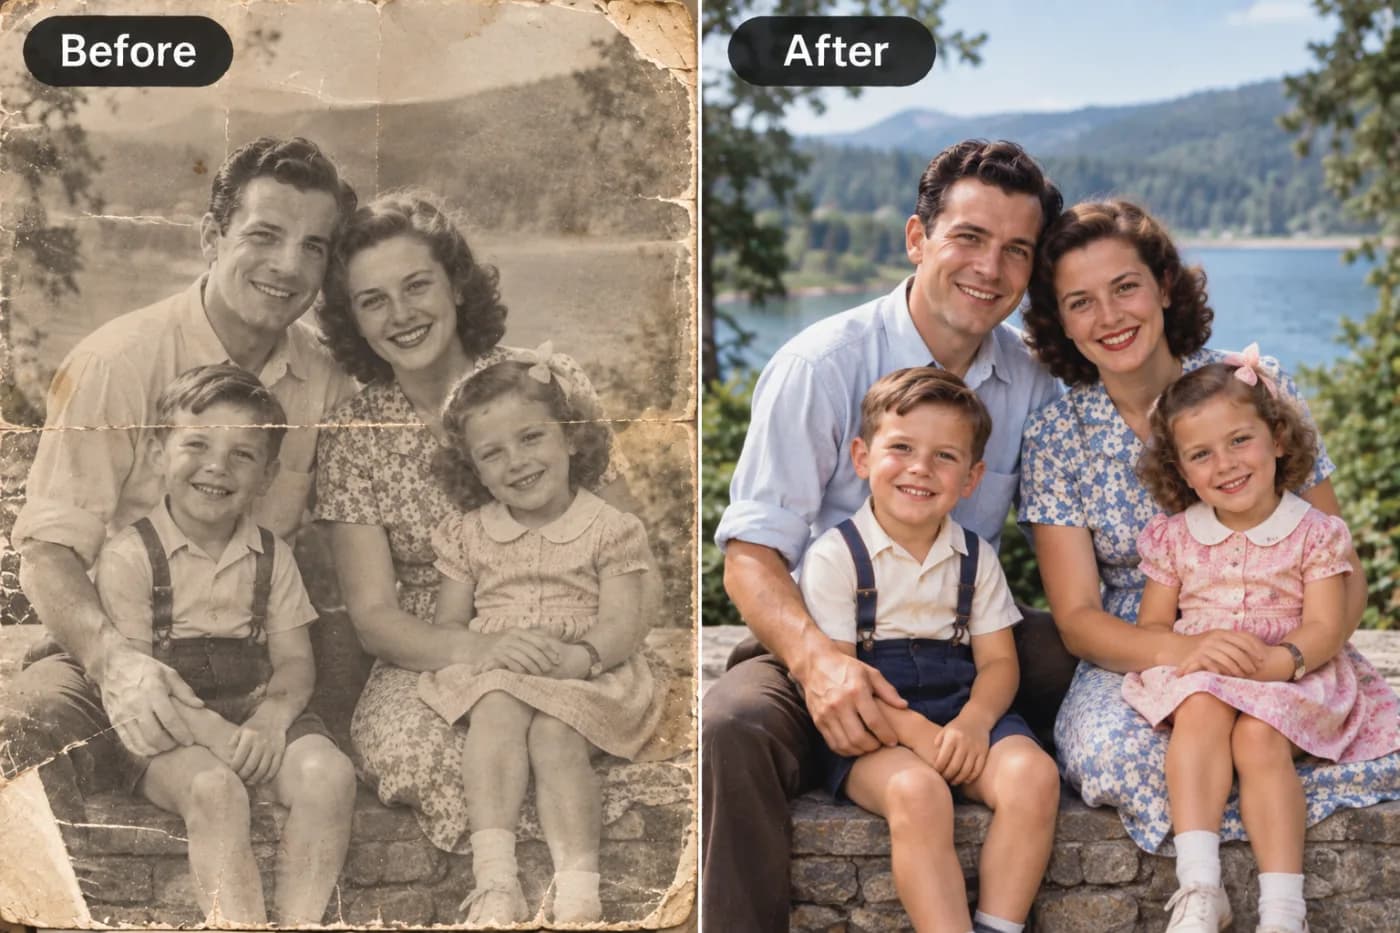
Marketing screenshots from AI upscalers always look impressive. But what does upscaling actually do on real photos — the kind you actually have? Here's an honest before/after breakdown.
Seeing an AI upscale before and after comparison on real photos is the fastest way to understand what modern upscaling actually does — because the difference is genuinely dramatic and, honestly, a little hard to believe until you watch it happen to your own image. In this guide we'll break down exactly what changes between the before and the after, using real-world photo examples, and show you how to run the comparison yourself free at Pixel Shine.
Here's the short version of what a good AI upscaler delivers: a blurry 500-pixel photo becomes a crisp 2000-pixel image with sharp edges, recovered texture, and clean detail — not just bigger, but visibly *better*. The before is soft and pixelated. The after looks like it was shot on a better camera.
What makes this especially compelling is that you can verify it yourself at zero cost. Pixel Shine's Normal Upscale is free and unlimited with no sign-in, so you can run a before-and-after on your own photos in seconds and judge the results with your own eyes. No watermark, no account required to see the difference for yourself.
What Actually Changes Between Before and After
When people see an upscale comparison, they often assume the tool just stretched the image bigger. That's the opposite of what quality AI upscaling does. Simple stretching makes an image larger *and blurrier* — every existing pixel gets smeared across more space. AI upscaling adds genuinely new, plausible detail.
Here's what changes in a real before-and-after:
Edges get sharp. In the 'before,' the boundary between a person's hair and the background is a fuzzy gradient. In the 'after,' it's a clean, defined edge. This single change accounts for most of the 'wow' factor.
Texture returns. Fabric weave, skin pores, foliage, brick, and hair strands that were mushed into flat color blobs come back as distinct texture. The AI recognizes what these surfaces should look like and reconstructs it.
Compression artifacts vanish. Those blocky JPEG squares and color banding you see around edges in low-quality images get cleaned up, replaced with smooth, natural transitions.
Resolution multiplies. A 2x upscale quadruples the pixel count; a 4x upscale multiplies it 16-fold. That's the difference between a thumbnail and a print-ready image.
The cumulative effect is an image that doesn't just look bigger — it looks like it was captured with better equipment in the first place.
Real Photo Examples: Where the Difference Is Biggest
Not every image transforms equally. Understanding which photos show the most dramatic before-and-after helps you set expectations — and pick the right images to try first.
Old family photos show massive improvement. A faded, soft scan from the 1990s often has real detail buried under blur and grain. Upscaling recovers facial features, clothing texture, and background detail that seemed lost. These are frequently the most emotional before-and-afters people encounter.
Low-res profile pictures and social media images transform sharply. Platforms compress images aggressively, so a photo saved off Instagram or a group chat is usually far softer than the original. Upscaling reverses much of that damage.
Product photos clean up beautifully. A slightly soft phone shot of an item becomes crisp enough for a professional listing, with fabric, packaging text, and material texture all sharpening up.
Screenshots and thumbnails — small images that were never meant to be large — gain the most in raw resolution, going from unusable-when-enlarged to genuinely printable.
The photos that show the *least* change are already-sharp, high-resolution images — there's simply less to improve. The lower and softer your starting point (within reason), the more jaw-dropping your before-and-after will be. That's exactly why running it on your own worst photos is so satisfying.
Step-by-Step: Run Your Own Before-and-After Comparison
Step 1 — Pick a revealing test image. Choose a photo that's noticeably soft, small, or low-resolution — an old scan, a compressed social image, or a thumbnail. These show the most dramatic difference.
Step 2 — Go to Pixel Shine and open the Upscale tool. No sign-in is needed for the free Normal Upscale.
Step 3 — Note the original dimensions. Before uploading, check your image's current pixel size (right-click, properties, or your photo app's info). This is your 'before' benchmark.
Step 4 — Upload the image. Drag and drop or browse to select it.
Step 5 — Choose your scale. Select 2x for a solid, natural improvement, or 4x for maximum enlargement. Start with the free Normal model.
Step 6 — Process and download. Let the AI work — usually just a few seconds — then download the watermark-free result.
Step 7 — Compare side by side. Open the original and the upscaled version next to each other at 100% zoom. Look specifically at edges, faces, text, and textured areas. This is where you'll see the transformation clearly.
Step 8 — Try Pro AI on a tough image. For a heavily degraded photo, run Pro AI and compare it against the Normal result. On difficult images, the extra reconstruction is often striking.
Step 9 — Zoom in on details. The before-and-after magic is most obvious when you inspect fine areas up close, not just the full image at a glance.
Pro Tips for the Most Impressive Comparisons
Tip 1 — Compare at 100% zoom, not fit-to-screen. Viewing both images shrunk to fit your screen hides the difference. Zoom to actual pixels to see the real gain.
Tip 2 — Focus on faces and text first. These are the areas where the human eye most quickly registers sharpness. If faces and text improved, the upscale succeeded.
Tip 3 — Test the same image at 2x and 4x. Comparing scale factors teaches you which setting best fits different source qualities.
Tip 4 — Keep the original untouched. Always save the upscaled version as a new file so your before-and-after comparison stays honest and repeatable.
Tip 5 — Try Normal vs. Pro on your hardest photo. The free Normal model handles most images beautifully, but on badly degraded shots, a Pro AI trial can reveal a noticeable second-level jump. Comparing both is genuinely instructive.
Tip 6 — Use a screenshot-of-a-screenshot as a torture test. Deliberately picking a rough image shows the upper range of what upscaling recovers — and how much better a clean source would have been.
Common Mistakes to Avoid
Mistake 1 — Judging the comparison at the wrong zoom level. Looking at both images fit-to-screen erases the visible difference. Always compare at 100% actual-pixel zoom.
Mistake 2 — Expecting miracles from tiny inputs. A 50x50 icon won't become a flawless 4K image. AI adds plausible detail, but it can't fully invent what was never there. Modest inputs give modest-but-real gains.
Mistake 3 — Confusing 'bigger' with 'better.' If your tool just stretched the image, that's not real upscaling. Genuine AI upscaling adds detail — check that edges got *sharper*, not just larger.
Mistake 4 — Comparing images that were already high quality. An already-crisp photo won't show a dramatic before-and-after because there's little to improve. Test on soft or low-res images to see the real effect.
Mistake 5 — Overwriting the original. If you save over your source, you lose your 'before' and can't make a fair comparison. Keep both files.
Normal vs. Pro AI Upscale: When to Use Which
Pixel Shine offers two upscaling models, and understanding the difference helps you get the best before-and-after for each situation.
Normal Upscale is free, unlimited, and requires no sign-in. It's a strong general-purpose model that handles the vast majority of photos beautifully — enlarging, sharpening, and cleaning up compression on everyday images. For most before-and-after comparisons, Normal alone produces a genuinely impressive result. Because it's unlimited, you can run it on as many test images as you like without ever paying.
Pro AI Upscale does deeper, more advanced detail reconstruction. It shines on the hardest cases: severely degraded old photos, heavily compressed images, or situations where you need maximum recovered detail for large prints. It uses credits.
The smart workflow is to run Normal first on everything. On the small number of images where you want that extra level of reconstruction — a treasured but damaged family photo, a hero product shot for a big print — use a Pro AI trial and compare. Frequently the Normal result is already all you need, which is exactly why keeping it free and unlimited makes such a difference for real users.
Who Relies on Upscale Comparisons
Photographers and retouchers run before-and-after checks to confirm an upscale holds up before delivering images to clients or sending them to print.
Online sellers compare results to ensure product photos will look sharp on marketplace listings, where image quality directly drives conversions.
People restoring family history upscale old scans and are often moved by the before-and-after — recovering a grandparent's face from a faded photo is a genuinely powerful moment.
Content creators and designers verify that upscaled assets will look crisp when placed in thumbnails, banners, and layouts.
Print shops and hobbyists confirm an image has enough recovered resolution to print at their target size without pixelation.
Across all these groups, the before-and-after isn't just a fun demo — it's the proof step. It's how they decide whether an upscaled image is good enough to use, publish, print, or hand to a client. And with Pixel Shine's free unlimited Normal tier, running that proof step costs nothing.
Frequently Asked Questions
How much better does a photo really look after AI upscaling?On a soft or low-resolution source, the difference is dramatic — sharper edges, recovered texture, cleaned-up compression, and multiplied resolution. On already-sharp images the change is subtler because there's less to improve.
Can I see the before-and-after for free?Yes. Pixel Shine's Normal Upscale is free and unlimited with no sign-in, so you can run comparisons on your own photos immediately.
Does AI upscaling actually add detail or just enlarge?Quality AI upscaling adds genuinely new, plausible detail based on what it recognizes in the image — it doesn't merely stretch pixels, which would only add blur.
Which photos show the biggest difference?Soft, small, or compressed images — old scans, social media downloads, thumbnails — show the most dramatic before-and-after.
Is there a watermark on the comparison output?No. Downloads from the free tier are clean and watermark-free.
What's the best way to compare the two versions?View both at 100% actual-pixel zoom and focus on faces, text, and textured areas.
When should I use Pro AI instead of Normal?Use Pro AI for severely degraded photos or when you need maximum detail for large prints. Normal handles most everyday images well.
Will upscaling fix a truly terrible photo?It improves it significantly, but it can't invent detail that was never captured. A better source always yields a better after.
Key Takeaways
The AI upscale before-and-after is genuinely striking: soft becomes sharp, small becomes large, and compressed becomes clean. Real photos — old family scans, low-res social images, soft product shots — show the most dramatic transformation, because the AI adds real, plausible detail rather than just stretching pixels.
The best way to believe it is to see it on your own images. And you can, for free: Pixel Shine's Normal Upscale is free and unlimited with no sign-in and no watermark, so run before-and-after comparisons on as many photos as you like. For your toughest, most degraded images, run Pro AI and watch the deeper reconstruction go to work.
Compare at 100% zoom, focus on faces and text, and judge for yourself. Try AI Upscale Free → at Pixel Shine.