How to Upscale a Photo for Printing — Free AI Guide
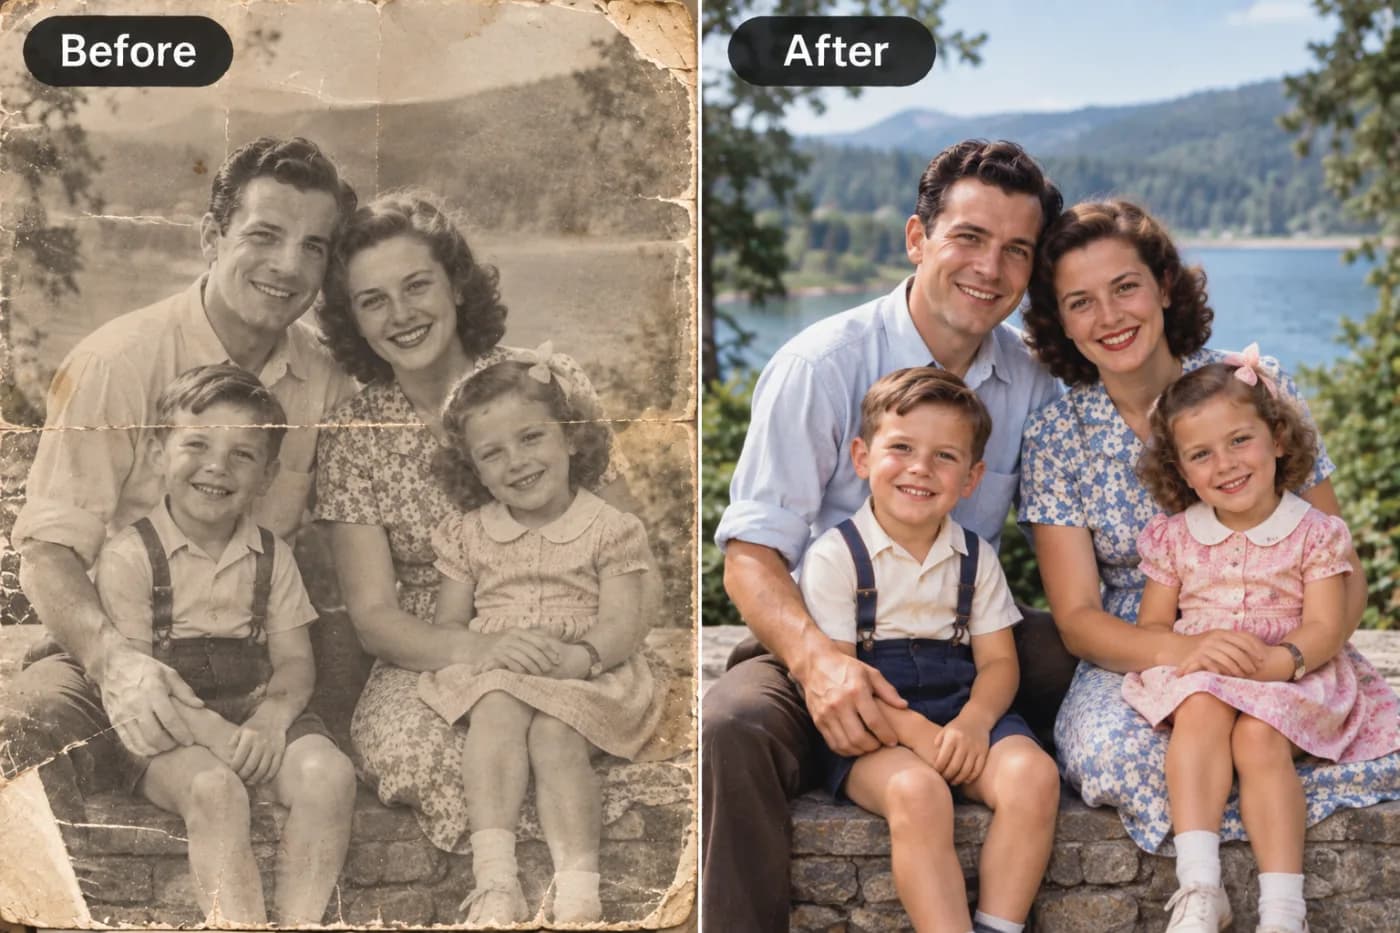
Print quality depends on resolution. Most digital photos need to be significantly larger before they'll print cleanly at A3 or above. AI upscaling solves this — and the basic version is completely free.
Learning how to upscale a photo for printing for free is the difference between a crisp, frame-worthy print and a blurry, pixelated disappointment taped to the wall. If your image looks great on screen but comes out soft or jagged when printed, the problem is resolution — and AI upscaling is the fix. Pixel Shine at Pixel Shine lets you increase a photo's resolution for printing free, with no watermark and no mandatory account.
Here's the core issue: screens and printers have completely different resolution needs. A photo that looks perfect on your phone at 72 pixels per inch (PPI) can look terrible printed, because quality printing generally wants around 300 PPI. That means a 1000x1000 pixel image, which fills your phone screen beautifully, only prints sharply at about 3.3 inches wide. Try to print it at 8x10 and you'll see every pixel.
Upscaling solves this by intelligently multiplying the pixel count and adding plausible detail, so your image has enough resolution to print large and stay sharp. Pixel Shine's Normal Upscale is free and unlimited with no sign-in — perfect for prepping photos for print — and for demanding, large-format prints, the Pro AI model does deeper reconstruction.
Understanding Print Resolution: The 300 PPI Rule
To upscale for printing intelligently, you need to grasp one concept: PPI, or pixels per inch. It's the single most important number in print quality, and once it clicks, everything else makes sense.
Printers render images by packing pixels into physical space. The industry standard for a sharp, professional-looking photo print is 300 PPI — meaning 300 pixels for every inch of printed image. At that density, your eye can't distinguish individual pixels, so the print looks smooth and detailed. Some large prints viewed from a distance (like posters) can get away with 150 PPI, but for anything you'll hold or view up close, aim for 300.
Here's the math that matters: to print an image at a given size, multiply the inches by 300 to find the pixels you need. An 8x10 inch print needs roughly 2400x3000 pixels. A 4x6 print needs about 1200x1800. A large 16x20 print wants around 4800x6000 pixels.
Now compare that to what your camera or phone actually produces, or what you downloaded from the web. Many web and social images are only 1000 to 1500 pixels on the long side — nowhere near enough for a large print. That gap is exactly what upscaling closes. You take your under-resolution image, multiply its pixels with AI, and bring it up to the count your target print size demands.
How to Calculate What Scale You Need
Once you know the 300 PPI rule, figuring out how much to upscale is straightforward arithmetic — and getting it right saves you from both under- and over-processing.
Step one: find your image's current pixel dimensions. Right-click the file and check properties, or open it in any photo app that shows image size. Say it's 1200x1600 pixels.
Step two: determine your target print pixels. Decide your print size and multiply by 300. For an 8x10 print, that's 2400x3000 pixels.
Step three: compare and pick a scale. Divide the target by the current. In our example, 2400 ÷ 1200 = 2, and 3000 ÷ 1600 ≈ 1.9. So a 2x upscale gets you there — turning 1200x1600 into 2400x3200, comfortably enough for a sharp 8x10.
If your image is smaller relative to your target print, you'll need 4x. For instance, a 1000x1500 image destined for a 16x20 print (needing 4800x6000) requires a 4x upscale, and even then you're at the edge — this is where the Pro AI model's deeper reconstruction earns its keep.
The practical takeaway: pick the smallest scale that meets your target pixel count. Over-scaling beyond what you need doesn't add real detail and can look slightly artificial. Match the scale to the actual print, and you'll get the sharpest possible result for the size you're printing.
Step-by-Step: Upscale Your Photo for Printing
Step 1 — Decide your print size. Know exactly how large you're printing (4x6, 8x10, 16x20, etc.) before you start. This determines everything.
Step 2 — Check your image's current dimensions. Find its pixel width and height via file properties or a photo app.
Step 3 — Calculate your target pixels. Multiply your print size in inches by 300. That's the resolution you need.
Step 4 — Determine your scale factor. Divide target pixels by current pixels to see whether you need 2x or 4x.
Step 5 — Go to Pixel Shine and open the Upscale tool. No sign-in required for the free Normal model.
Step 6 — Upload your photo. Drag and drop or browse to select it.
Step 7 — Select your scale. Choose 2x or 4x based on your calculation. Start with the free Normal Upscale.
Step 8 — Process and inspect. Let the AI work, then zoom to 100% and check faces, edges, and text for sharpness. Confirm the output dimensions meet your target pixel count.
Step 9 — For large or demanding prints, try Pro AI. If you're printing big (16x20 and up) or the source was heavily degraded, run a Pro AI trial for deeper detail reconstruction and compare.
Step 10 — Download and print. Save the watermark-free, high-resolution image and send it to your printer or print service. Verify the print service isn't downsizing your file on upload.
Pro Tips for Print-Perfect Upscaling
Tip 1 — Always start from the highest-quality original. Never upscale a compressed or re-saved copy for print. Track down the original file — the cleaner the source, the sharper the print.
Tip 2 — Upscale, then crop to your aspect ratio. Print sizes have fixed ratios (8x10 isn't the same shape as most camera photos). Upscale first, then crop to your print's proportions so you keep maximum resolution.
Tip 3 — Aim slightly above your target pixels. If your calculation lands right at the minimum, a touch of extra resolution gives you headroom for cropping and ensures the print stays crisp.
Tip 4 — Use Pro AI for large-format and hero prints. For anything you'll frame and hang, the deeper reconstruction of Pro AI is worth it. Reserve free Normal for smaller prints and volume work.
Tip 5 — Verify dimensions after upscaling. Confirm the output actually hit your target pixel count before printing. Don't assume — check.
Tip 6 — Order a small test print first. For an expensive large print, print a small proof or a cropped section first to confirm the quality holds before committing to the full size.
Common Mistakes to Avoid
Mistake 1 — Printing at screen resolution. The most common error: assuming a photo that looks great on-screen will print great. Screens are ~72 PPI; prints want ~300. Always check your pixel count against the print size.
Mistake 2 — Over-scaling a tiny source. Blowing a small web image up to 4x for a huge print stretches the AI past its limits. There's a ceiling to how much detail can be plausibly reconstructed. Start with the best, largest source you can.
Mistake 3 — Ignoring aspect ratio. Upscaling keeps your original proportions. If your photo doesn't match the print's shape, you'll get awkward cropping or borders at the print stage. Plan the crop deliberately.
Mistake 4 — Letting the print service compress your file. Some services downsize large uploads. Confirm your full-resolution file is what actually gets printed.
Mistake 5 — Skipping the 100% zoom check. Never send a file to print without inspecting it at actual pixels first. Soft spots that are invisible at fit-to-screen become obvious on paper.
Common Print Sizes and the Resolution They Need
Here's a practical reference for matching photos to print sizes, all at the 300 PPI standard for sharp results.
Wallet and 4x6 prints need roughly 1200x1800 pixels. Most modern phone photos already meet this, but heavily compressed downloads may not — a quick 2x upscale fixes it.
5x7 prints want about 1500x2100 pixels. Still within reach of many originals, with a light upscale as backup.
8x10 prints need around 2400x3000 pixels. This is where upscaling starts becoming essential for web-sourced or older images. A 2x upscale from a typical 1200-pixel source gets you there.
11x14 prints call for roughly 3300x4200 pixels — most casual photos need a 2x to 4x boost.
16x20 and larger prints demand 4800x6000 pixels or more. These almost always require a 4x upscale, and this is prime territory for the Pro AI model's deeper reconstruction, since you're asking the AI to invent a lot of plausible detail.
Poster sizes (viewed from farther away) can sometimes drop to 150 PPI, halving the pixel requirement — but for anything viewed up close, hold to 300. Use these targets to pick your scale, and your prints will stay crisp at every size.
Who Upscales Photos for Printing
Families printing memories upscale old scans and phone photos to frame at 8x10 or larger, turning low-res images into wall-worthy prints without paying a lab for restoration.
Etsy and print-on-demand sellers prepare artwork and product images to meet the high-resolution requirements of print services, ensuring their physical products look professional.
Photographers rescue slightly under-resolution shots or enlarge older work for clients who want big prints, using upscaling to bridge the resolution gap.
Small businesses prep images for banners, posters, and signage, where large-format printing punishes any lack of resolution.
Event and wedding hosts enlarge favorite photos for guestbook prints, welcome signs, and framed displays.
What connects them all is a shared moment of realization: the photo they love isn't big enough to print the way they want. AI upscaling turns that dead end into a solved problem — and with Pixel Shine's free, unlimited Normal tier plus free Pro AI trials, they can prep print-ready images without a software purchase or subscription standing in the way.
Frequently Asked Questions
What resolution do I need to print a photo?Aim for 300 PPI. Multiply your print size in inches by 300 to get the pixel count you need — an 8x10 print needs about 2400x3000 pixels.
Can I upscale a photo for printing for free?Yes. Pixel Shine's Normal Upscale is free and unlimited with no sign-in and no watermark, which covers most print-prep needs. For large-format prints, Pro AI offers deeper reconstruction.
How do I know how much to upscale?Divide your target print pixels (print size × 300) by your image's current pixels. The result tells you whether you need 2x or 4x.
Will an upscaled photo really print sharp?Yes, as long as you hit the target pixel count for your size and start from a reasonably clean source. Always check the result at 100% zoom before printing.
What's the biggest I can print from a small photo?It depends on the source quality, but there's a practical limit — extreme enlargements from tiny images can look soft. Start with the largest, cleanest original you have.
Should I upscale before or after cropping?Upscale first, then crop to your print's aspect ratio, to keep maximum resolution.
Do I need Pro AI for printing?Not for most sizes — free Normal handles 4x6 through 8x10 well. Pro AI shines for 16x20 and larger or for degraded sources.
Why does my print look worse than my screen?Because screens are ~72 PPI and prints need ~300. The image lacked enough pixels for the print size. Upscaling fixes this.
Key Takeaways
Printing a photo sharp comes down to one thing: having enough pixels for the size. The rule is 300 PPI, which means multiplying your print dimensions by 300 to find your target resolution — an 8x10 needs about 2400x3000 pixels. When your image falls short, AI upscaling multiplies the pixel count and adds plausible detail to close the gap.
Pixel Shine makes this free and accessible: the Normal Upscale is free and unlimited with no sign-in and no watermark, handling most print sizes from wallets to 8x10s. For large-format and hero prints, the Pro AI model delivers deeper reconstruction.
Calculate your target pixels, pick the right scale, inspect at 100% zoom, and print with confidence. Upscale for Print Free → at Pixel Shine and turn your favorite low-res photos into frame-worthy prints.