Upscale Images Without Losing Quality for Free — AI Guide
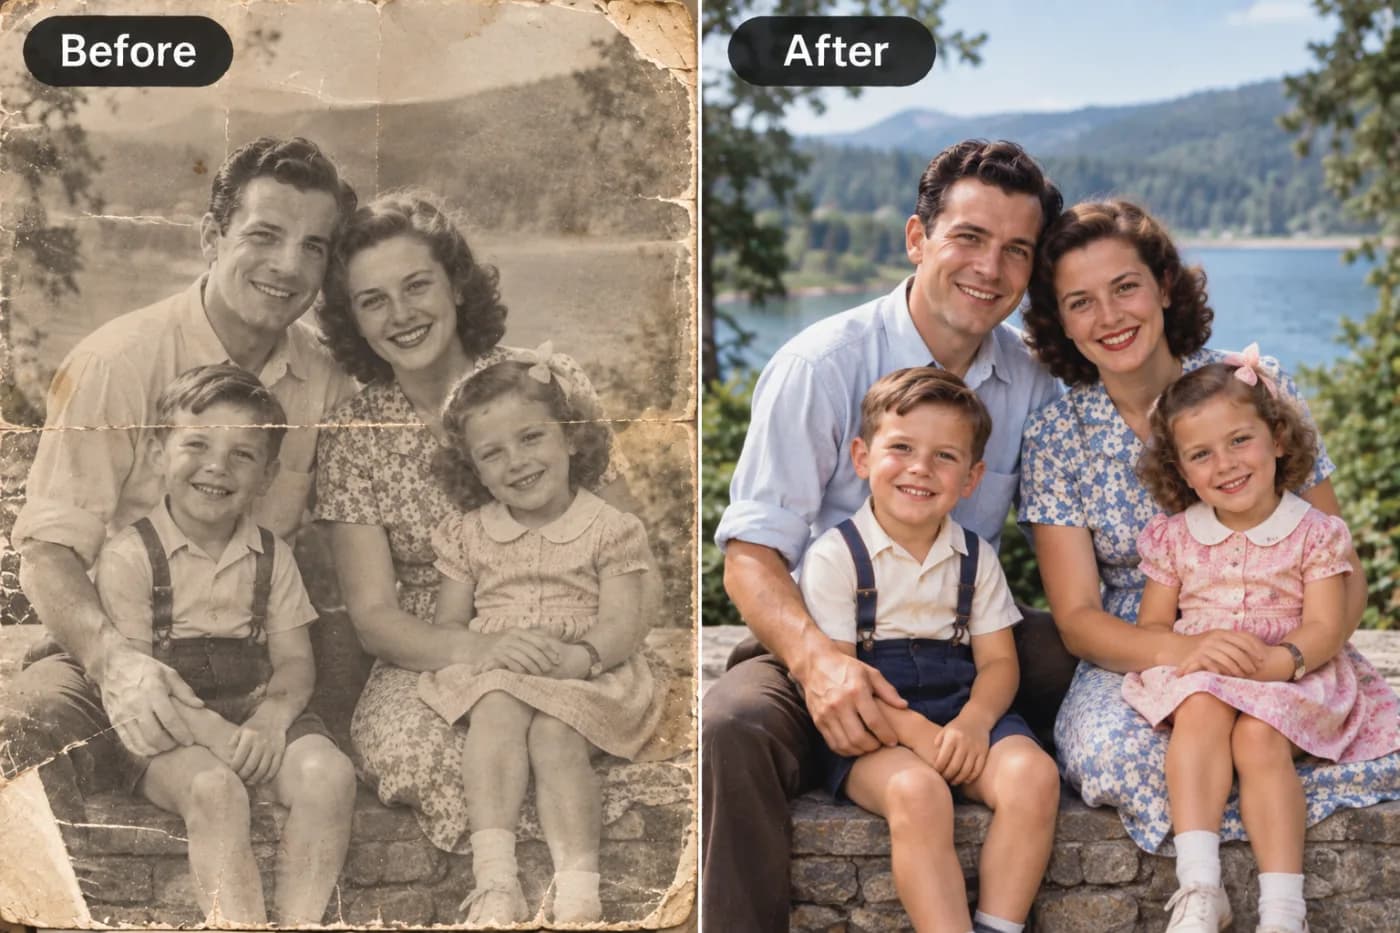
The biggest challenge in upscaling images is preserving quality. Pixel Shine solves this with AI super-resolution that actually improves quality while enlarging your images.
Learning how to upscale an image without losing quality for free is the holy grail of photo editing, because for decades enlarging a picture meant accepting that it would get blurrier. Every time you stretched an image bigger, you traded sharpness for size — the classic quality-versus-scale compromise that made low-resolution photos feel like a dead end. That trade-off is finally obsolete thanks to AI.
The reason traditional enlargement degrades quality is simple: it spreads existing pixels over a larger area and guesses the in-between values by averaging, which softens edges and detail. A genuinely lossless-feeling upscale requires a completely different approach — AI super-resolution that reconstructs new, believable detail as it enlarges, so the image actually stays crisp or even looks sharper at the larger size.
In this guide, we'll explain exactly why old methods lost quality, how AI upscaling with no quality loss actually works, and how to use Pixel Shine to upscale photos while preserving quality — free, unlimited, watermark-free, and without a mandatory sign-up. You'll get a step-by-step walkthrough, expert tips for maximum clarity, the mistakes that reintroduce blur, and the real scenarios where preserving quality during enlargement matters most. Let's break the old compromise for good.
Why Traditional Upscaling Destroys Quality
To understand how to preserve quality, you first need to understand why it's normally lost. Interpolation is the culprit. When basic tools — your operating system's resizer, or a simple web utility — enlarge an image, they use algorithms like bicubic or bilinear interpolation. These fill the new, larger canvas by averaging the colors of neighboring original pixels. Averaging inherently blurs, because a sharp edge between two pixels gets smeared into a gradient across many.
No new information is created. A traditional resizer can only rearrange the pixels it already has. It has no knowledge of what a face, a leaf, or a brick wall should look like, so it can't add the detail that a larger image needs. The result is always softer than the original — bigger but visibly degraded.
Compression makes it worse. Many images have already lost quality to JPEG compression before you even start. Enlarge a compressed image with interpolation and you amplify both the softness and the blocky artifacts, compounding the damage.
The perception of quality loss. Because our eyes are drawn to edges and fine detail, the blur from interpolation reads immediately as "low quality." This is why a stretched image looks worse even when it technically contains the same information spread thinner. Breaking this cycle requires a tool that can genuinely add correct detail rather than smear existing pixels — which is precisely the leap that AI super-resolution makes.
How Pixel Shine Upscales Without Quality Loss
Pixel Shine's upscaler avoids the quality loss of traditional methods by not stretching pixels at all — instead, it reconstructs detail. Its deep-learning model was trained on millions of image pairs, each a low-resolution version matched to its high-resolution original. Through that training, the model learned what real detail looks like: how edges should stay crisp, how textures like skin, fabric, and foliage should appear at higher resolution, and how to add believable structure rather than blur.
Detail is generated, not averaged. When you upload an image, Pixel Shine predicts and rebuilds the fine detail that a larger version should have. This is why the result looks sharp — often sharper than the original — rather than softened. It's the opposite of interpolation's smearing.
Free Normal mode handles everyday quality-preserving upscaling — web images, product photos, social media — free, unlimited, and with no sign-up. For images where quality matters most — portraits, detailed textures, print work — Pro AI mode uses a more powerful, credit-based model that maximizes detail recovery and cleanup.
Clean output preserves your work. Pixel Shine never adds watermarks and requires no account for Normal upscaling, so the quality you gain isn't undermined by a logo or a gate. The end result is upscaling that feels lossless — your image comes out larger and clean, with detail intact rather than sacrificed.
Step-by-Step: Upscaling With Quality Preserved
Follow these steps to enlarge your image while keeping it sharp using Pixel Shine.
1. Open Pixel Shine and go to the Upscale tool. The free Normal upscaler needs no account, so you can begin immediately.
2. Start with your best-quality source. Use the cleanest, largest version of your image available — the less prior compression, the better the AI can preserve and rebuild detail.
3. Upload your image. Drag and drop or click to browse. JPG, PNG, and WEBP are supported directly.
4. Choose your upscale factor. Select 2x or 4x depending on how much larger you need the image. Choosing only the factor you actually need helps keep results cleanest.
5. Select Normal or Pro AI mode. Use free Normal for everyday quality-preserving enlargement. Switch to Pro AI mode when quality is critical — portraits, fine textures, or print.
6. Process the image. Click upscale and let the AI reconstruct detail rather than stretch pixels. It usually finishes in seconds.
7. Compare against the original. Zoom into both images side by side. Confirm the enlarged version stayed sharp — check edges, textures, and any faces for preserved detail.
8. Download the clean result. Save the enlarged, watermark-free file to your device. It's larger than the original with quality intact and ready to use anywhere.
Pro Tips for Maximum Quality Retention
These techniques help you preserve — and often enhance — quality during upscaling.
Always begin with the least-compressed source. A PNG or a high-quality original preserves far more detail than a heavily compressed JPEG. Feeding the AI cleaner input yields a cleaner, sharper enlargement.
Don't over-scale. Choosing a bigger factor than you need can introduce subtle artifacts. If 2x meets your requirement, use it rather than defaulting to 4x — smaller, appropriate factors keep results crispest.
Use Pro AI mode for critical detail. Portraits and fine textures are where quality loss shows most. The more powerful model preserves and reconstructs these far better than a general pass.
Upscale before editing. Do the enlargement first so any color grading, sharpening, or retouching applies to the full-detail image, keeping your adjustments consistent.
Avoid stacking multiple tools. Running an image through several different enhancers in sequence often reintroduces artifacts. Do the upscale cleanly in one step and evaluate the result before adding anything else.
Inspect at 100% zoom. The true measure of quality is the full-resolution view. Check edges and textures at full zoom to confirm the result is genuinely sharp before you use it.
Common Mistakes That Reintroduce Blur
Even with a lossless-feeling tool, certain habits sneak quality loss back in.
Starting from a heavily compressed thumbnail. If your source is already a small, artifact-ridden JPEG, the AI has degraded input to work with. Whenever possible, obtain a cleaner, larger original before upscaling.
Re-upscaling an already-enlarged file. Once you've upscaled, running that output through again to go bigger tends to accumulate artifacts. Instead, return to the original source and choose a higher factor from the start.
Saving as low-quality JPEG afterward. All your quality gains can be thrown away in the final save if you export at aggressive JPEG compression. Save at high quality or use PNG to preserve the sharpness you gained.
Applying heavy sharpening on top. Piling artificial sharpening onto an already-reconstructed image can create halos and noise that read as lower quality. Let the AI's reconstruction do the work.
Using the wrong mode for demanding images. Running Normal mode on a critical portrait bound for print may leave detail on the table that Pro AI mode would recover. Match the mode to how much quality the job truly requires.
Real-World Scenarios Where Quality Matters Most
Preserving quality during upscaling is essential in many situations.
Professional printing. Client photos, portraits, and artwork destined for print must stay sharp at large sizes. A quality-preserving upscale ensures the final print looks crisp rather than soft, protecting professional reputation.
Portrait and headshot work. Faces reveal quality loss instantly. Upscaling headshots for LinkedIn, resumes, or marketing requires the detail in eyes, skin, and hair to remain clean and natural.
Product photography for e-commerce. Zoomable product images demand sharp detail so shoppers can inspect textures and features. A blurry enlargement erodes buyer confidence, while a quality-preserved one builds it.
Restoring valued personal photos. Enlarging a cherished family photo for framing only works if quality holds — a blurry blow-up defeats the sentimental purpose.
Design and marketing assets. Logos, banners, and hero images used across campaigns need to stay crisp at every size. Quality-preserving upscaling lets designers reuse assets at larger dimensions without degrading the brand's polished look.
AI Quality-Preserving Upscaling vs. Alternatives
How does lossless-feeling AI upscaling compare to other approaches?
Versus basic interpolation resizers, there's no contest on quality. Those tools inherently blur as they enlarge because they average pixels. AI reconstructs detail, so the enlarged image stays sharp instead of degrading.
Versus Photoshop's enlargement, Adobe's tools preserve more detail than basic bicubic and include smart options, but they require a paid subscription and manual skill, and still trail dedicated AI super-resolution on difficult images where real reconstruction matters.
Versus paid AI desktop apps like Topaz Gigapixel, Pixel Shine delivers comparable quality-preserving reconstruction without the upfront cost, heavy install, or hardware demands — everything runs online.
Versus other free online tools, Pixel Shine stands out by actually being free and clean: unlimited Normal upscaling, no watermark to undermine your quality gains, and no mandatory sign-up, plus a Pro AI mode for the most quality-critical jobs. For anyone who needs enlargement that genuinely preserves quality without spending money or accepting compromises, this combination is exceptionally hard to match.
Who Needs Quality-Preserving Upscaling
The demand for lossless-feeling upscaling spans professionals and everyday users alike. Photographers enlarge portraits and prints while keeping skin, eyes, and fine detail crisp. Designers and marketers scale up logos, banners, and hero images without degrading brand assets. E-commerce sellers upscale product photos for sharp, zoomable listings that build buyer trust.
Print shops and their clients rely on quality retention so large prints look professional rather than soft. Content creators enlarge thumbnails and graphics that must stay crisp on high-DPI screens. Families and hobbyists blow up cherished photos for framing where blur would ruin the memory. What unites them is a refusal to accept the old trade-off — they need images that get bigger without getting worse, and a tool that reconstructs detail rather than smearing it is the only way to deliver that reliably and for free.
Frequently Asked Questions
Can I really upscale an image without losing quality for free?Yes. Pixel Shine's free Normal upscaler reconstructs detail rather than stretching pixels, so images stay sharp — often sharper — as they enlarge. It's unlimited and needs no sign-up.
Why do normal resizers make images blurry?Basic resizers use interpolation, averaging neighboring pixels to fill the larger canvas. Averaging smears edges and detail, which is why stretched images always look softer.
How does AI avoid quality loss?Pixel Shine's model was trained on millions of image pairs and predicts the real detail a larger image should have, rebuilding edges and textures instead of blurring existing pixels.
Is the result truly lossless?No upscale is mathematically lossless, but AI reconstruction produces results that look clean and sharp rather than degraded — a dramatic improvement over the visible quality loss of traditional enlargement.
Does Pixel Shine add watermarks?No. Every downloaded file is clean and watermark-free, so your quality gains aren't undermined by a logo.
What formats can I upload?Common formats like JPG, PNG, and WEBP are supported directly. Starting from a less-compressed format like PNG helps preserve the most quality.
When should I use Pro AI mode?Use it for quality-critical work — portraits, fine textures, and print — where you need maximum detail preservation and cleanup.
How do I keep quality when saving?Export at high quality or as PNG. Saving your upscaled image at aggressive JPEG compression can throw away the sharpness you just gained.
Key Takeaways
The old trade-off between size and quality is over. With AI super-resolution, you can upscale an image without losing quality for free — because the technology reconstructs real detail instead of smearing existing pixels the way traditional resizers do. Pixel Shine delivers this with a free, unlimited Normal upscaler, watermark-free output, no mandatory sign-up, and a Pro AI mode for the most quality-critical jobs.
Whether you're preparing portraits, product photos, prints, or precious memories, your images can now get bigger without getting worse. See the difference for yourself — head to Pixel Shine and upscale your first image with quality intact, free.