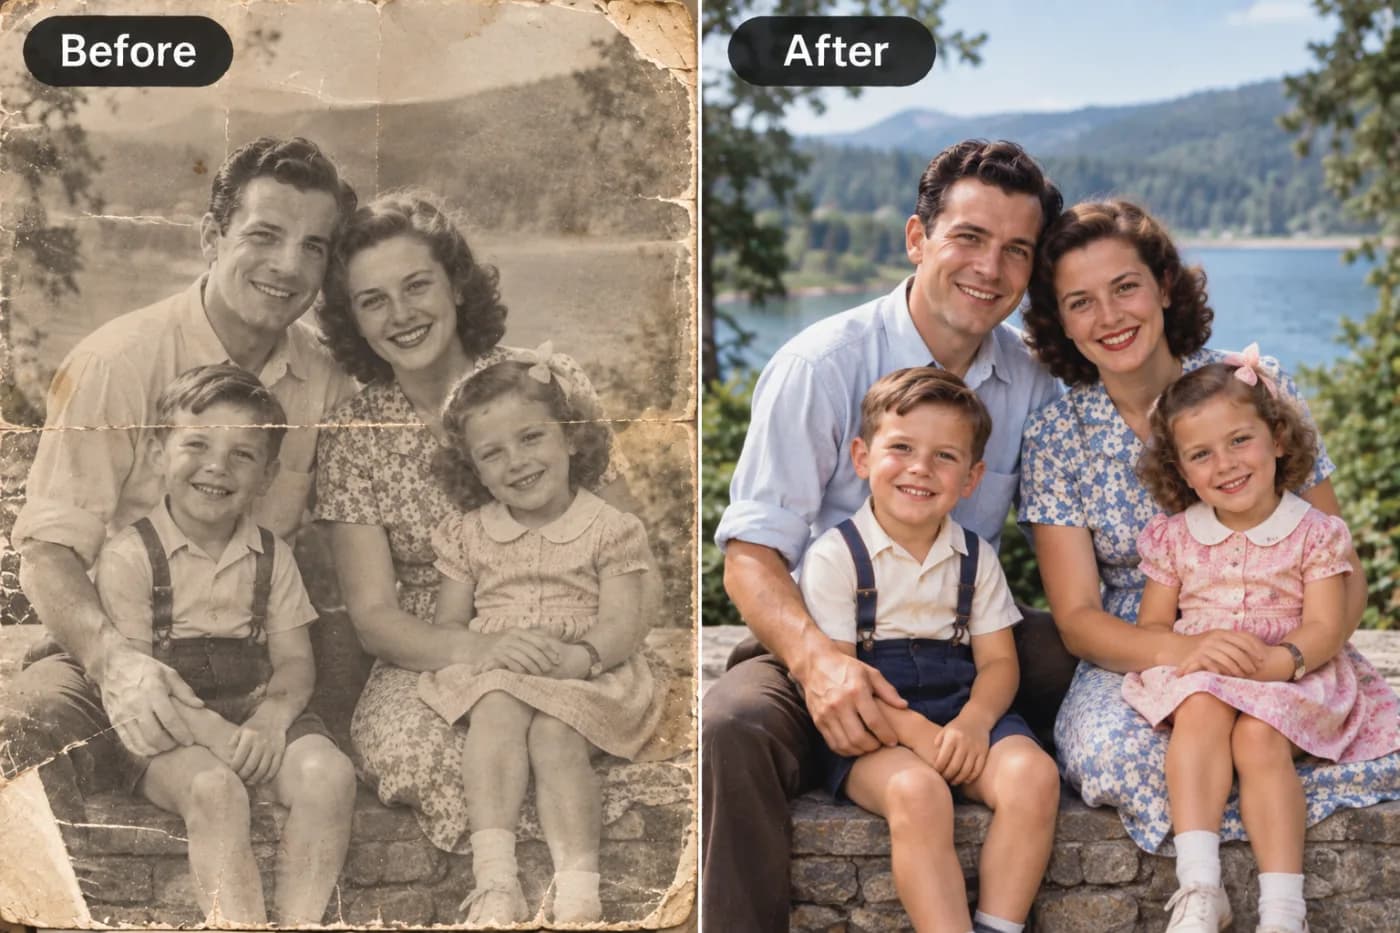
How to Upscale Images for Social Media: Instagram, LinkedIn & Beyond
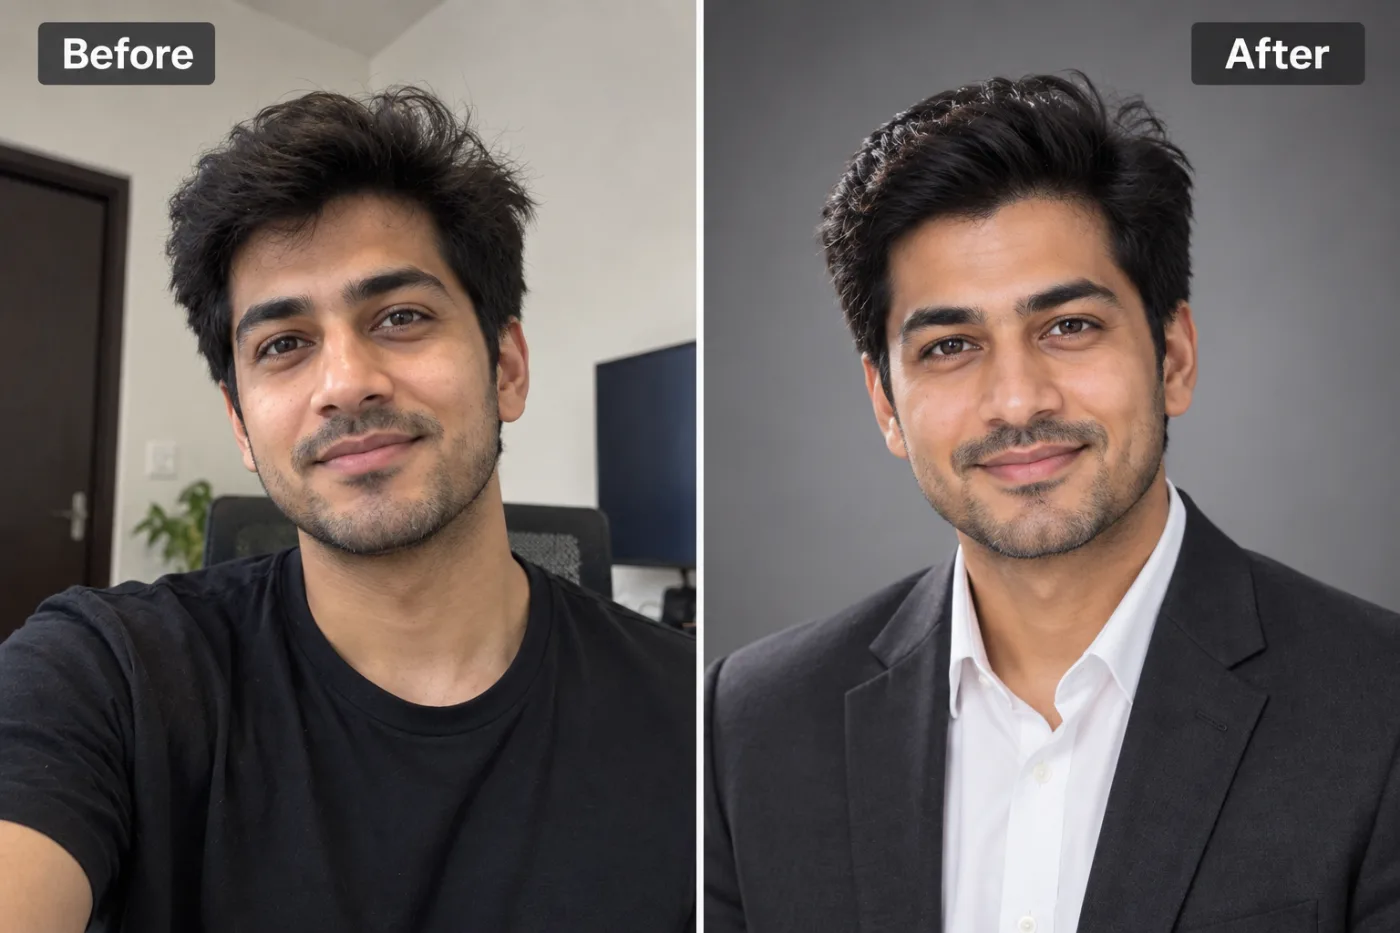
Instagram, LinkedIn, and Facebook all compress your images on upload. Starting at higher resolution is the only way to counteract this — here's how.
If you've ever posted a photo to Instagram or LinkedIn only to watch it turn soft and pixelated in the feed, you're not alone — and learning to upscale images for Instagram and other platforms is the fix most people never discover. Every social network compresses your uploads to save bandwidth, and if you feed them a low-resolution image to begin with, the result can look downright amateurish. The solution isn't to shoot everything on a $3,000 camera. It's to upscale your images to the ideal resolution *before* you upload, so the platform's compression has more detail to work with.
In this guide, we'll cover the best resolution for Instagram, LinkedIn, and every major platform, explain exactly why social media crushes image quality, and walk you through increasing image quality for social media using free AI tools. By the end, your posts will look crisp on every screen — from a tiny phone to a 4K monitor — without spending a dime on software.
Why Social Media Destroys Your Image Quality
Here's what happens the moment you hit "post." Instagram, LinkedIn, Facebook, and every other platform run your image through aggressive compression algorithms to reduce file size, because serving billions of images cheaply is their whole business model. This compression throws away data — and the less resolution your original has, the more visible the damage.
There's a second problem: display scaling. When your 640px-wide photo appears on a modern phone with a high-density retina display, the screen has to stretch those pixels to fill the space. Stretching low-resolution images makes them look soft and blocky.
The fix works on both fronts. When you upscale an image to the platform's recommended resolution *before* uploading, two things happen. First, the compression algorithm has more detail to preserve, so the compressed result looks sharper. Second, the image already matches the display's pixel density, so no ugly stretching occurs.
This is why the same photo can look muddy from one account and razor-sharp from another. The sharp one was sized correctly. Understanding social media image resolution is the single biggest quality upgrade most creators are missing — and it costs nothing to fix.
The Ideal Resolution for Every Platform
Getting the best resolution for Instagram and other platforms right means matching each network's sweet spot. Here are the target dimensions to upscale toward in 2025.
Instagram feed (square): 1080 x 1080px. Instagram portrait: 1080 x 1350px (this takes up the most screen space and gets more engagement). Instagram Stories/Reels: 1080 x 1920px.
LinkedIn shared post image: 1200 x 627px. LinkedIn profile photo: 400 x 400px minimum, but upload at 1080 x 1080px for crispness. LinkedIn cover/banner: 1584 x 396px.
Facebook feed: 1200 x 630px. Facebook profile: 320 x 320px minimum, upload larger.
Twitter/X in-stream: 1600 x 900px. Pinterest pins: 1000 x 1500px (2:3 ratio performs best).
YouTube thumbnail: 1280 x 720px.
The key insight: if your source image is smaller than these targets, uploading it directly means the platform upscales it badly on the viewer's end. Instead, upscale it yourself with AI to hit the exact target dimensions. A 600px photo upscaled to 1080px before posting to Instagram will look dramatically sharper than the same 600px file uploaded raw. Always aim to *meet or slightly exceed* the platform's ideal, never fall short.
Step-by-Step: Upscale a Photo for Social Media
Here's the exact workflow to increase image quality for social media using Pixel Shine's free upscaler — no account needed.
Step 1: Identify your target size. Decide where you're posting. For an Instagram portrait post, your target is 1080 x 1350px. Note the number before you start.
Step 2: Open the free upscaler. Open it on Pixel Shine. The Normal Upscale is free and unlimited with no sign-in required.
Step 3: Upload your original. Drag your photo into the upload area. If your source is 540px wide, a 2x upscale gets you to 1080px — perfect for Instagram width.
Step 4: Choose your factor. Select 2x or 4x so the output meets or slightly exceeds your platform target. Don't undershoot; it's better to upscale to 1200px and let Instagram scale down than to upload 700px.
Step 5: Process and preview. Click Upscale and review the before/after. For portraits and headshots, consider Pro AI mode for cleaner skin and hair detail.
Step 6: Crop to the exact ratio. After upscaling, crop to your platform's aspect ratio (4:5 for Instagram portrait, 1:1 for square, 1.91:1 for LinkedIn link posts) so the platform doesn't auto-crop unpredictably.
Step 7: Download and upload. Save the full-resolution, watermark-free result and post it. Compare it to your old posts — the difference in sharpness is immediately obvious.
Pro Tips for Sharper Social Posts
Upload at the platform's max recommended size, not just the minimum. Instagram accepts up to 1080px wide — always use it. Giving the compressor more data means a sharper final render.
Export as PNG for graphics, JPG for photos. Text overlays, logos, and infographics stay crisp as PNG. Photographs compress efficiently as high-quality JPG.
Upscale before adding text. If you add captions or graphics to a low-res image and then upscale, the AI can distort your text. Upscale the photo first, then add overlays in an editor.
For carousels, keep every slide the same resolution. Mismatched sizes cause Instagram to crop inconsistently, breaking the visual flow of a swipeable post.
Match aspect ratio before uploading. Letting the platform auto-crop often chops heads or key subjects. Crop to the exact ratio yourself for full control.
Re-upscale old high-performers. Have an old post that did well but looks dated and soft? Run it through the upscaler and repost it as a refreshed version. Free content that already proved it works.
Common Mistakes to Avoid
Uploading screenshots directly. Screenshots are often low-resolution and already compressed. Upscale them to the target size before posting instead of dumping them straight into your feed.
Upscaling after the platform already compressed it. Downloading your own posted image (now compressed) and re-uploading it stacks compression on compression. Always start from your original file.
Ignoring aspect ratio. A perfectly upscaled image still looks bad if the platform crops off the subject. Resolution and ratio are two separate problems — solve both.
Over-sharpening after upscaling. AI upscalers already add crispness. Cranking a sharpening filter on top produces harsh halos and a crunchy, artificial look.
Assuming bigger is always better. Uploading a massive 6000px image doesn't help — the platform will just compress it down to 1080px anyway. Match the recommended size; don't wildly exceed it.
Instagram vs LinkedIn: Different Rules
The two platforms reward different image strategies, and knowing the distinction sharpens your results on both.
Instagram is a visual-first, mobile-first platform. Vertical portrait images (1080 x 1350px) dominate the feed because they occupy more screen real estate and stop the scroll. Image quality is scrutinized closely — users are there for aesthetics. Upscaling to full 1080px width is non-negotiable if you want to compete visually. Faces, food, products, and lifestyle shots all benefit from Pro AI upscaling for that polished, professional feel.
LinkedIn is desktop-heavy and context-driven. Many users browse on large monitors, which means low-resolution images look *worse* here than on a phone, because there's more screen to stretch across. LinkedIn's link-preview images (1200 x 627px) and native post images need to be crisp at desktop scale. A soft, pixelated header on a thought-leadership post undermines credibility instantly.
The shared lesson: both platforms punish low resolution, but LinkedIn's desktop audience makes upscaling arguably *more* important there than on Instagram. In both cases, upscaling to the platform's spec before uploading is the cheapest professionalism upgrade you can make.
Who Benefits Most From Social Media Upscaling
Small business owners posting product shots taken on a phone, who need each image to look retail-grade against bigger competitors.
Job seekers and professionals updating LinkedIn with crisp headshots and banner images that signal attention to detail.
Content creators and influencers repurposing older photos or lower-res stock into feed-ready posts without a reshoot.
Realtors and local service providers sharing property and job-site photos that need to look sharp on both mobile and desktop.
Nonprofits and community groups working with donated or volunteer-shot images that arrive at inconsistent, often low, resolutions.
E-commerce brands running social campaigns where every scroll-stopping post depends on visual polish.
For all of them, the barrier used to be cost and complexity. With a free, no-sign-in upscaler, that barrier is gone — anyone can hit professional resolution in under a minute.
Frequently Asked Questions
What is the best resolution for Instagram posts?For square posts, use 1080 x 1080px. For portrait posts (which get more screen space and engagement), use 1080 x 1350px. Stories and Reels should be 1080 x 1920px. Always upload at 1080px width — it's Instagram's maximum and looks sharpest.
Why do my images look blurry on Instagram?Two reasons: your original was below 1080px so Instagram upscaled it poorly, or the platform's compression damaged a low-detail image. Upscaling to 1080px before uploading fixes both.
How do I increase image quality for social media for free?Upscale your image to the platform's target resolution using a free AI upscaler like Pixel Shine. The Normal Upscale is free, unlimited, and needs no account or sign-in.
What size should a LinkedIn post image be?Shared post images work best at 1200 x 627px. Your profile photo should be uploaded at 1080 x 1080px even though the minimum is 400px, and cover banners at 1584 x 396px.
Does upscaling before posting really make a difference?Yes, significantly. Matching the platform's recommended resolution gives the compression algorithm more detail to preserve and eliminates ugly display stretching on high-density screens.
Should I upscale or just shoot at higher resolution?Shoot high-res when you can, but upscaling rescues photos you already have — old shots, screenshots, or supplier images — that would otherwise look soft. It's the practical fix for imperfect source material.
Will upscaling remove Instagram's compression?It can't remove compression that already happened, but starting with a properly upscaled, high-detail original makes the compression far less noticeable in the final post.
What's the best format to upload, JPG or PNG?Use high-quality JPG for photographs and PNG for graphics with text or logos, which keeps edges and lettering crisp.
Key Takeaways
Social media platforms compress every image you upload, and low-resolution originals suffer the most. The fix is simple: upscale your photos to each platform's ideal resolution before posting — 1080px for Instagram, 1200px for LinkedIn link posts — so compression and display scaling have real detail to work with.
You don't need expensive software or a photography degree. Pixel Shine's free, unlimited Normal Upscale gets you there in under a minute, with no watermark and no sign-in. Try it on your next post and compare it to your old ones — the jump in sharpness sells itself.
Upscale for Social Media →