How to Upscale Your Profile Picture for LinkedIn & Professional Use
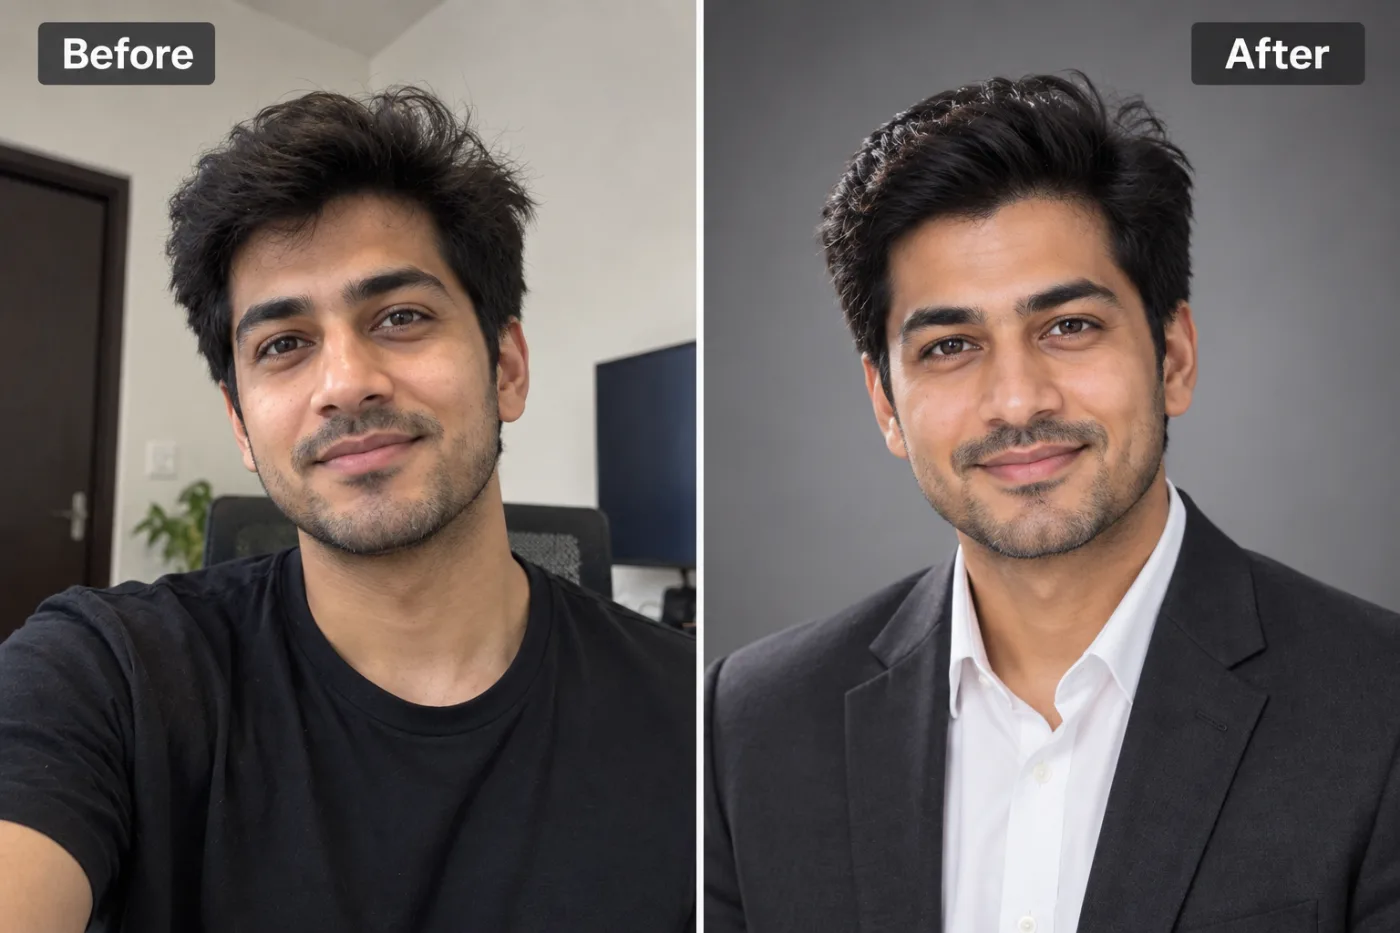
Your LinkedIn profile picture makes a first impression before you say a word. A blurry, pixelated headshot signals unprofessionalism — here's how to fix it fast.
Your LinkedIn profile picture is often the first impression a recruiter, client, or potential connection forms of you — and if it's blurry or pixelated, that impression starts on the wrong foot. Learning to upscale profile picture images to crisp, professional quality is one of the easiest personal-branding upgrades you can make, and it takes about a minute with the right free tool. Whether you're working with an old photo, a cropped group shot, or a headshot that looks soft on high-resolution screens, AI upscaling can sharpen it into something that actually reflects your professionalism.
Here's why it matters more than most people realize: LinkedIn photo resolution requirements have crept upward as displays got sharper, and a photo that looked fine in 2019 may look fuzzy on today's retina laptops and 4K monitors. In this guide, we'll cover exactly how to improve professional headshot quality through upscaling, the ideal dimensions for LinkedIn and other platforms, and the pro techniques that make an enhanced profile photo look natural rather than obviously processed — all without spending a cent or hiring a photographer.
Why Profile Photo Quality Matters More Than You Think
Research on professional networking consistently shows that profile photos dramatically influence how you're perceived. A LinkedIn profile with a photo gets significantly more views and connection requests than one without — and a *sharp, professional* photo outperforms a blurry one by a wide margin. Your headshot is doing real work on your behalf, whether you're job hunting, building a client base, or establishing thought leadership.
The problem is that low-resolution photos actively undermine that work. A pixelated or soft headshot signals carelessness, even subconsciously, in a context where attention to detail is exactly what people are evaluating. Recruiters scanning dozens of profiles form snap judgments, and a fuzzy photo reads as "didn't put in the effort."
The technical culprit is usually resolution mismatch. Many profile photos originated as small crops from larger images, screenshots, or old files sized for the lower-resolution screens of years past. On today's high-density displays — retina laptops, 4K monitors, high-res phones — those low-pixel images get stretched and turn soft.
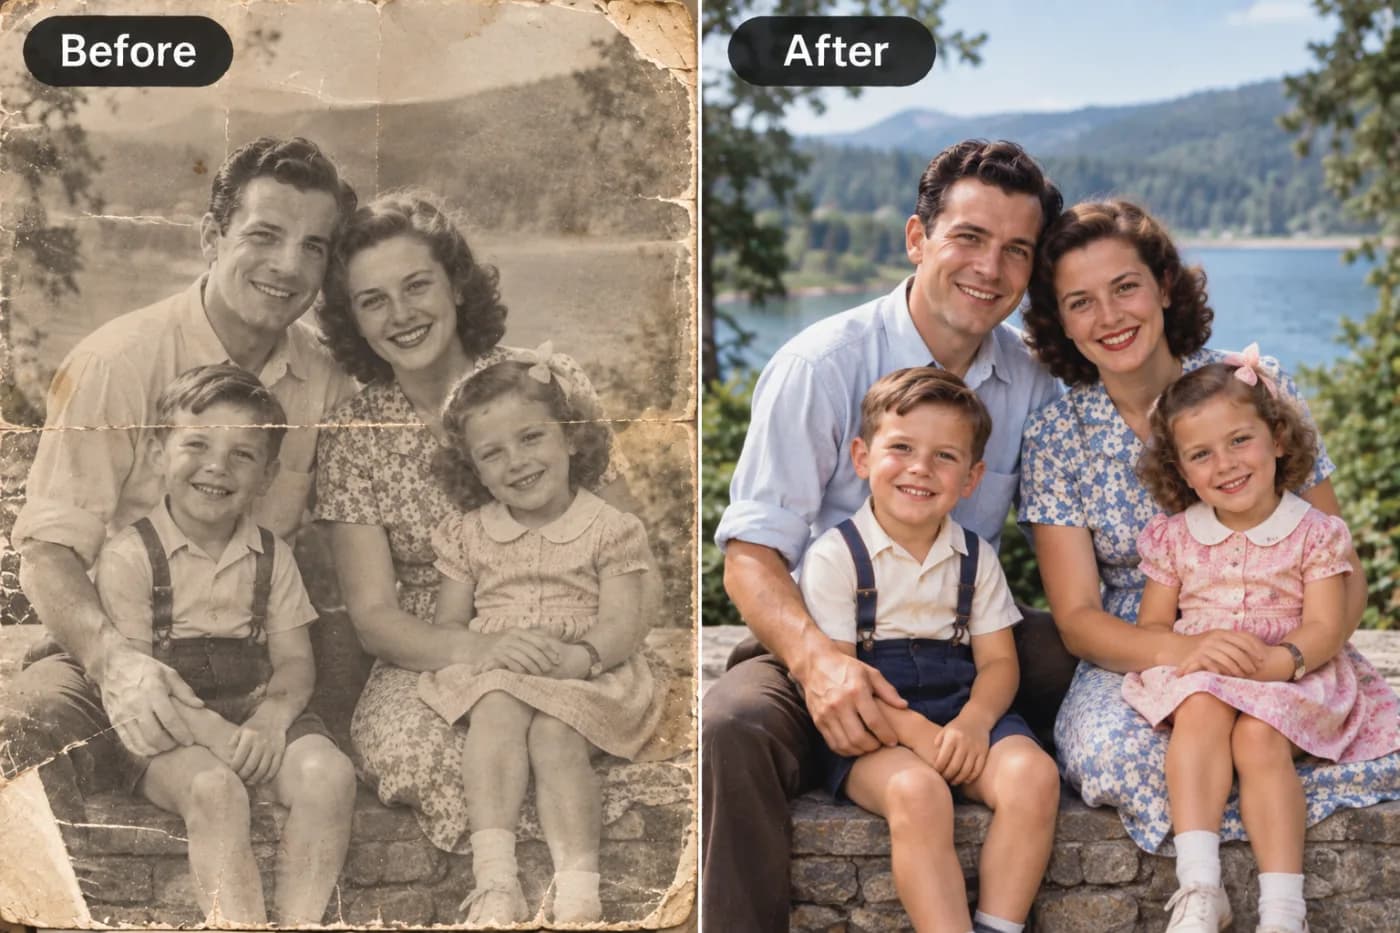
Upscaling solves this by reconstructing the detail your photo needs to look crisp at modern resolutions. It's not about faking a professional shoot — it's about ensuring the good photo you already have actually looks good on the screens where it'll be seen. And because it's free and fast, there's no excuse for a blurry headshot.
Ideal Profile Photo Dimensions Across Platforms
To improve professional headshot presentation, you need to hit the right target resolution for each platform. Here's what to aim for when you upscale.
LinkedIn profile photo: 400 x 400px is the minimum, but upload at 1080 x 1080px for crispness on high-res displays. LinkedIn displays your photo at various sizes, so a larger, sharper source always looks better. LinkedIn background banner: 1584 x 396px.
Professional email/Gravatar: at least 500 x 500px, ideally 1000px+.
Twitter/X profile: 400 x 400px minimum, upload at 800px+. Facebook profile: 320 x 320px minimum, upload larger. Company bio pages and speaker profiles: often request 1000 x 1000px or higher for print programs and large web display.
Corporate directory and Slack: typically 512 x 512px or larger.
The recurring theme: minimums are low, but you should always upload well above them. If your source headshot is only 300px, upscaling it 2x-4x to reach 1080px ensures it stays sharp everywhere it appears — from a tiny comment thumbnail to a large profile view. A square 1:1 crop is standard for profile photos, so plan to crop to that ratio after upscaling. Overshooting the minimum resolution costs nothing and future-proofs your photo against ever-sharper displays.
Step-by-Step: Upscale Your Profile Picture
Here's exactly how to sharpen your headshot for LinkedIn and beyond using Pixel Shine's free tools.
Step 1: Choose your best available photo. Pick the headshot with the best lighting, composition, and expression — even if it's low resolution. Upscaling improves sharpness, so start with the photo that's *right* in every other way.
Step 2: Open the upscaler. Go to the Pixel Shine upscaler. The Normal Upscale is free, unlimited, and needs no sign-in.
Step 3: Upload your headshot. Drag the photo into the upload box. If it's 400px, a 2x-4x upscale gets you comfortably into professional territory.
Step 4: Use Pro AI mode for faces. For headshots specifically, Pro AI mode is worth it — it reconstructs skin texture, eyes, and hair far more naturally than basic upscaling, avoiding a plasticky look.
Step 5: Process and inspect closely. Click Upscale and review at 100% zoom. Check that the eyes are sharp and skin looks natural, not over-smoothed.
Step 6: Crop to a square. Profile photos are 1:1. Crop so your face fills a comfortable portion of the frame — roughly head and shoulders — with a little breathing room.
Step 7 (optional): Clean up the background. For a polished, distraction-free look, run it through Pixel Shine's background remover to replace a messy background with a clean one.
Step 8: Download and upload. Save the watermark-free result and set it as your profile photo across your platforms.
Pro Tips for a Standout Professional Photo
Prioritize the right photo over the highest resolution. A well-lit, approachable low-res photo upscaled beats a sharp but awkward high-res one. Fix resolution with AI; you can't fix a bad expression.
Use Pro AI mode for faces. Human faces are where upscaling quality matters most. The advanced model handles skin and eyes naturally, avoiding the waxy artifacts basic upscaling can produce on portraits.
Keep it natural — don't over-process. The goal is a crisp version of *you*, not an airbrushed mannequin. If skin looks unnaturally smooth after upscaling, drop to 2x for a more realistic result.
Consider a clean background. A cluttered background distracts from your face. Removing or replacing it with a solid, neutral tone reads as more professional and keeps focus on you.
Match your photo to your industry. A creative professional can go warmer and more relaxed; finance and law tend toward crisp and formal. Upscaling works either way — the point is sharpness, not stiffness.
Update it every couple of years. An upscaled old photo is great, but if you look noticeably different now, refresh it. People should recognize you when they meet in person.
Common Mistakes to Avoid
Over-smoothing your face. Pushing upscaling too aggressively on a portrait can make skin look plasticky and unreal. Aim for natural sharpness — if it looks airbrushed, reduce the factor.
Cropping too tight or too loose. A face that fills the entire frame feels claustrophobic; one that's tiny in a wide shot loses impact. Frame head-and-shoulders with modest breathing room.
Using a heavily filtered or casual photo. Instagram filters and party snapshots undermine professional credibility. Upscale a clean, appropriately styled photo instead.
Ignoring the background. A sharp face against a messy bedroom or busy office distracts viewers. Consider a clean or neutral background for a more polished result.
Uploading below the minimum. Setting a 200px image as your LinkedIn photo guarantees fuzziness on modern screens. Always upscale to at least 1080px before uploading.
AI Upscaling vs Hiring a Photographer
A professional headshot session is wonderful — but it's not always practical, and for many purposes, upscaling an existing good photo gets you 90% of the way for free.
When upscaling is enough: You already have a decent photo with good lighting and expression that just looks soft due to resolution. You need a sharp profile picture quickly, without scheduling or spending. You're refreshing an existing headshot rather than reinventing your image. In these common cases, AI upscaling — especially Pro AI mode on faces — delivers a crisp, professional result in a minute for free.
When a photographer makes sense: You don't have any usable photo to start from. You need consistent branded headshots for an entire team. You're a public-facing professional (executive, realtor, author) whose image is central to your brand and warrants investment. Here, a shoot provides composition, lighting, and styling that no upscaler can create from scratch.
The smart move for most people: start with upscaling. It costs nothing and often solves the actual problem, which is usually resolution and sharpness rather than the photo itself. If, after upscaling and cropping, you still feel your photo doesn't represent you well, *then* consider a shoot. You'll have lost nothing by trying the free route first — and Pixel Shine's headshot generator offers another middle-ground option to create polished headshots without a studio.
Who Needs a Sharper Profile Photo
Job seekers whose LinkedIn photo is the first thing recruiters see, where sharpness signals professionalism at a glance.
Freelancers and consultants building trust with prospective clients across LinkedIn, personal sites, and proposal decks.
Sales and business development professionals whose profile photos appear in outreach, where a crisp image improves response rates.
Speakers and authors who need high-resolution headshots for conference programs, book jackets, and press features.
Remote workers and new hires setting up profiles across Slack, corporate directories, and video tools with a consistent, sharp image.
Anyone with a great old photo that predates high-resolution screens and now looks soft everywhere it appears.
For all of them, the fix is the same: upscale the good photo you have to modern resolution. It's the cheapest, fastest personal-branding win available — and with a free tool, there's no reason to leave a blurry photo up.
Frequently Asked Questions
How do I upscale my LinkedIn profile picture?Upload your headshot to Pixel Shine, use Pro AI mode for the most natural face detail, upscale to at least 1080px, crop to a 1:1 square, and set it as your LinkedIn photo. The Normal Upscale is free and unlimited.
What resolution should a LinkedIn profile photo be?The minimum is 400 x 400px, but upload at 1080 x 1080px for crispness across all the sizes LinkedIn displays your photo. A larger, sharper source always looks better on modern screens.
Will upscaling make my headshot look fake?Not if done right. Use Pro AI mode for faces and avoid over-upscaling. The goal is a natural, crisp version of your photo — if skin looks plasticky, reduce the factor to 2x.
Can I improve an old, low-resolution headshot?Yes. Upscaling is ideal for old photos that predate high-resolution screens. It reconstructs detail so a soft, dated headshot looks sharp on today's retina and 4K displays.
Should I upscale or hire a photographer?If you already have a good photo that's just low-resolution, upscaling is faster, free, and usually sufficient. Hire a photographer only if you lack any usable photo or need branded team headshots.
How do I remove a distracting background from my profile photo?After upscaling, use Pixel Shine's background remover to replace a cluttered background with a clean, neutral one for a more professional look.
Is upscaling my profile picture free?Yes. Pixel Shine's Normal Upscale is free and unlimited with no sign-in.
What's the best crop for a professional headshot?A head-and-shoulders framing in a 1:1 square, with your face occupying a comfortable portion of the frame and a little breathing room around it, works best across platforms.
Key Takeaways
A blurry profile picture quietly undermines every professional impression you make, and it's one of the easiest problems to fix. By upscaling your best available headshot to at least 1080px — using Pro AI mode for natural face detail — and cropping to a clean 1:1 square, you get a sharp, credible photo that looks great on every modern screen.
Start with the free route: it costs nothing, takes about a minute, and usually solves the real issue, which is resolution rather than the photo itself. Head to the Pixel Shine upscaler, sharpen your headshot, and give recruiters and clients the polished first impression you deserve.
Upscale Your Profile Photo →