How to Remove a Background Around Hair (Free, Clean Edges)
Hair is the hardest part of any cutout. Here's how AI gets clean edges around hair and fur for free — no manual masking.
Learning how to remove a background around hair for free — with clean, natural edges — is the hardest test any background remover faces, and it's exactly where most tools fall apart. Hair has thousands of fine, wispy strands that don't have a clean outline, so cheap tools either chop the hair off into a helmet-like blob or leave an ugly halo of the old background clinging to every flyaway. Getting a clean cutout around hair used to require a skilled Photoshop artist and channel-masking tricks. Now, AI does it in seconds.
This matters whether you're creating a professional profile photo, a product shot with a model, a composite image, or a fun creative edit. A bad hair cutout instantly signals amateur editing, while a clean one looks seamless. In this guide, you'll learn how to remove a background from hair for free using AI, the pro tips that preserve those delicate strands, the mistakes that create halos and hard edges, and how to use your clean cutout across portraits, e-commerce, and design. If you've been frustrated by jagged hair edges before, this is the fix.
Why Hair Is So Hard to Cut Out
Hair is the classic nightmare of image editing for one simple reason: it has no clean edge. A solid object like a phone or a book has a definite boundary the tool can trace. Hair, by contrast, dissolves into hundreds of individual wispy strands and flyaways that blend gradually into the background. There's no single line to follow.
Making it worse, those thin strands are often semi-transparent — you can see the background through them. So the 'correct' cutout isn't a hard yes-or-no boundary; it's a soft, feathered transition where each strand partially shows the background behind it. Simple tools that make a binary keep-or-delete decision can't represent this, so they either delete the fine strands (leaving a blunt, wig-like silhouette) or keep too much (leaving a colored halo of the old background around the head).
Traditionally, professional retouchers handled hair with channel masking — a tedious manual technique using color channels, levels adjustments, and hand-painting to extract strands. It works beautifully but can take 15 to 30 minutes per image and demands real Photoshop expertise. For anyone without that training or time, hair cutouts were effectively out of reach. This is precisely the problem modern AI segmentation was built to solve: it predicts soft, per-strand transparency automatically, delivering results that used to require an expert.
How Pixel Shine Handles Hair Edges Cleanly
Pixel Shine's Background Remover uses AI trained specifically to handle soft, complex edges like hair. Rather than making a crude keep-or-delete decision at the boundary, the AI predicts a soft, feathered mask that preserves individual strands and flyaways while cleanly removing the background behind them. You upload the photo, and in about five seconds you get a cutout where the hair looks natural — not chopped into a helmet.
The key advantage is how it treats those tricky semi-transparent strands. The AI keeps the fine hair detail that makes a portrait look real, while avoiding the colored halo — the fringe of leftover background — that plagues simpler tools. The result is a clean transition from hair to transparency that holds up even when you place the subject on a new, contrasting background.
Several things make it practical for everyday use. At 2 credits a cutout, you can experiment across several portraits. There's no watermark on the download and no subscription — each cutout costs 2 credits. And if you want to place the subject onto a new scene, you can drop in a solid color, keep the transparent PNG, or head to the AI Photo Editor to change the background entirely. For low-resolution portraits, running the image through the AI Upscaler first gives the hair detection more pixels to work with, producing even cleaner strand-level edges.
Step-by-Step: Remove a Background Around Hair
Follow these steps for a clean, natural hair cutout.
1. Start with a well-lit, high-resolution photo. Good lighting and detail give the AI the best chance at capturing individual strands. If your photo is small or soft, upscale it first.
2. Favor a contrasting background if you can. Hair separates most cleanly when it stands out from what's behind it — dark hair against a light background, or vice versa.
3. Open the Pixel Shine Background Remover. Go to Pixel Shine and select the Remove Background tool. Sign in with a free account to start.
4. Upload your portrait. Drag and drop or browse to select. Higher-resolution images yield cleaner strand detail.
5. Let the AI process the edges. In about five seconds, the tool removes the background while preserving the soft hair edges and flyaways.
6. Zoom in on the hairline. Inspect the wispy areas and flyaways to confirm the strands are intact and there's no colored halo from the old background.
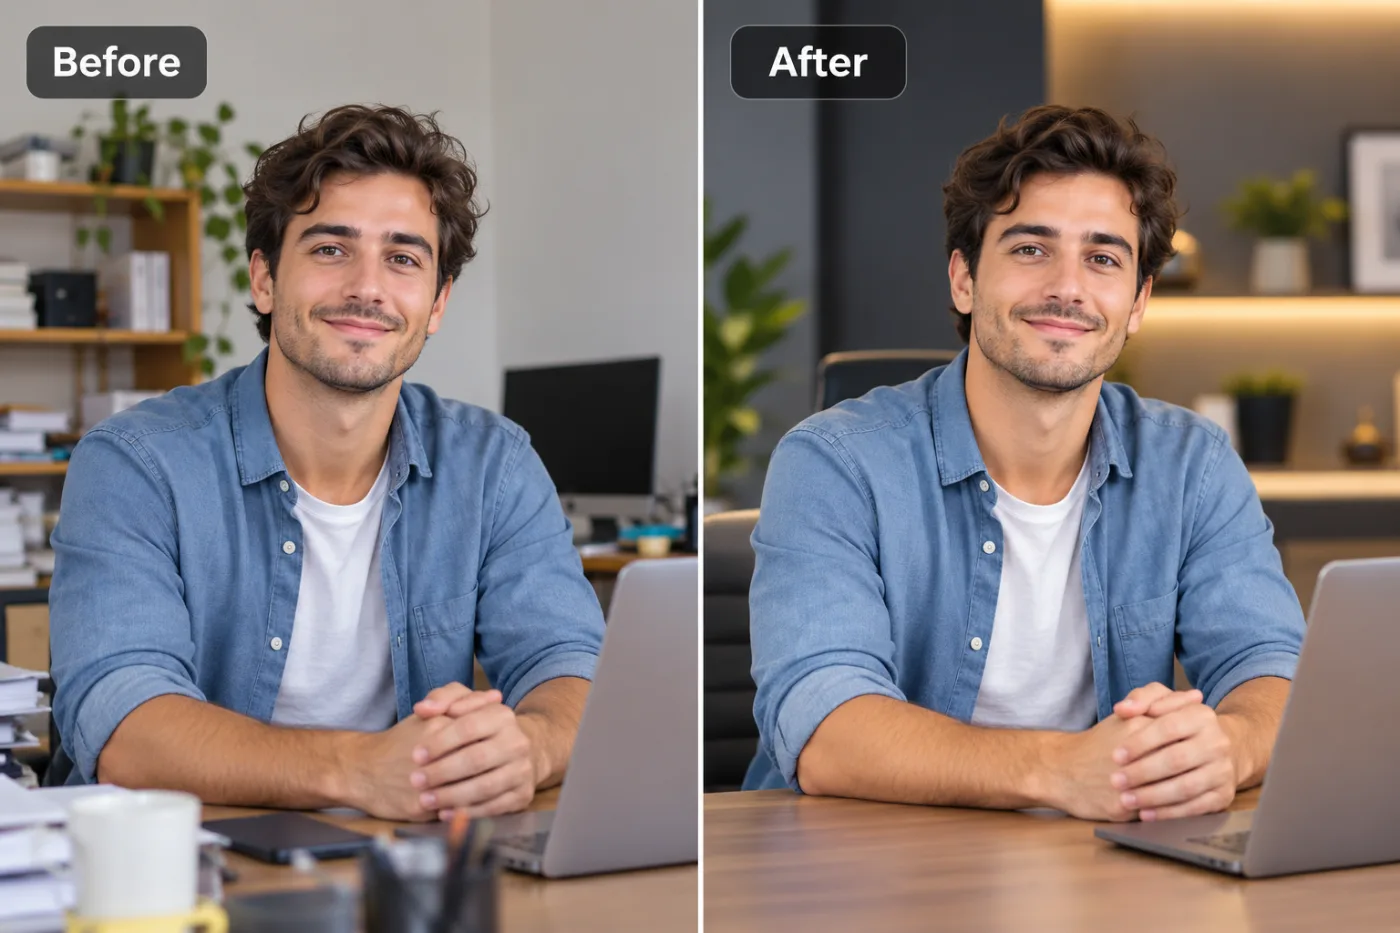
7. Add a new background. Place the subject on a solid color, keep it transparent, or move to the AI Photo Editor to swap in a completely new scene.
8. Download in full resolution. Export as a transparent PNG (to keep the soft edges) or with your new background, watermark-free and ready to use.
Pro Tips for Preserving Fine Hair Detail
These tricks make the difference between a natural cutout and an obvious one.
- Shoot against a contrasting background. Dark hair on a light wall (or blonde hair on a dark backdrop) gives the AI maximum contrast to trace individual strands. Similar tones are the hardest case.
- Use even, diffused lighting. Harsh backlighting can blow out flyaways or create glow that confuses the edge. Soft, front-ish light keeps strands defined.
- Upscale low-res portraits first. More pixels mean more strand detail for the AI to detect. Run small images through the Upscaler before removing the background.
- Match the new background's tone to the hair edge. If you're compositing, placing dark hair on a mid-tone background hides any tiny leftover fringe better than a stark white one, which reveals every stray edge.
- Keep a transparent PNG master. The soft feathered edges only survive in PNG. Save that version so you can drop the subject onto different scenes without re-cutting.
- Check flyaways at 100% zoom. The wispy strands at the top and sides of the head are where problems hide. Inspect them closely before finalizing.
Common Mistakes to Avoid
Avoid these errors that give hair cutouts away.
Expecting a clean cut from a low-res photo. The AI can only capture the detail present in the image. A small, soft portrait produces mushy hair edges. Upscale first so the strands are actually visible.
Placing the cutout on a harsh white background. Stark white reveals every trace of leftover fringe. If you see a faint halo, try a mid-tone background that blends with the hair edge, or re-cut from a contrasting original.
Using a JPG for the final file. JPG can't hold the soft transparency that hair edges depend on. Save as PNG to preserve the feathered strands.
Shooting hair against a similar-colored background. Brown hair on a brown wall has no contrast for the AI to work with. Whenever possible, reshoot against a contrasting surface.
Over-processing the edge. Aggressively sharpening or hard-masking the hairline destroys the natural soft transition and creates a cut-out, pasted look. Let the AI's feathered edge do its job.
Real-World Use Cases for Hair Cutouts
Clean hair removal unlocks a range of professional and creative work.
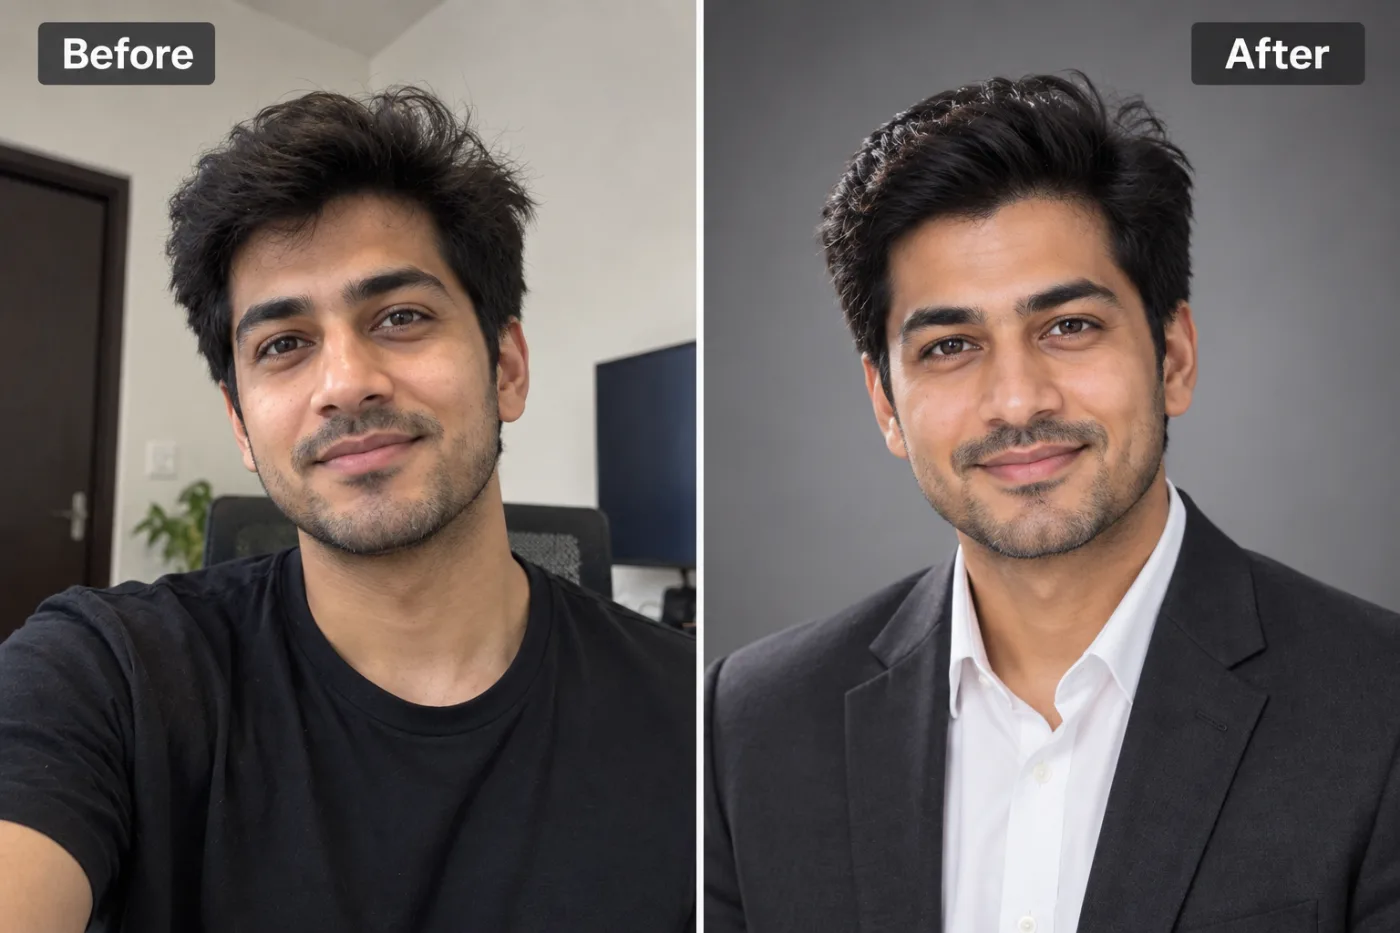
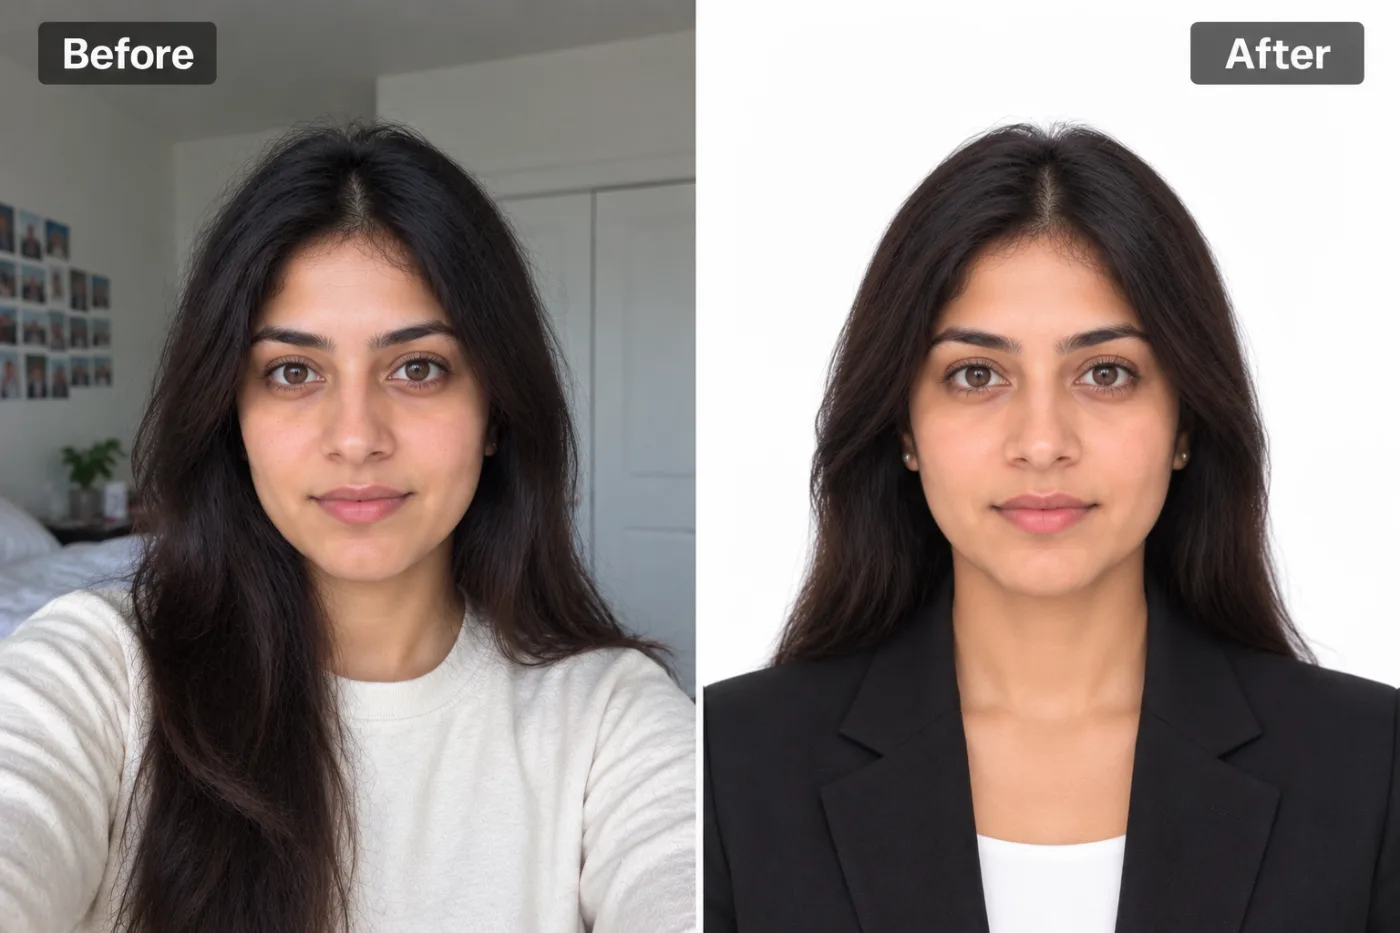
Professional headshots and profile photos get a polished new background — a studio gray, an office scene, or a solid brand color — while the hair stays natural for LinkedIn, resumes, and company pages.
E-commerce with models relies on clean hair cutouts to place people wearing products onto white or lifestyle backgrounds without a telltale halo around the head.
Photo compositing and design lets creators drop a person into an entirely new scene — a poster, an ad, a fantasy landscape — with hair that blends believably.
Social media and creative edits use hair cutouts for fun background swaps, stickers, and stylized portraits that need to look seamless.
Family and event photos benefit when you want to move a subject onto a nicer background or combine people from different shots into one clean group image.
AI vs. Manual Channel Masking
How does AI hair removal compare to the traditional professional method? Channel masking in Photoshop is the gold-standard manual technique: retouchers isolate a color channel where hair contrasts most, apply levels adjustments to boost that contrast, then hand-paint and refine to extract strands. Done by an expert, it produces stunning results — but it takes 15 to 30 minutes per image and requires years of skill to do well.
Photoshop's 'Select and Mask' with Refine Edge is a semi-automated middle ground. It's faster than pure channel masking and can grab some strands, but it still needs manual brushing and tuning, and it struggles with busy or low-contrast backgrounds — often leaving fringe you have to clean up by hand.
Basic one-click removers are fast but usually make binary edge decisions, so they either chop the hair off or leave a colored halo, failing exactly where hair matters most.
Pixel Shine's approach delivers the soft, per-strand result of expert masking automatically, in about five seconds, with no skill required. For the vast majority of portraits, it matches or beats the semi-automated Photoshop workflow. A master retoucher may still edge it out on an extremely difficult shot, but for everyday use, AI has closed the gap that once separated amateurs from professionals.
Who Uses Clean Hair Removal and Why
Portrait and headshot photographers use it to deliver clients polished images with swapped backgrounds fast, without spending half an hour channel-masking each frame.
E-commerce brands that shoot models need clean hair cutouts to meet marketplace background standards and keep product imagery consistent.
Graphic designers and marketers rely on believable hair edges to composite people into ads, posters, and campaign visuals that don't look pasted-together.
Job seekers and professionals turn a casual photo into a clean LinkedIn or resume headshot by dropping themselves onto a professional background — with hair that still looks real.
Content creators and social media users swap backgrounds for stylized posts, thumbnails, and stickers. For all of them, the goal is the same: a natural-looking cutout where the hair sells the illusion instead of breaking it.
Frequently Asked Questions
How do I remove a background around hair for free?Upload your portrait to the Background Remover at Pixel Shine. The AI preserves the soft hair edges and removes the background in about five seconds, and you download a clean cutout with no watermark. Each cutout costs 2 credits.
Why do most tools leave a halo or chop off the hair?Because they make a hard keep-or-delete decision at the edge, which can't represent hair's soft, semi-transparent strands. AI trained on hair predicts a feathered mask instead, keeping strands while removing the background.
What's the best kind of photo for a clean hair cutout?A high-resolution, well-lit image where the hair contrasts with the background — dark hair on a light backdrop or vice versa. Contrast and detail give the AI the most to work with.
Should I save the result as PNG or JPG?PNG. The soft, feathered hair edges rely on transparency, which only PNG preserves. JPG would flatten those edges onto a solid background and ruin the effect.
My photo is a bit blurry — will the hair still cut out cleanly?Run it through Pixel Shine's Upscaler first to add resolution and detail, then remove the background. Sharper strands give the AI more to detect, producing cleaner edges.
Can I put the person on a completely new background?Yes. After removing the background, keep the transparent PNG or use Pixel Shine's Photo Editor to place the subject into an entirely new scene, with the hair blending naturally.
Why does my cutout show fringe on a white background?Stark white reveals any leftover edge detail. Try placing the subject on a mid-tone background that matches the hair edge, or re-cut from a photo with more contrast between hair and background.
Do I need Photoshop or editing skills?No. The AI does the strand-level work automatically that used to require expert channel masking. You just upload, wait about five seconds, and download.
Key Takeaways
Removing a background around hair for free is now genuinely easy thanks to AI that predicts soft, per-strand edges instead of hacking off the strands or leaving a halo. Start with a well-lit, high-contrast, high-resolution photo, upscale it first if it's soft, save the result as a PNG to keep the feathered edges, and check the flyaways at full zoom. The result is a natural cutout that used to take a Photoshop expert half an hour.
Ready to cut out hair cleanly? Head to Pixel Shine, upload your portrait to the Background Remover, and get a natural, halo-free hair cutout in seconds — no watermark, no subscription.