How to Remove Background from Image Online — Free & Instant
Removing backgrounds used to take hours in Photoshop. AI has changed that completely — now you can get a clean, transparent PNG in under 5 seconds.
Learning how to remove background from image online should not require a design degree, expensive software, or a 30-minute YouTube tutorial. With the right AI background remover, you can lift a subject cleanly off its backdrop in under 5 seconds and download a crisp transparent background PNG — no Photoshop, no watermark, no subscription. Whether you are prepping product shots for your Shopify store, cutting yourself out for a professional headshot, or making a sticker for a group chat, the ability to remove bg instantly has quietly become one of the most-used photo tricks on the internet.
The problem? Most "free" tools slap a watermark across your image, force you to sign up, or downscale your export to a useless 500px thumbnail unless you pay. Pixel Shine takes a different approach — its AI background remover runs on pay-as-you-go credits with no subscription, requires no design skill, and delivers clean edges even on tricky subjects like hair, fur, and glass. In this guide, you will learn exactly how it works, how to get flawless results, and the mistakes that quietly ruin most cutouts.
Why AI Background Removal Beats the Old Manual Way
Not long ago, removing a background meant firing up Photoshop, grabbing the Pen tool, and tracing your subject point by painstaking point. A single product photo could eat 15 to 20 minutes, and hair was practically a nightmare — every stray strand had to be masked by hand or faked with channel tricks.
Modern AI background removers changed the math entirely. Instead of you tracing the edge, a neural network trained on millions of images identifies the subject automatically. It understands what a person, a bottle, a shoe, or a dog looks like, then separates foreground from background in one pass. What used to take 20 minutes now takes about 5 seconds.
The accuracy jump is the real story. Older "magic wand" tools relied on color contrast, so they failed whenever the subject and background shared similar tones. AI models look at shape, context, and depth cues, so they can pull a brown-haired person off a beige wall — something the wand tool never handled well.
For everyday users, this means you no longer need any editing knowledge. You upload, the AI does the cutout, and you download a transparent PNG. The skill barrier that kept background removal locked to designers is essentially gone, and AI tools like Pixel Shine put that power in anyone's hands.
What a Transparent Background PNG Actually Gives You
When you remove a background, the file you get back is a PNG with an alpha channel — meaning the area where the background used to be is now truly empty, not white. This transparency is what makes the cutout so versatile.
Drop it onto any color. Place your subject on a brand-blue banner, a white marketplace background, or a gradient thumbnail without any leftover box around it. Because the edges are transparent, the subject blends into whatever you put behind it.
Layer it in designs. Graphic designers and marketers use transparent PNGs constantly — logos over photos, product shots in ad creatives, headshots in email signatures. A JPG can't do this because it always carries a solid rectangular background.
Create stickers and cutouts. Messaging apps, Notion boards, and presentation slides all support transparent PNGs, which is why cutout stickers exploded in popularity.
One important note: transparency only survives in the right format. If you export as JPG, the transparent area collapses to white because JPG has no alpha channel. Always keep your file as PNG (or WebP) to preserve the see-through background. Pixel Shine exports a proper transparent PNG by default, so you don't have to fiddle with format settings.
Step-by-Step: How to Remove a Background for Free
Here is the exact process using Pixel Shine's AI background remover. The whole thing takes under a minute.
Step 1 — Open the tool. Go to Pixel Shine and open the Remove Background tool. You do not need to create an account to try it, which means zero friction to get started.
Step 2 — Upload your image. Drag and drop your photo directly onto the upload zone, or click to browse your files. Pixel Shine accepts common formats like JPG, PNG, and WebP. For best results, use the highest-resolution version of your photo you have.
Step 3 — Let the AI process. The moment your image lands, the AI analyzes it and detects the subject automatically. In roughly 3 to 5 seconds, it isolates the foreground and strips the background — no clicking, no tracing, no manual masking required.
Step 4 — Review the cutout. Check the preview, paying close attention to edges around hair, fingers, and any thin details. The transparent area shows up as a checkerboard pattern, which is the universal signal for "this is see-through."
Step 5 — Download your transparent PNG. Click download and save the file. It comes out as a PNG with the background fully removed and no watermark — ready to drop into any design, store listing, or social post.
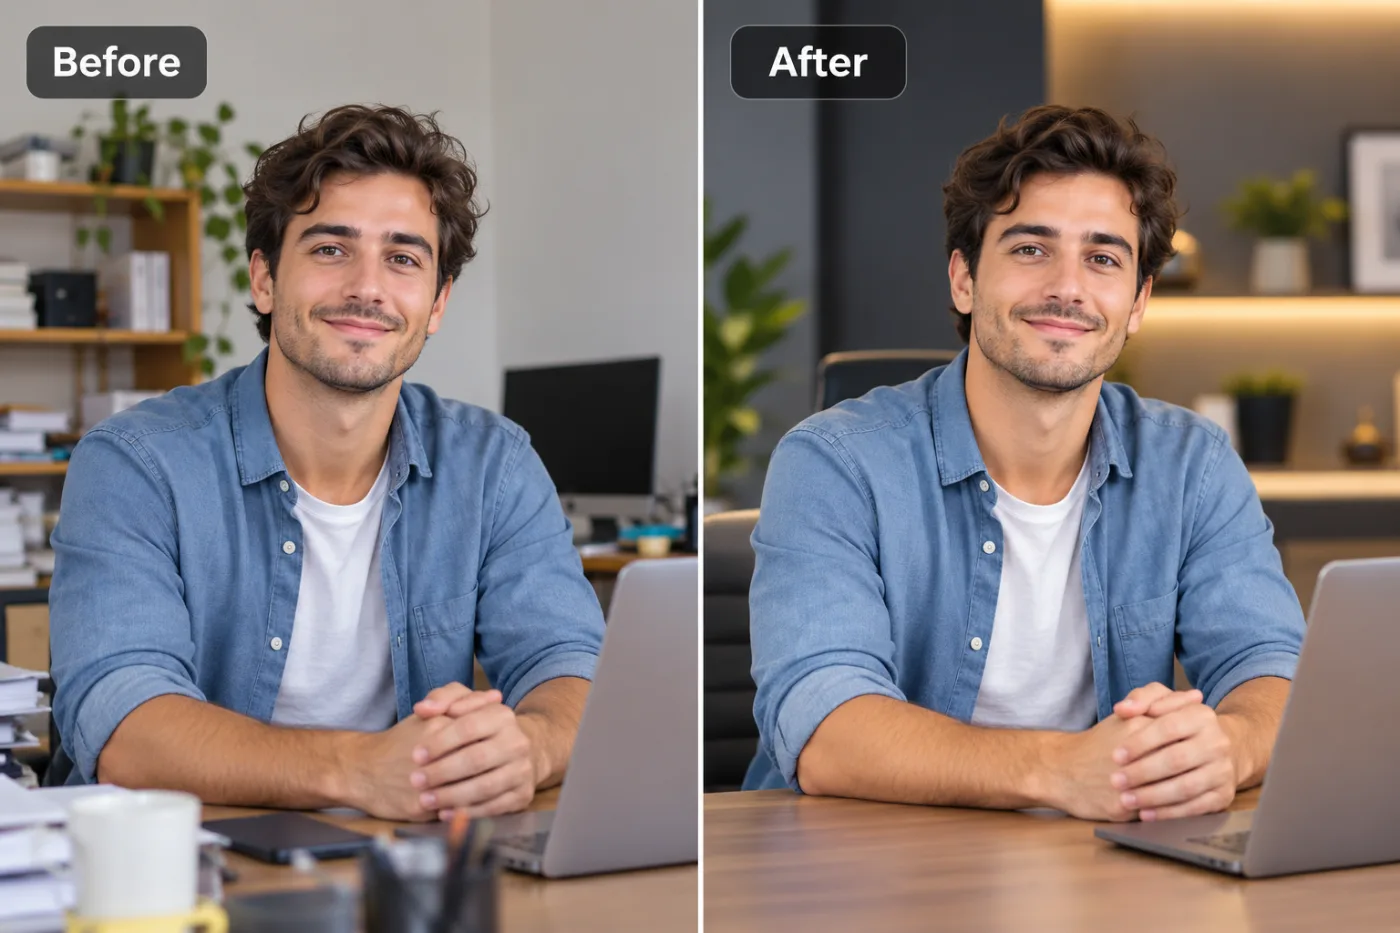
Step 6 (optional) — Add a new background. If you want to replace the background rather than leave it transparent, place your cutout over a new color or image in Pixel Shine's editor or your favorite design tool. Because your subject is already isolated, this step is instant.
Pro Tips for Flawless Cutouts Every Time
The AI does the heavy lifting, but these insider tricks will push your results from good to professional.
1. Start with good contrast. The cleaner the separation between subject and background in your original photo, the crisper the cutout. A person against a plain wall cuts out far better than a person against a busy, similarly-colored scene.
2. Shoot or choose higher resolution. More pixels give the AI more edge detail to work with. A 3000px-wide image produces noticeably sharper hair edges than a compressed 600px thumbnail.
3. Watch out for motion blur. Blurry edges confuse any background remover. If you're shooting your own product photos, use good lighting and a steady hand or tripod so edges stay sharp.
4. Mind semi-transparent objects. Glass, veils, and wispy hair are the hardest cases. They come out well most of the time, but always zoom in to check these areas before you finalize.
5. Keep the PNG for editing, export JPG only at the end. Save your working file as a transparent PNG. Only flatten to JPG when you've placed it on a final solid background.
6. Batch similar shots. If you're doing a product catalog, process images shot in the same conditions together — once you know the tool nails your lighting setup, the rest fly through fast.
Common Mistakes to Avoid
Even with an automatic tool, a few habits quietly wreck otherwise-good cutouts. Steer clear of these.
Exporting as JPG and losing transparency. This is the number-one mistake. JPG cannot store transparency, so your carefully-cut background reappears as a solid white box. Always download as PNG unless you've deliberately added a new solid background.
Using a tiny, low-res source image. Feeding the AI a 400px image and expecting a print-quality cutout sets you up for disappointment. Start with the largest version of your photo available.
Ignoring the edge preview. People download without zooming in on hair, fingers, or thin straps. A 10-second edge check catches the rare rough spot before it ends up on your storefront.
Choosing a busy background photo. If the original has the subject camouflaged into a cluttered, same-colored scene, no tool will separate them perfectly. Pick source photos with clear subject-background contrast when you can.
Paying for a watermark. Many users don't realize watermark-free removal is available without a subscription, so they hand over monthly fees to tools that lock exports behind a paywall. Pixel Shine removes backgrounds free with no watermark — check that before you pay.
Pixel Shine vs. Other Background Removers
There are dozens of background removers online, so how does Pixel Shine stack up? The differences come down to three things most people care about: watermarks, sign-up requirements, and export quality.
Watermarks. Many popular free tools let you preview a clean cutout but stamp a watermark or logo across the actual download — you only get the clean file if you subscribe. Pixel Shine gives you a watermark-free, full-resolution PNG every time, which is the whole point of using the tool.
Sign-up friction. Some competitors force you to create an account and verify email before you can even upload. Pixel Shine lets you try background removal without a mandatory account, so you can get a cutout in the time it takes others to fill out a signup form.
Export resolution. A common paywall trick is delivering only a small, low-resolution version for free and reserving full resolution for paid users.
All-in-one platform. The biggest edge is that Pixel Shine isn't a single-trick tool. The same platform includes an AI upscaler, headshot generator, text-prompt photo editor, and creative effects. So after you remove a background, you can upscale the result or drop it into a new scene without hopping between five different websites. For most people, that convenience is worth more than any single feature.
Who Uses Background Removal (Real Scenarios)
Background removal isn't just a designer trick — it solves real problems for a surprisingly wide range of people every day.
E-commerce sellers need clean, consistent product shots. Amazon actually requires a pure white background for main product images, so sellers cut out their products and drop them onto white to meet the guidelines and boost conversions.
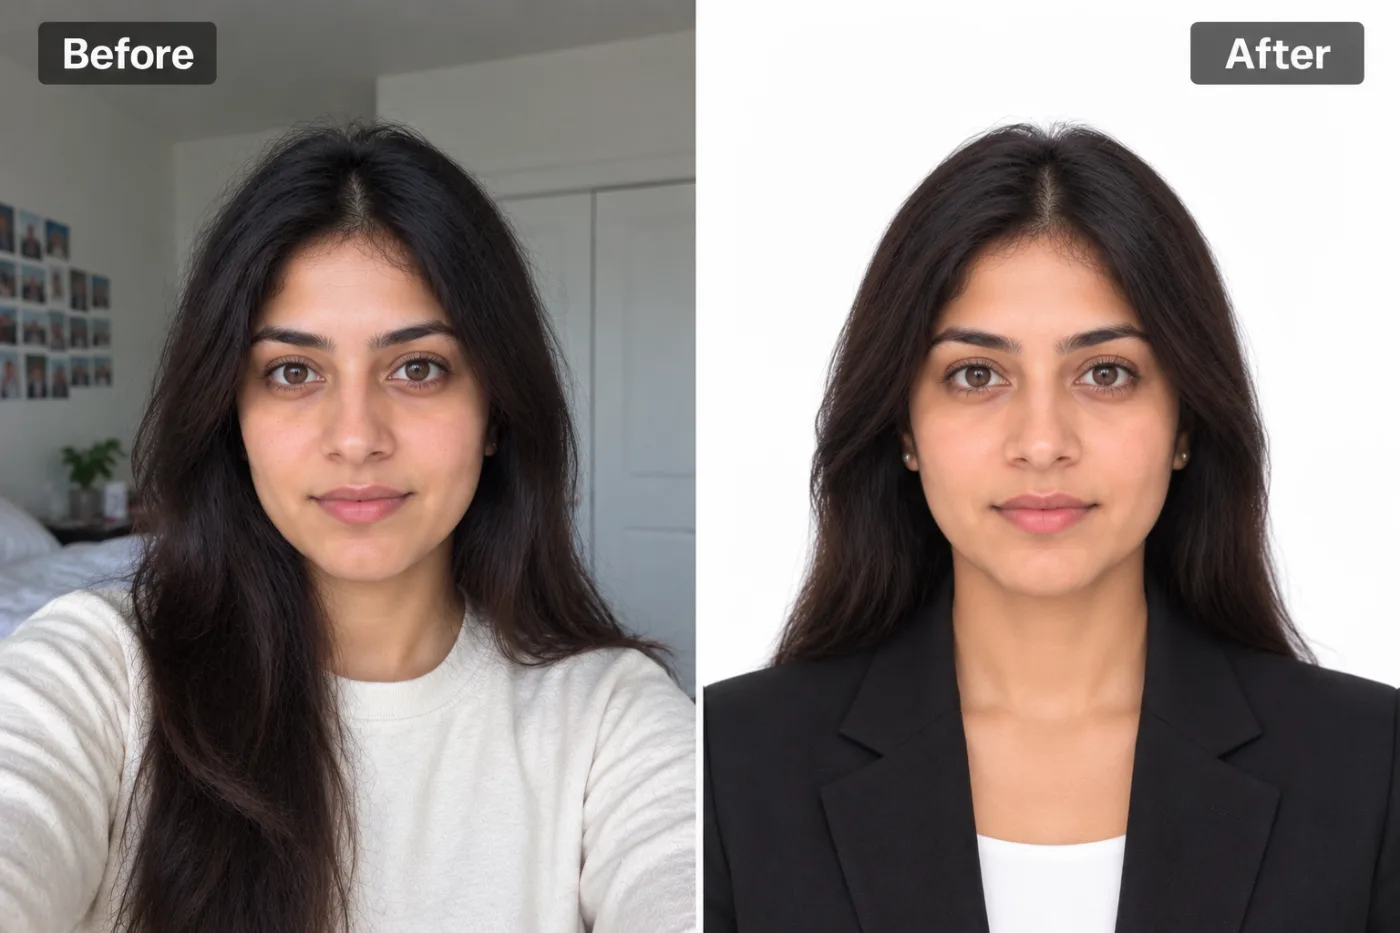
Job seekers and remote workers use it to clean up headshots — removing a messy home-office background before placing themselves on a neutral backdrop for LinkedIn or a resume.
Small business owners and marketers pull products and people out of photos to build ads, flyers, and social graphics without hiring a designer.
Content creators and students make transparent stickers, YouTube thumbnails, and slide graphics where the subject needs to float over other elements.
Real estate and resale sellers clean up item photos for marketplace listings so the focus stays on what they're selling. In every case, the value is the same: a clean, distraction-free subject that looks professional and takes seconds to make.
Frequently Asked Questions
Is it really free to remove a background online?It's pay-as-you-go rather than free: each cutout costs 2 credits, with no subscription and no watermark, and you sign in with a free account.
How do I get a transparent background instead of a white one?Make sure you download the result as a PNG, not a JPG. PNG supports transparency (an alpha channel); JPG does not and will fill the empty area with white. Pixel Shine exports transparent PNGs by default.
Does removing the background reduce my image quality?No. The tool only removes the background pixels — the subject keeps its original resolution and detail. If you want the whole image sharper or larger, run it through Pixel Shine's upscaler afterward.
Can it handle hair and fine details?Yes, modern AI handles hair, fur, and thin edges far better than old tools. For the cleanest results, use a high-resolution source photo with good contrast between the subject and background.
Do I need to install any software?No. It runs entirely online on desktop or mobile. There's nothing to download or install.
Can I remove the background from multiple photos?Yes. You can process images one after another. For product catalogs, batch photos shot under the same lighting for consistent results.
Is there a watermark on the free download?No. Unlike many free tools, Pixel Shine does not stamp a watermark on your cutout.
What image formats can I upload?Common web formats like JPG, PNG, and WebP all work. Upload the highest-resolution version you have for the sharpest edges.
Key Takeaways
Removing a background from an image online is now a 5-second, skill-free task — and it doesn't have to cost anything. With Pixel Shine's AI background remover, you upload a photo, let the AI isolate your subject automatically, and download a clean, watermark-free transparent PNG ready for any design, store listing, or social post.
Remember the essentials: start with a high-resolution, good-contrast source image, always export as PNG to keep the transparency, and do a quick edge check on hair and thin details before you finalize. Avoid the classic mistakes of exporting to JPG or paying for features that are already free.
Ready to cut out your first image? Head to Pixel Shine, open the Remove Background tool, and get a professional transparent cutout in seconds — no subscription, no watermark, nothing to install. Remove Background Free →