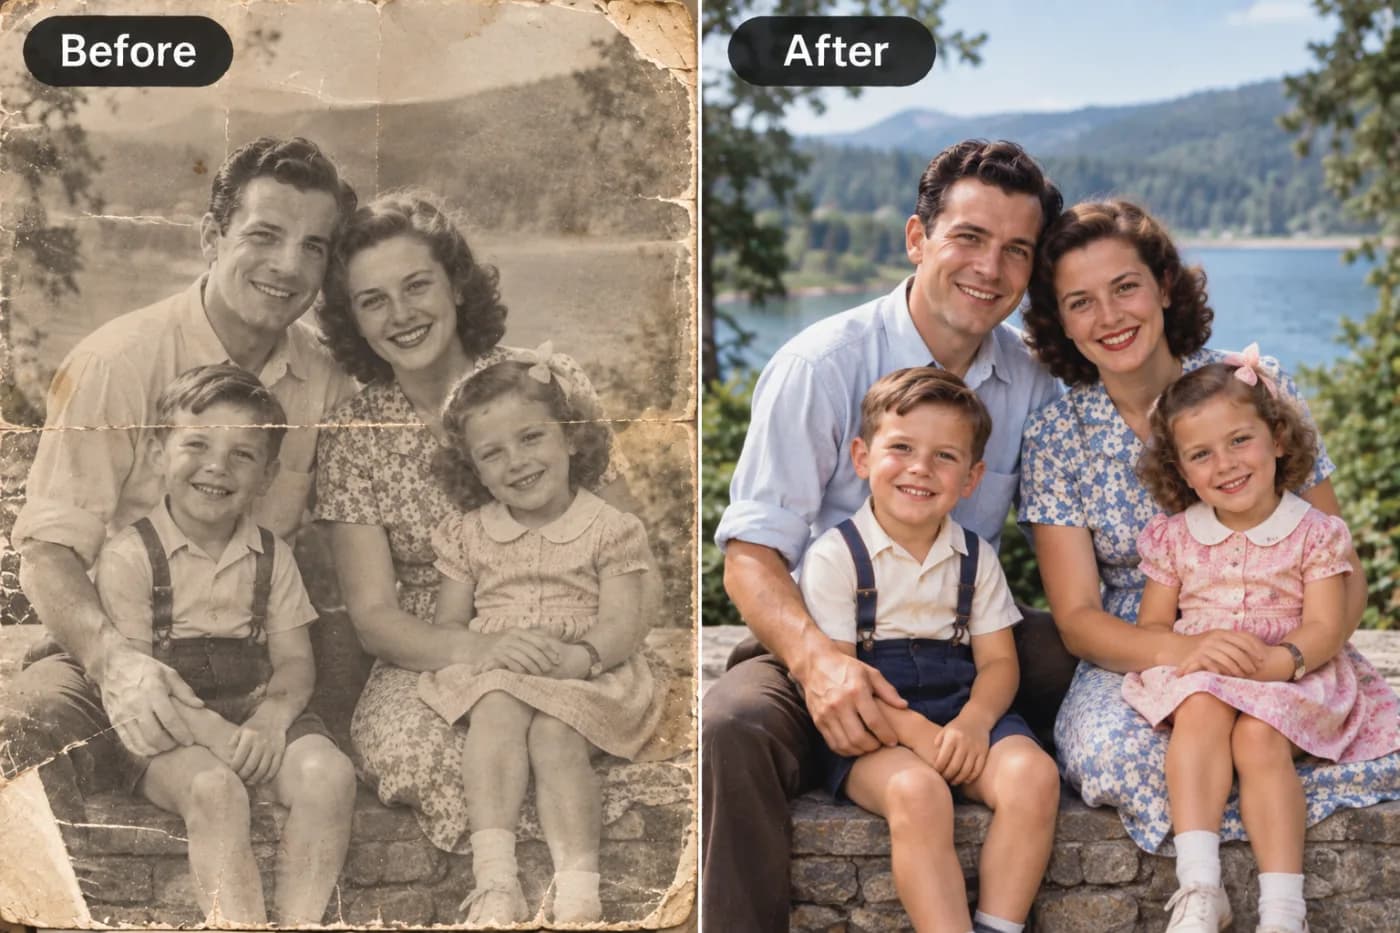
How to Enhance and Unblur Your Profile Picture for Free
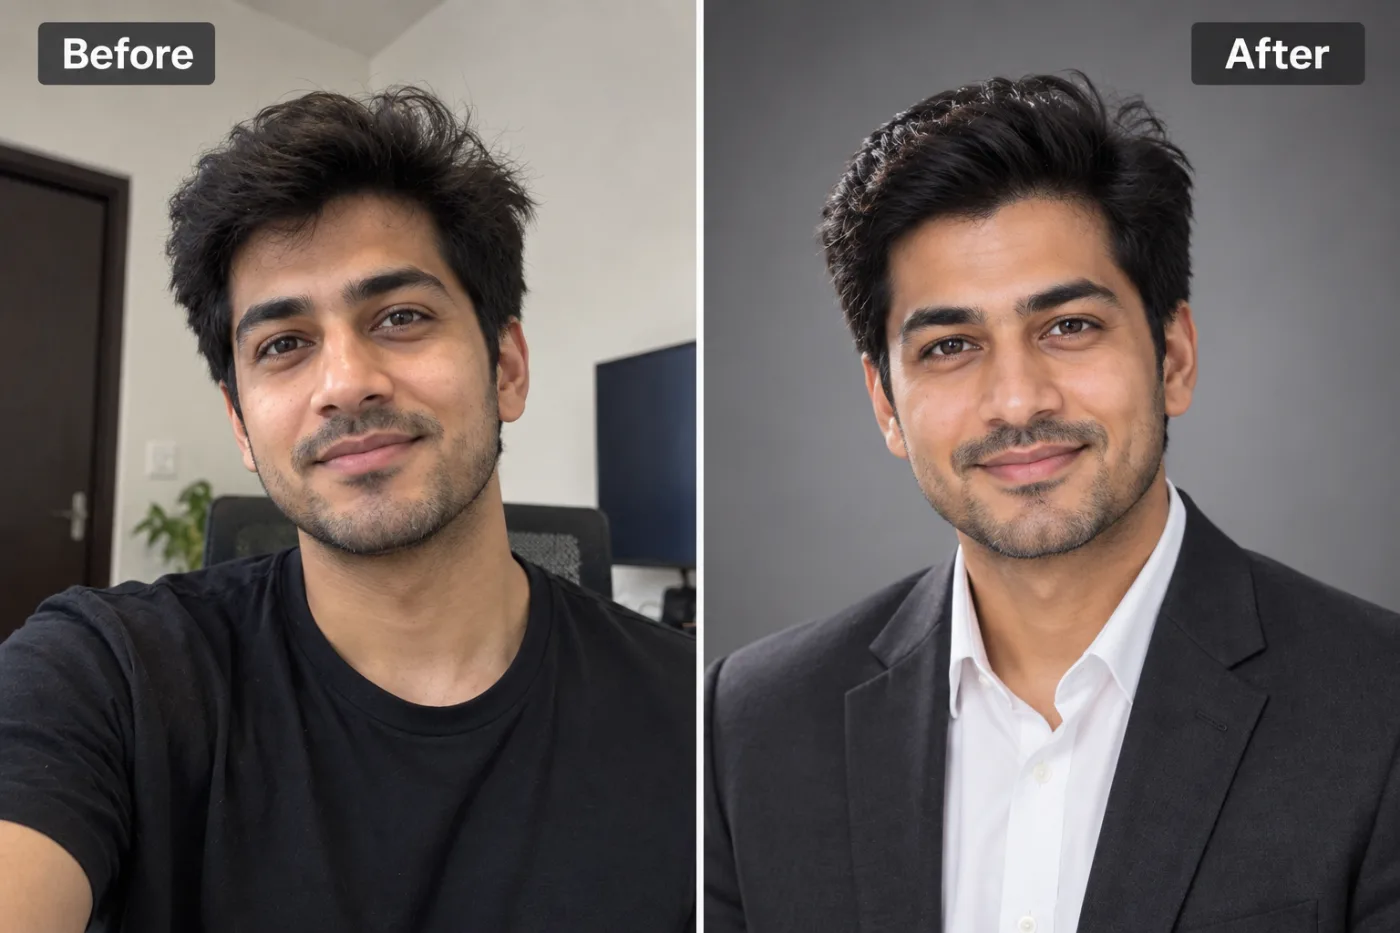
Compressed, blurry profile pictures look unprofessional. Here's how to sharpen and upscale your PFP for free with AI.
Learning how to enhance and unblur your profile picture for free can instantly upgrade how you appear across every platform you use. Your profile picture is your digital handshake, it's the first thing people see on LinkedIn, Instagram, dating apps, gaming profiles, work tools like Slack, and countless other services. Yet so many profile photos are let down by the same problems: they're blurry, low-resolution, pixelated after being cropped and re-uploaded, or simply soft because they were captured in poor lighting. A great photo of you can be ruined by the compression and resizing that happens every time an image gets uploaded and shared.
Pixel Shine fixes this in seconds. Using its AI upscaler, you can sharpen, unblur, and enhance the quality of your profile picture for free, with no watermark and no sign-up required for the Normal mode. Whether your photo is blurry from a low-res source, pixelated from over-compression, or just not crisp enough to look professional, AI enhancement can recover detail and clarity that make you look your best. In this tutorial, you'll learn exactly how to enhance a profile picture, the settings that matter, and pro tips to get a sharp, high-quality result that stands out across every platform.
Why Profile Pictures End Up Blurry
Blurry profile pictures are almost universal, and understanding the causes helps you both fix and prevent them.
Platform compression. Every time you upload a photo, platforms like Instagram, LinkedIn, and Facebook compress it to save bandwidth. Repeated uploads and downloads stack this compression, degrading quality with each cycle. That's why a photo saved from one app and re-uploaded to another often looks noticeably worse.
Cropping and resizing. When you crop a small section of a larger photo to use as a headshot, you throw away pixels. The resulting tight crop is lower resolution and appears soft or pixelated when displayed at full profile size.
Low-quality source photos. Screenshots, old images, photos pulled from group shots, or pictures taken on older phones simply don't have enough resolution to look sharp as a modern profile picture.
Poor capture conditions. Low light causes cameras to raise ISO, adding noise, and slower shutter speeds introduce motion blur. Both leave you with a soft, grainy starting image.
Wrong display size. A small image stretched to fill a large profile frame looks blurry simply because it's being enlarged beyond its native resolution.
The common thread is a lack of resolution and sharpness. AI upscaling directly targets this by intelligently increasing resolution and reconstructing detail, turning a soft or pixelated photo into a crisp one.
How Pixel Shine Unblurs and Enhances Profile Pictures
Pixel Shine enhances profile pictures using AI upscaling that increases resolution while reconstructing sharp detail, effectively unblurring soft images and cleaning up pixelation. Rather than a basic sharpen filter that just increases edge contrast (and often adds artifacts), the AI genuinely rebuilds detail based on what it has learned from millions of high-quality images.
Resolution enhancement. The AI enlarges your photo 2x or 4x while adding believable new detail, so a small, soft crop becomes a larger, crisp image suitable for any profile frame.
Face sharpening. Because profile pictures are almost always portraits, the AI's face-aware processing is especially valuable, it reconstructs eyes, skin texture, and hair, the features people focus on, making you look clear and defined.
Noise and pixelation cleanup. Compression artifacts, grain from low-light capture, and pixelation from over-cropping get intelligently smoothed away without losing genuine detail.
Pixel Shine's Normal upscale mode is free, unlimited, and requires no sign-in, making it perfect for quickly enhancing a profile picture. For a particularly low-quality photo, the Pro AI mode applies deeper reconstruction using credits. Best of all, there's never a watermark, so your enhanced profile picture is ready to upload immediately, looking noticeably sharper than the original everywhere you use it.
Step-by-Step: Enhance Your Profile Picture
Follow these steps to unblur and enhance your profile picture with Pixel Shine.
1. Choose the best available source photo. Start with the highest-resolution version you have. If you're cropping from a larger image, crop before uploading so the AI enhances the exact area you'll use.
2. Go to Pixel Shine and open the Upscaler. The Normal mode needs no account, so you can begin right away.
3. Upload your profile picture. Drag and drop or click to browse. JPG and PNG files work well.
4. Select the Normal upscale mode. Choose 2x for a photo that's only slightly soft, or 4x for a small, blurry, or heavily pixelated image that needs more enlargement.
5. Run the enhancement. The AI processes your photo in seconds, boosting resolution, sharpening your face, and cleaning up noise and compression artifacts.
6. Compare the before and after. Zoom into your eyes and facial features to confirm the sharpening looks natural and improved.
7. Try Pro mode if needed. For a very low-quality source, run the Pro AI mode and compare the deeper reconstruction against the Normal result.
8. Download the enhanced image. Save the full-resolution, watermark-free photo.
9. Upload to your platforms. Set the enhanced image as your profile picture on LinkedIn, Instagram, Slack, or wherever you need it. Because it's sharper and higher-resolution, it will survive platform compression better and display crisply.
Pro Tips for Sharper Profile Pictures
Crop before you enhance, not after. If you enhance a full photo and then crop tightly, you discard much of the detail the AI just added. Crop to your final composition first, then upscale, so all the enhancement goes into the pixels you'll actually display.
Match the upscale level to the blur. Use 2x for lightly soft photos and 4x for very small or heavily pixelated ones. Over-upscaling a decent image can look artificial, so choose the minimum level that achieves sharpness.
Enhance last, after any other edits. Do any background removal, color adjustments, or filters first, then run the upscale as the final step so it sharpens your finished composition.
Upload the highest resolution the platform allows. After enhancing, upload the full-resolution file rather than a downsized copy. A larger, sharper source resists the platform's compression better and stays crisp.
Re-enhance if a platform re-compresses it. If a platform noticeably softens your photo after upload, you can enhance the original again and try uploading at a different size to preserve clarity.
Use Pro mode for your most important profiles. For a LinkedIn or professional headshot where sharpness really counts, use Pro AI for the deepest reconstruction, and save the free Normal mode for casual profiles.
Common Mistakes to Avoid
Enhancing then cropping. As noted, cropping after enhancing wastes the added detail. Always crop to your final profile composition before running the upscaler.
Starting from an already-compressed screenshot. Screenshots of photos are lower quality than the originals. Whenever possible, find and use the original high-resolution image rather than a screenshot, so the AI has more to work with.
Over-sharpening into an artificial look. Pushing to maximum upscale on a photo that only needed a light touch can produce an over-smoothed, plasticky face. Start conservative and increase only if needed.
Ignoring platform size requirements. Uploading a photo far larger or smaller than a platform's recommended dimensions can trigger heavy re-compression. Aim to match the platform's suggested profile picture size with your enhanced file.
Not keeping the enhanced original. Save your enhanced high-resolution version so you can re-upload it to new platforms later without redoing the whole process, and so you always have a crisp master copy.
Real-World Use Cases
Professional networking. People sharpen a slightly soft LinkedIn photo to look more polished and credible to recruiters and connections, without needing a new photo shoot.
Dating profiles. Users enhance their best but slightly blurry photos so they look clear and attractive across dating apps, where photo quality strongly influences first impressions and match rates.
Social media across platforms. Content creators and everyday users enhance a single great photo so it stays sharp when uploaded to Instagram, X, TikTok, and other platforms that each apply their own compression.
Work and team tools. Employees enhance their avatars for Slack, Microsoft Teams, and internal directories so they appear professional in daily workplace communication.
Gaming and community profiles. Gamers and forum members sharpen avatars and profile images so their online identity looks crisp and high-quality across Discord, Twitch, and community sites.
Enhancing vs. Retaking Your Photo
When your profile picture looks blurry, you have two options: enhance the existing photo or take a new one. Here's how to decide.
When enhancing wins. If you have a photo you genuinely like, a great expression, good composition, a flattering moment, but it's let down by softness, compression, or a low-resolution crop, AI enhancement is the clear choice. You keep everything you love about the shot and just fix the technical quality, in seconds, for free.
When retaking makes sense. If the underlying photo has problems AI can't fix, like your eyes are closed, the framing is wrong, or it's simply outdated, no amount of enhancement will help. In that case, take a fresh photo, ideally in soft natural light, then enhance that new photo for maximum sharpness.
The best of both. The ideal workflow is to capture a good photo in decent conditions, then run it through the AI upscaler as a finishing step. Even a solid photo benefits from enhanced resolution and face sharpening, especially since every platform will compress it after upload. Rather than treating enhancement as only a rescue tool, use it routinely as the final polish on any profile picture, new or old, to ensure you always look your sharpest online.
Who Enhances Profile Pictures and Why
Job seekers and professionals enhance their LinkedIn and networking photos to look polished and credible, knowing a sharp headshot influences how recruiters and clients perceive them.
Dating app users sharpen their best photos to make strong first impressions, since image quality directly affects engagement.
Content creators and influencers enhance profile images so their personal brand looks crisp and professional across every platform they're active on.
Remote employees improve their avatars for workplace tools so they present well in daily virtual interactions with colleagues and clients.
Everyday social media users simply want their profile picture to look its best on Instagram, Facebook, and beyond. Across all these groups, the shared goal is the same: turning a soft, blurry, or pixelated photo into a sharp, high-quality image that makes a great impression, quickly and for free.
Frequently Asked Questions
Can I unblur my profile picture for free?Yes. Pixel Shine's Normal upscale mode sharpens and enhances profile pictures for free, unlimited, with no sign-up and no watermark. For very low-quality photos, the Pro AI mode offers deeper reconstruction.
Does AI really unblur a photo, or just sharpen edges?AI upscaling genuinely reconstructs detail as it increases resolution, rather than just boosting edge contrast like a basic sharpen filter. This produces a more natural, truly clearer result, especially on faces.
Will enhancing add a watermark to my photo?No. Pixel Shine never adds watermarks, so your enhanced profile picture is ready to upload immediately.
Should I crop before or after enhancing?Crop first. Crop to your final profile composition, then enhance, so all the added detail goes into the pixels you'll actually display. Enhancing then cropping wastes quality.
Why does my photo look blurry again after uploading to Instagram?Platforms compress images on upload. Starting with a sharper, higher-resolution enhanced photo helps it survive compression better. You can also enhance again and try uploading at the platform's recommended size.
What upscale level should I choose?Use 2x for slightly soft photos and 4x for small, blurry, or heavily pixelated ones. Pick the minimum level that achieves the sharpness you want to keep the result natural.
Can I enhance a screenshot as my profile picture?You can, but screenshots are lower quality than originals. For the best result, use the original high-resolution photo rather than a screenshot so the AI has more detail to work with.
Does it work on my phone?Yes. Pixel Shine runs on your phone at Pixel Shine, so you can enhance and download your profile picture directly from your phone.
Key Takeaways
A blurry profile picture can undercut a great photo of you, but fixing it takes just seconds. AI upscaling unblurs soft images, cleans up compression and pixelation, and sharpens your face, so you look crisp and professional everywhere online. The keys are simple: crop to your final composition first, match the upscale level to how soft the photo is, enhance as the last step, and upload at the platform's recommended size so your photo survives compression.
Pixel Shine makes this free, fast, and watermark-free, with unlimited Normal enhancement and no sign-up required. Ready to upgrade your digital first impression? Head to Pixel Shine, upload your profile picture, and get a sharper you in seconds.