Instagram Photo Editor
Feed-ready colour and crop. Pick a style, choose a model, and download the result at full resolution with no watermark.
Pick a style on the left, then hit Apply. Your original stays untouched — you always see both.
How to use Instagram Photo Editor
Upload your image
JPG, PNG or WEBP. If the asset is going to be cropped several ways, start from the widest, highest-resolution version you have.
Choose the platform and shape
Square, portrait, wide, circle-safe, bold or minimal. The choice sets the ratio and where the subject sits inside it.
Download and post
Correct dimensions, full resolution, no watermark. It uploads without the platform re-cropping it for you.
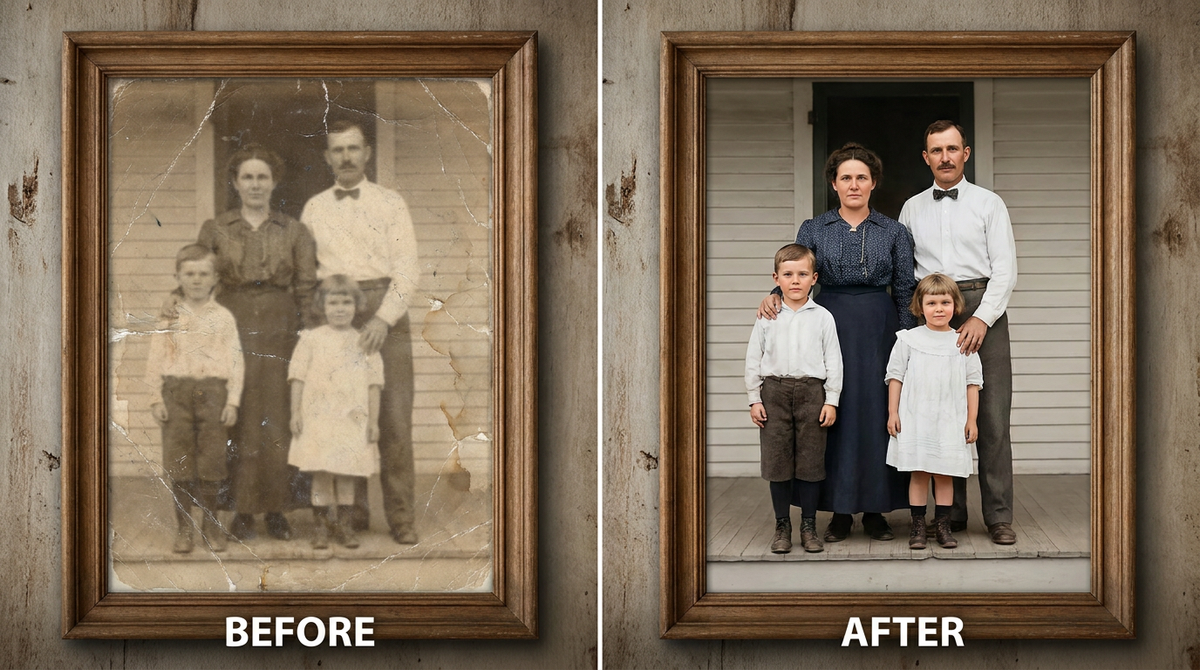
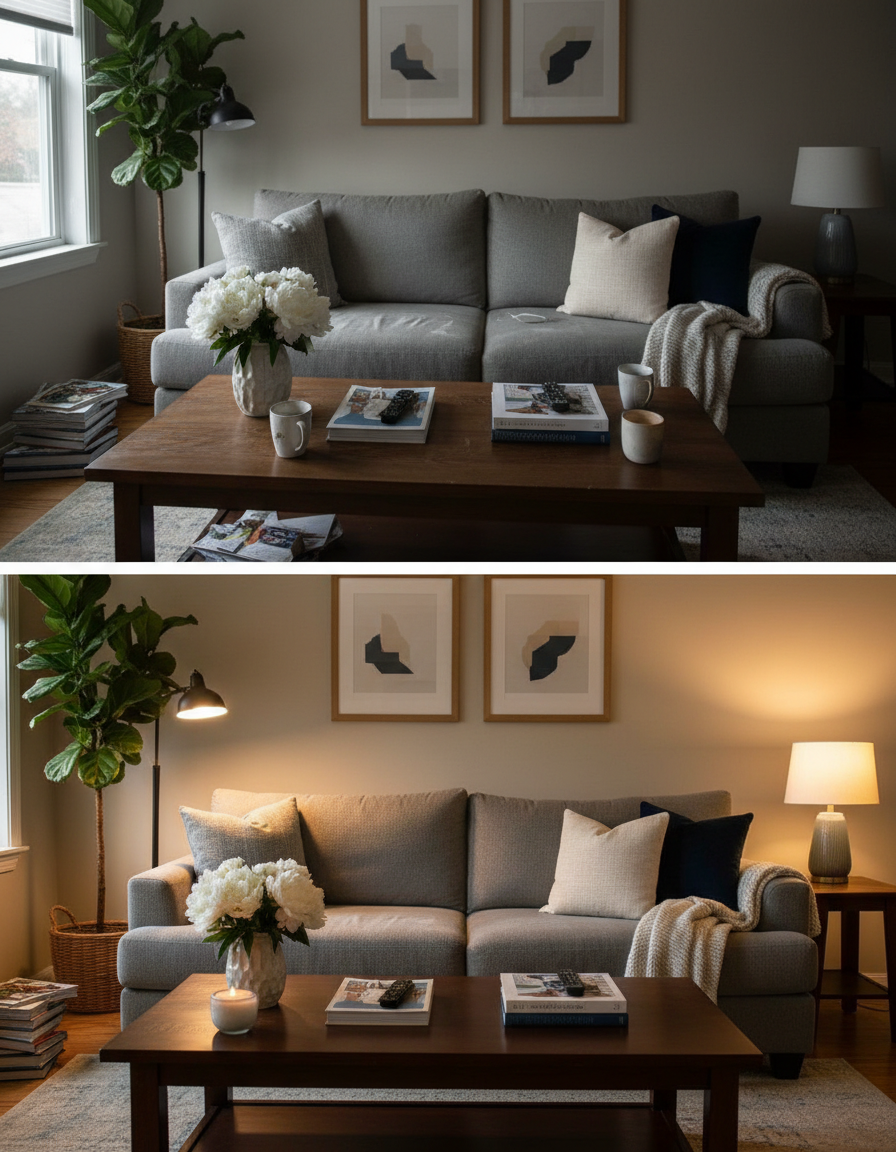
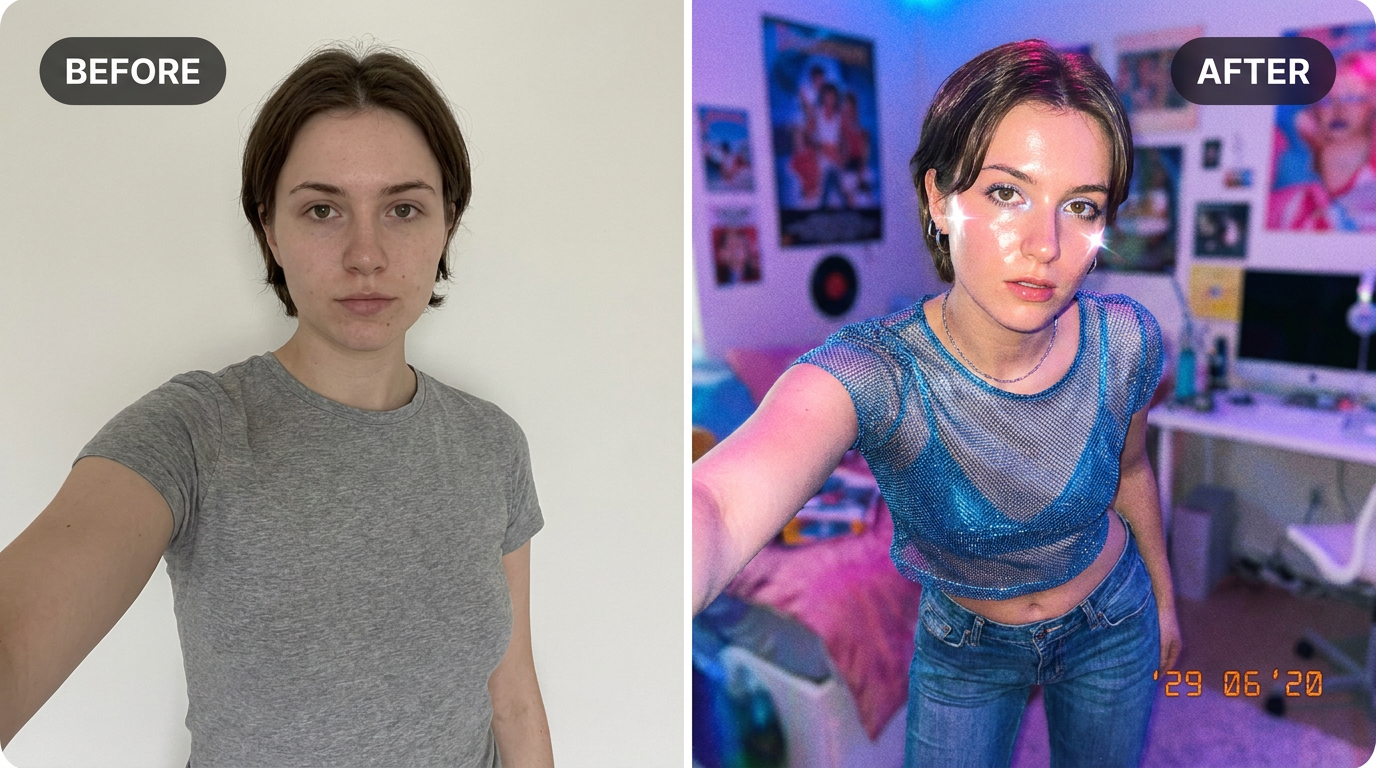
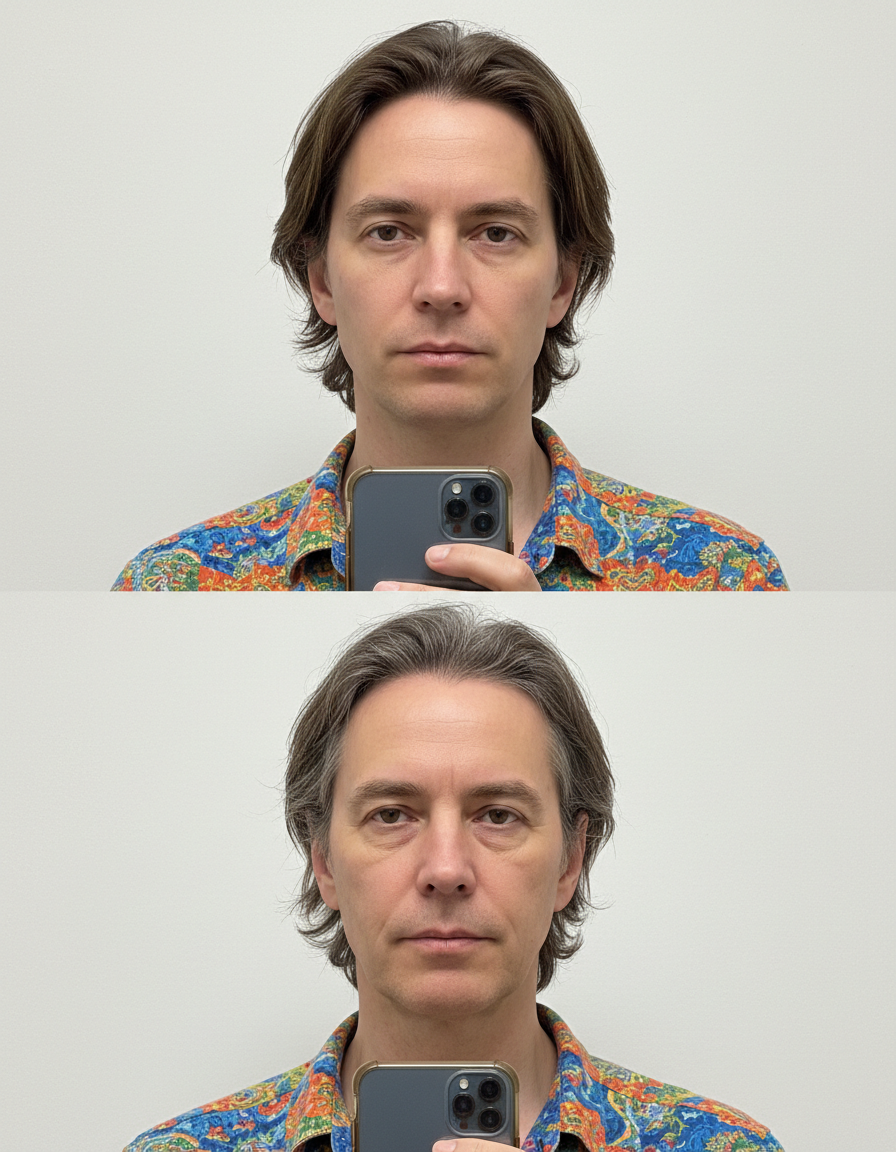
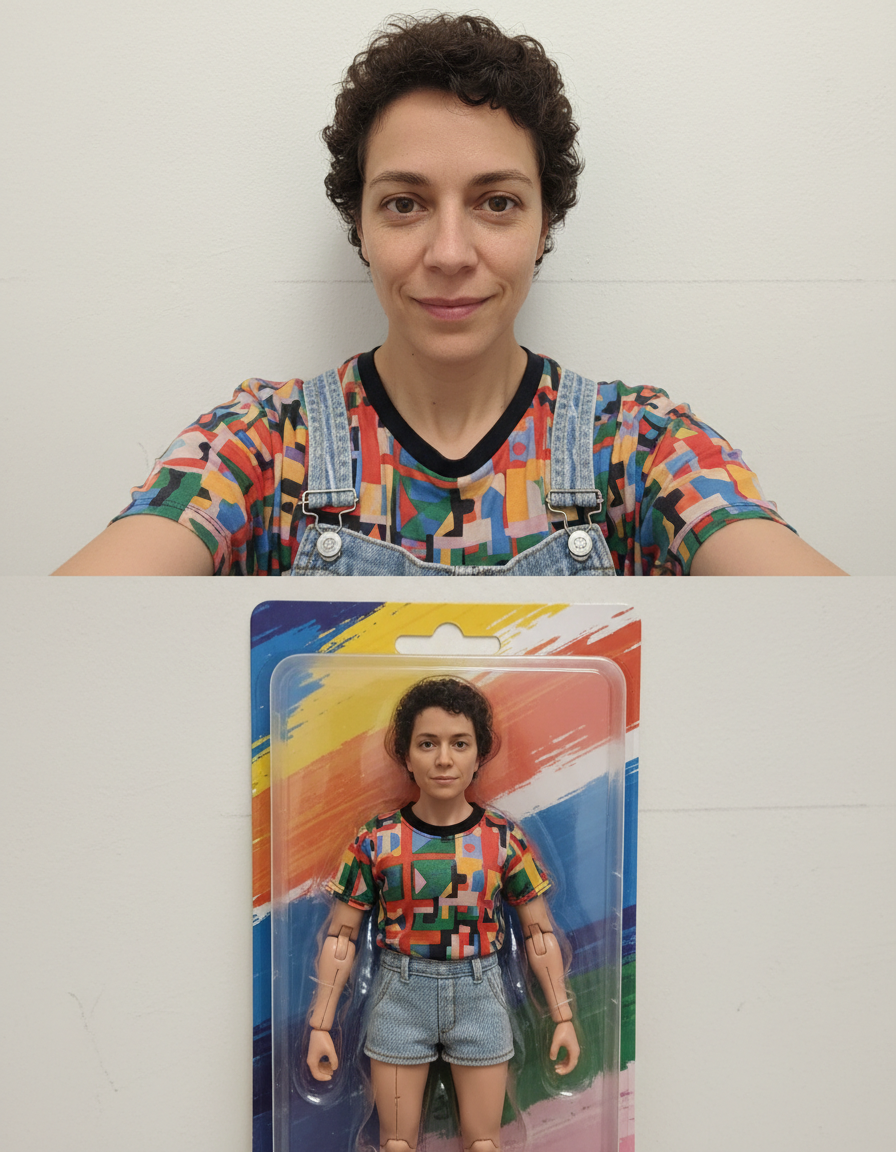
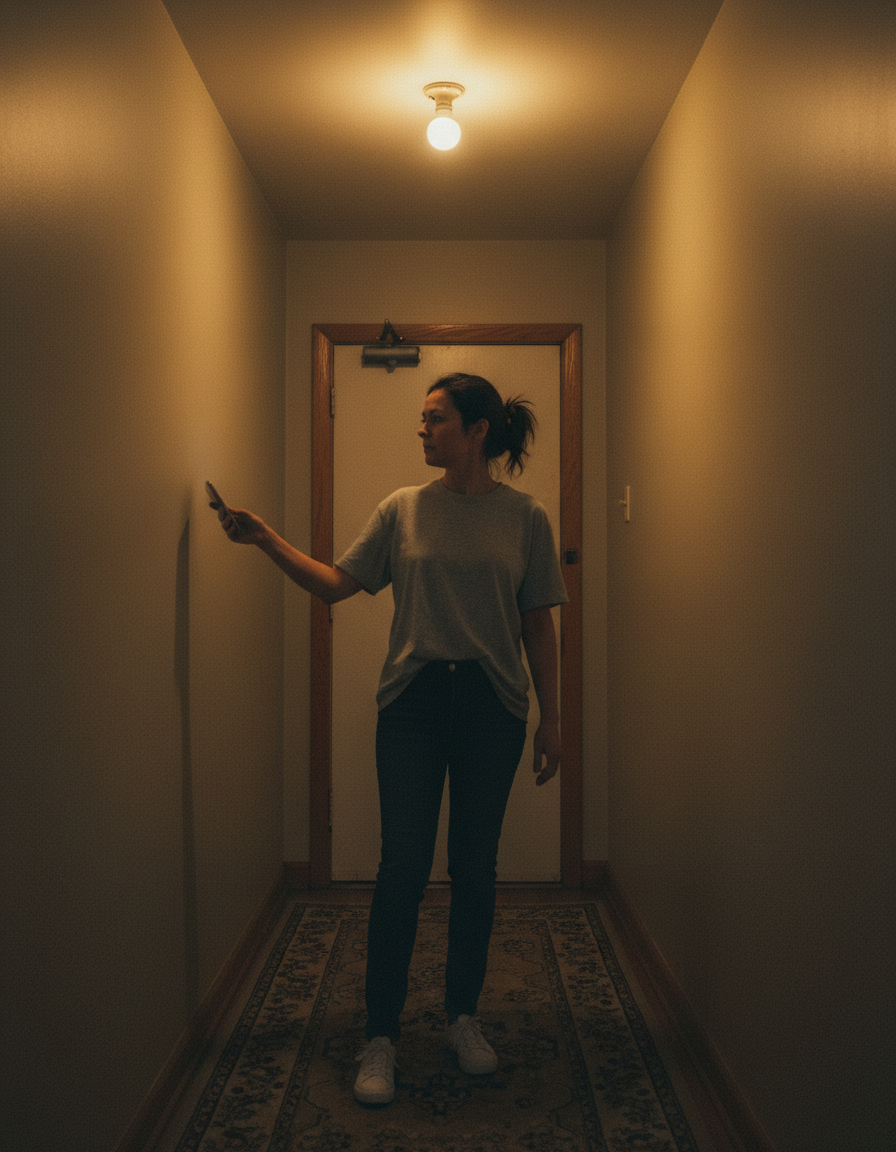
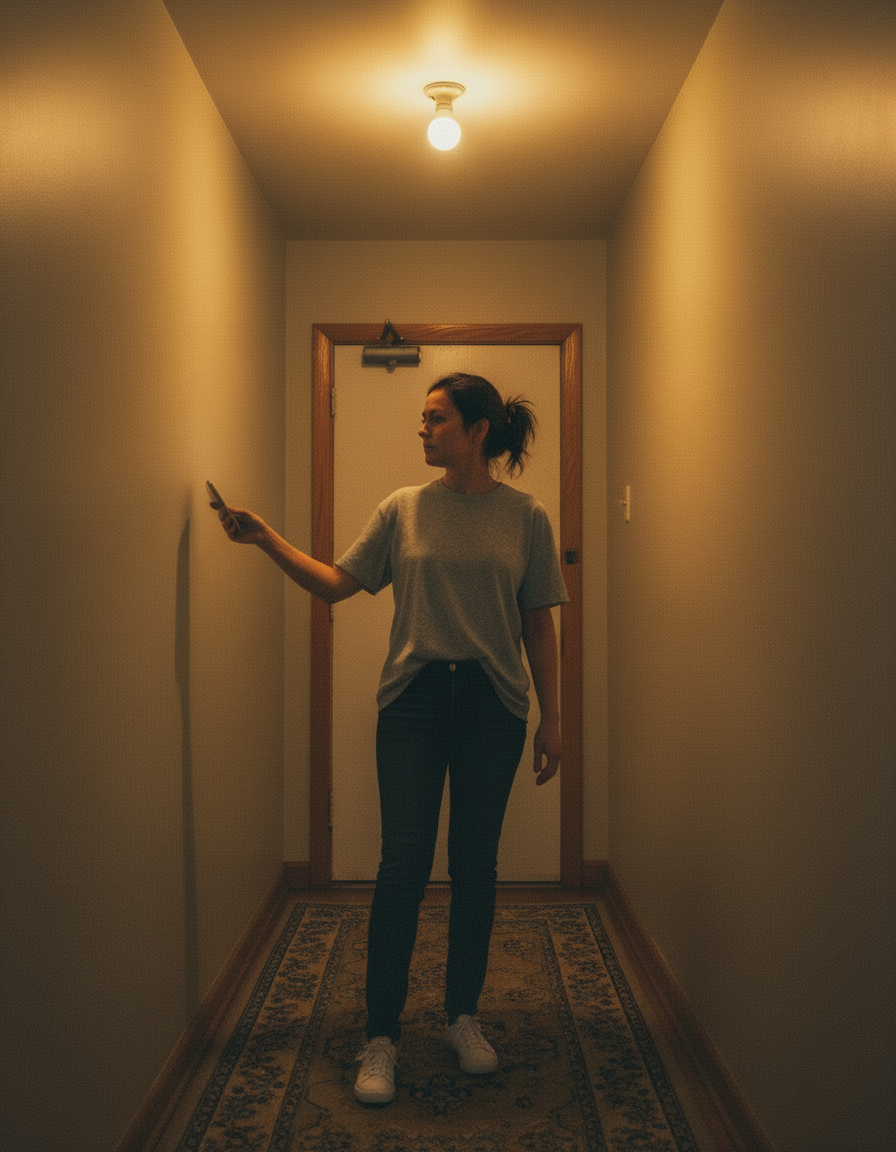
See it in action — real before & after
Why use Instagram Photo Editor
What Instagram Photo Editor does
Feed-ready colour and crop.
Correct dimensions per platform
The right ratio and pixel size, so the platform does not recompress and re-crop the image on upload.
Circle-safe composition
Avatars are masked to circles almost everywhere. Composing for that keeps the head centred and the corners expendable.
Safe areas respected
Cover images have a profile photo over one corner and buttons over another. The subject is placed clear of both.
Legible at thumbnail size
Most feed images are first seen very small. High contrast and a simple focal point are what survive that.
Room left for text
Deliberate empty space where a headline or caption goes, rather than a full-bleed image with nowhere to put type.
What Instagram Photo Editor changes
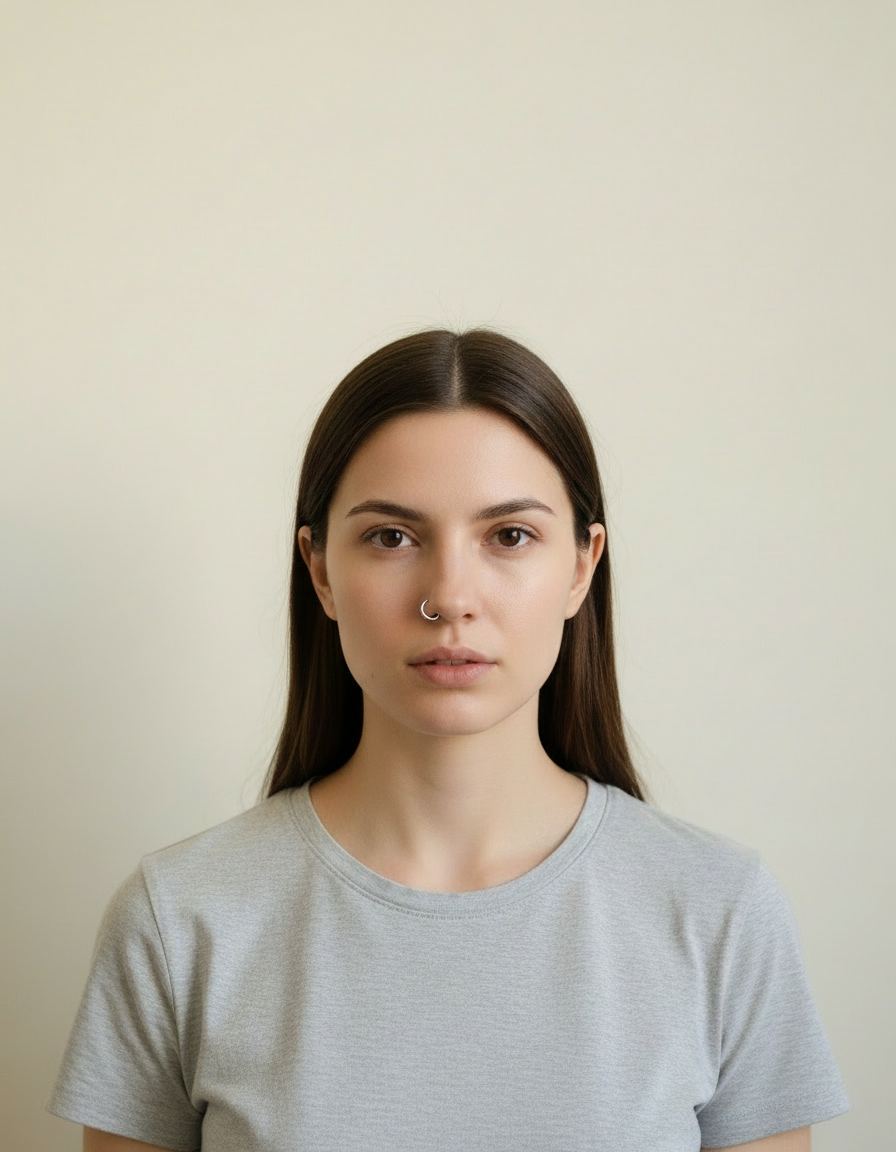
Edit this for an Instagram feed: a cohesive colour grade, lifted shadows with controlled highlights, crisp but natural detail, and a composition that works in a square or 4:5 crop.
Your face, bone structure and skin tone are held fixed on every generation — only what is described above is changed.
Instagram Photo Editor for every slot a profile has
A profile is a set of images with different jobs. Each one is cropped, masked and overlaid differently.
Profile pictures and avatars
Circle-safe, legible at 40 pixels, recognisable as the same person or brand across platforms.
Banners and cover images
Wide, composed around the elements the platform lays over them.
Feed posts
Square and 4:5, which is the ratio that occupies the most vertical space in most feeds.
Stories and reels covers
9:16 with the top and bottom left clear of interface chrome.
Key highlights of Instagram Photo Editor
Benefits
Fast enough to keep up
Social content is time-sensitive; this is minutes, not an afternoon.
No watermark
Nothing overlaid, at full resolution.
Credits never expire
One purchase, used whenever the next post needs an image.
Nothing to install
It runs in the browser on a phone or a laptop. No desktop app, no plugin, no account needed to look around.
No subscription
Credits are a one-time purchase, they never expire, and nothing renews on its own. Buy once and use them whenever.
What people use it for
What it is mainly used for
Feed-ready colour and crop. Pick a style, choose a model, and download the result at full resolution with no watermark.
Video thumbnails
The image that determines whether a video is clicked, with space for a few large words.
Event and launch announcements
The same announcement in every ratio each platform needs.
Link preview cards
The image that shows up when a page is shared, which is often the first thing anyone sees of a site.
Ad creative variants
Several ratios and crops of one concept, for testing across placements.
Prompt ideas
Say where the subject should sit and where the text is going. Social composition is mostly about reserving space, and a prompt that does not mention the text is the reason the headline ends up over someone's face.
Set the ratio explicitly
"9:16 vertical" or "1200x630". Pick it before generating; cropping afterwards loses part of the frame.
Keep the brand colours
"Use a deep orange and near-black palette" keeps a set of assets looking related.
Avoid generated text
Ask for space for text rather than for text itself — generated lettering is still unreliable, and real type will always look better.
Be concrete, not complimentary
"Soft light from the left, plain grey background" gives the model something to act on. "Beautiful, high quality, 8k" gives it nothing at all.
Change one thing at a time
If a result is close, edit a single detail and run it again. Rewriting the whole prompt gives you an unrelated image and no information about what the change did.
Say what must not change
A short exclusion — "do not change the face", "keep the label text" — is often more effective than any amount of positive description.
More about Instagram Photo Editor
Every platform wants a different shape, and getting it wrong is expensive in a way that is easy to miss. A square image on a vertical feed wastes half the screen. A banner sized for one platform gets its subject cropped out by another. A profile picture composed as a rectangle loses the top of someone's head the moment it is masked into a circle. Instagram Photo Editor produces the right shape with the subject where it needs to be.
The work is composition rather than decoration. Knowing that a circular avatar crops the corners, that a cover image is overlaid by a profile photo in the lower left, that a story has interface elements across the top and bottom — those constraints decide where the subject and any text can actually go. Producing the right pixel dimensions is the easy half.
Upload, pick the platform and the shape, and download. Each generation costs 2 credits from a one-time pack, so producing the same asset in four ratios is a few cents rather than an afternoon in a design tool.
Getting the best result from Instagram Photo Editor
- Keep the original file. It is a better base for the next attempt than a generated image is.
- For a matching set, keep the same source photo and style and change only one variable.
- Nothing you upload is published, shared or added to a gallery — but do not upload anything you would not want to leave your device at all.
- The free on-device tools — compress, convert, crop, resize, rotate — cost no credits, so use them for mechanical work.
- If a result is nearly right, say what is wrong with it in the next run rather than starting over.
- Start from the widest, highest-resolution source you have if the asset will be cropped several ways.
- Choose the ratio before generating rather than cropping afterwards.
- For avatars, keep the head centred and treat the corners as expendable — they will be masked off.
It's free to try and runs online — nothing to install. Explore the rest of our AI Creative Apps, or open the full AI photo editor for more control.