B&W to Color Converter
Bring monochrome photos to life. Pick a style, choose a model, and download the result at full resolution with no watermark.
Pick a style on the left, then hit Apply. Your original stays untouched — you always see both.
How to use B&W to Color Converter
Scan or photograph the print
A flatbed scan at 600 dpi is ideal. A phone photo works: lay the print flat, use indirect daylight, avoid your own shadow and any glare from the surface.
Choose the repair
Repair damage, correct faded colour, colourise a black-and-white original, or describe what the photo needs in a sentence.
Compare and download
Check the result against the scan at full size, then download at full resolution. Keep both — the scan is the document, the restoration is the reading of it.
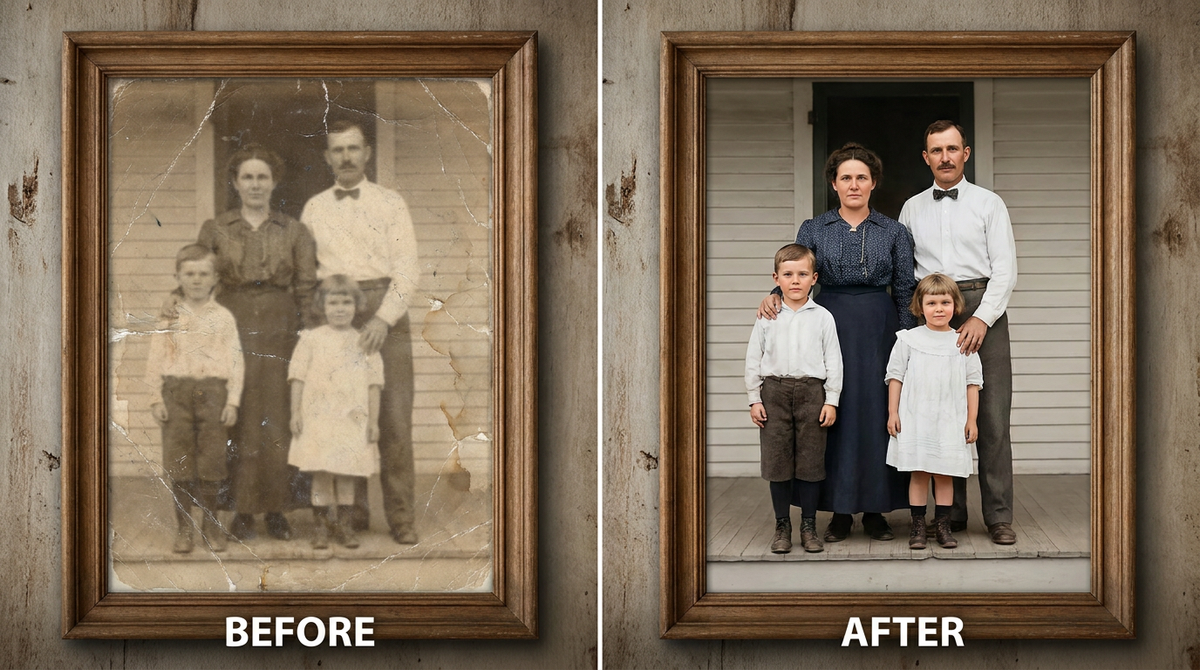
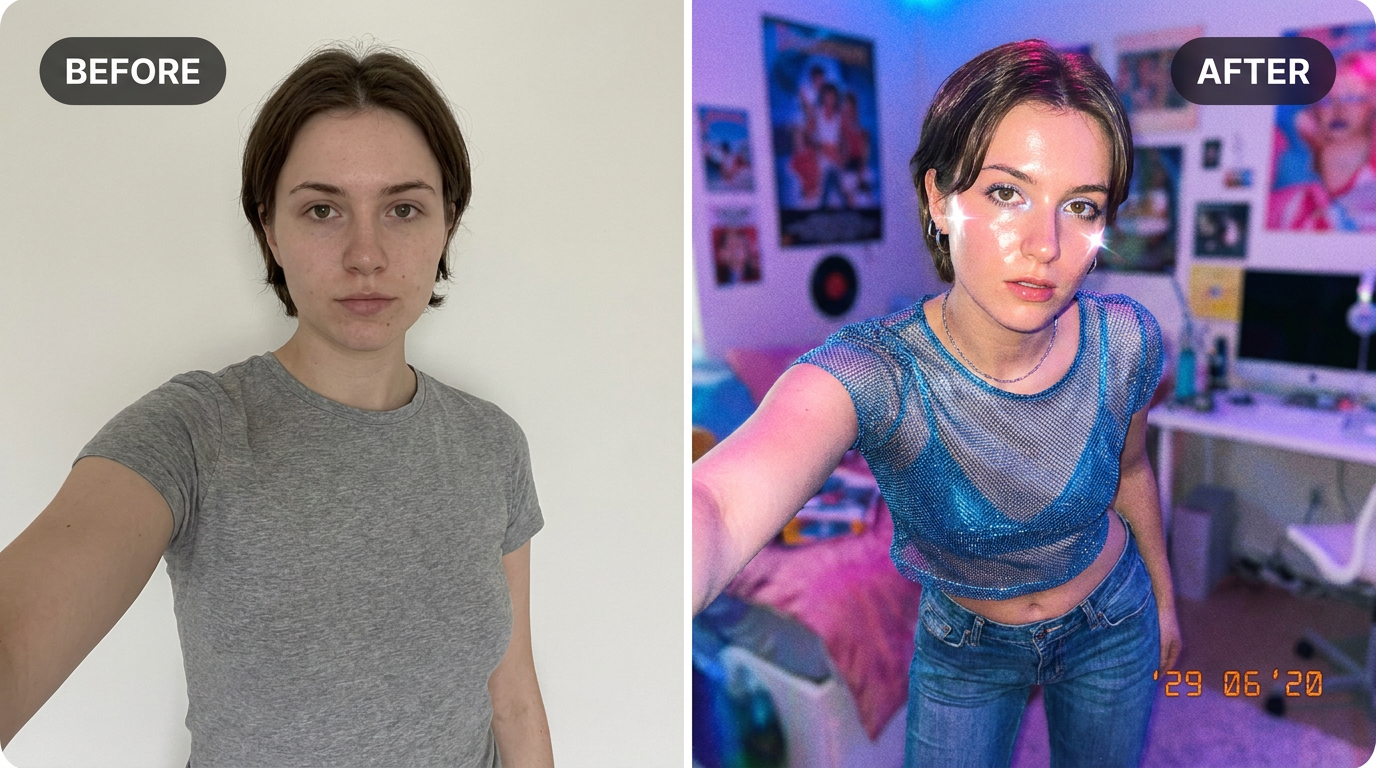
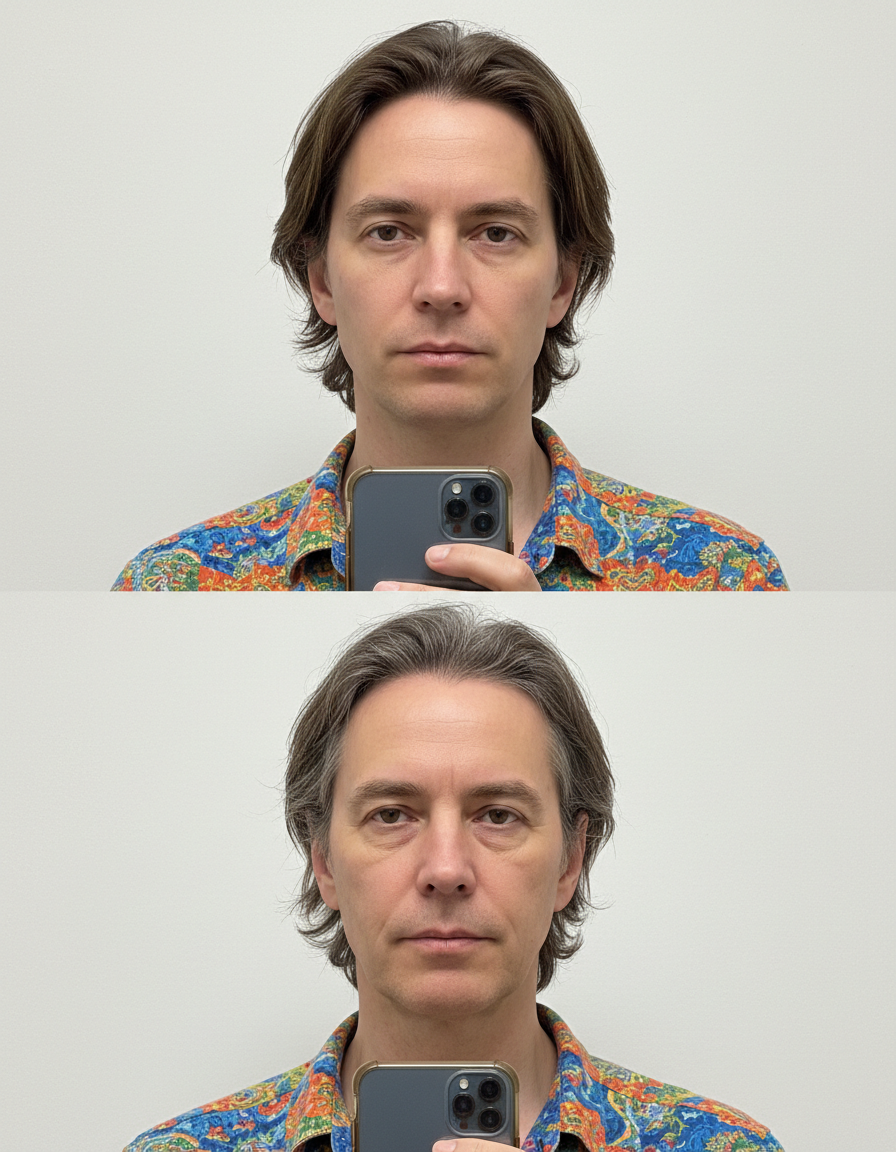
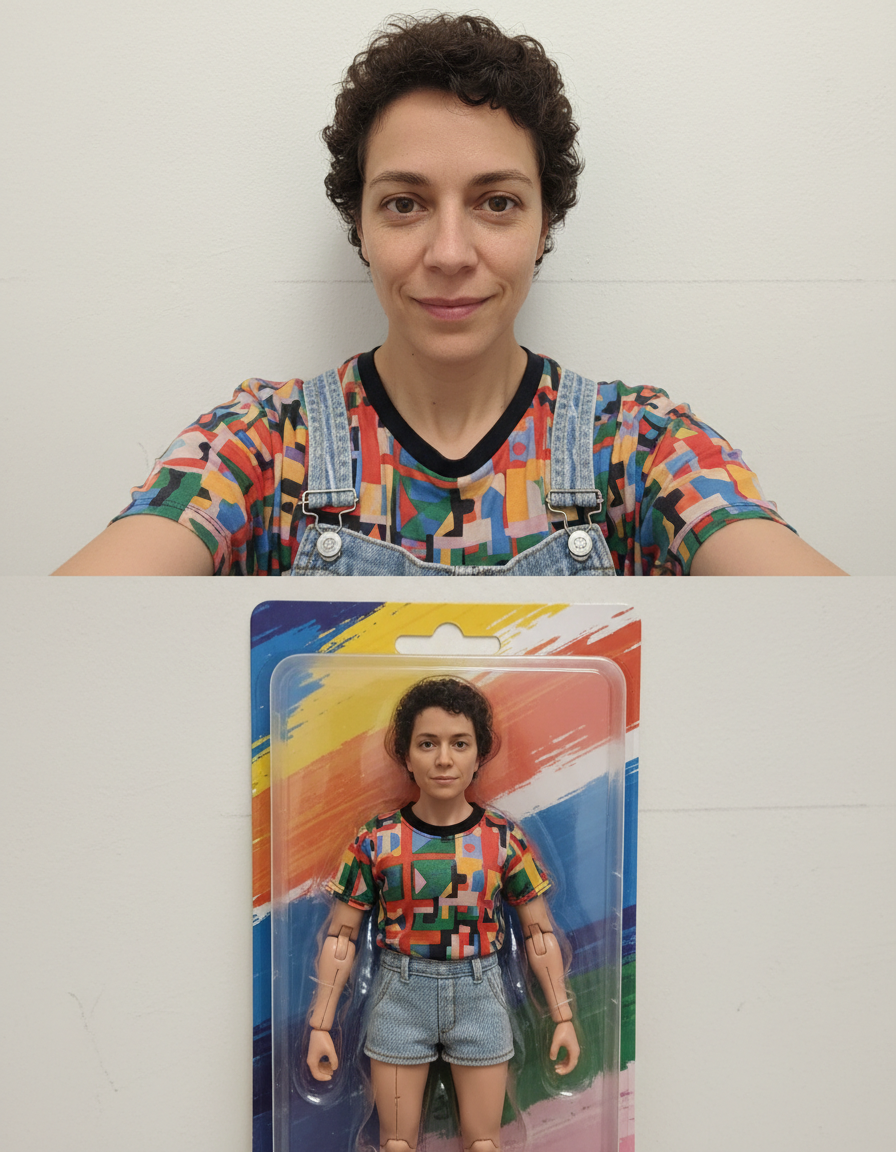
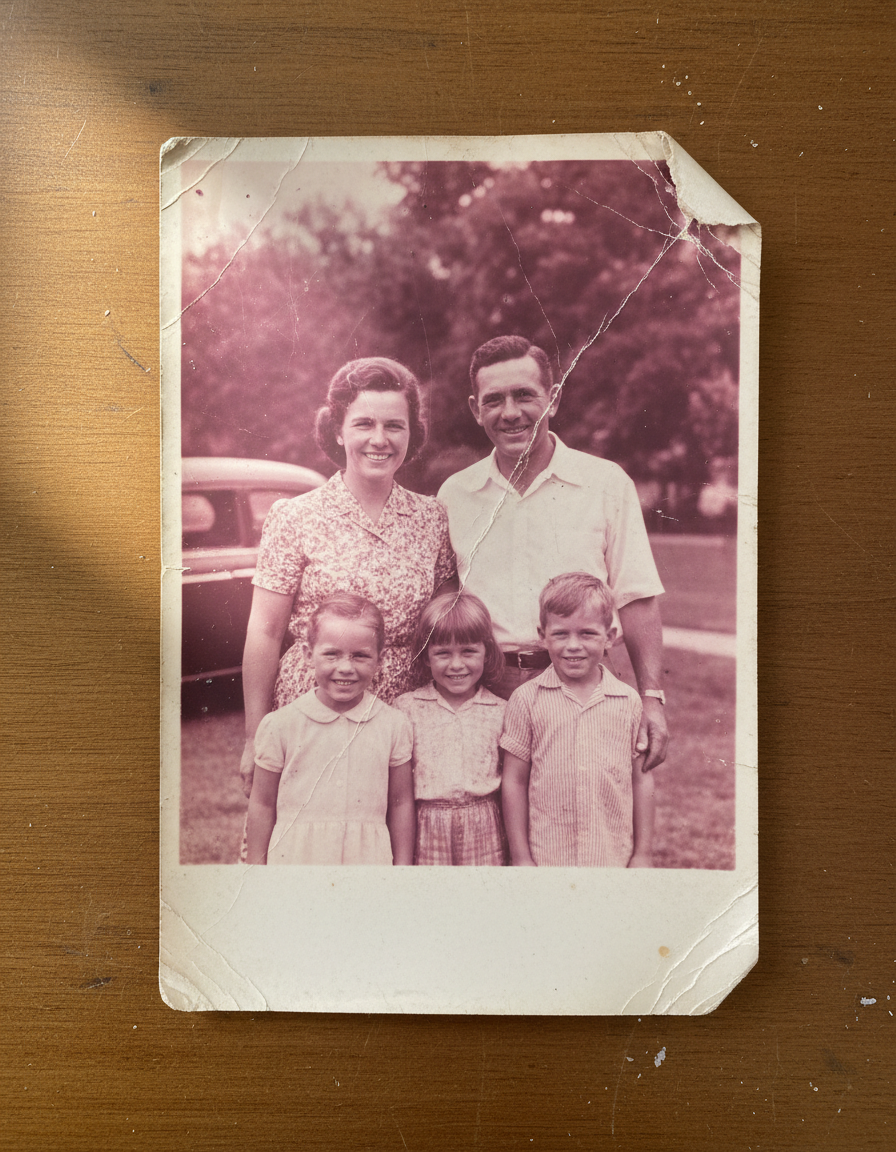
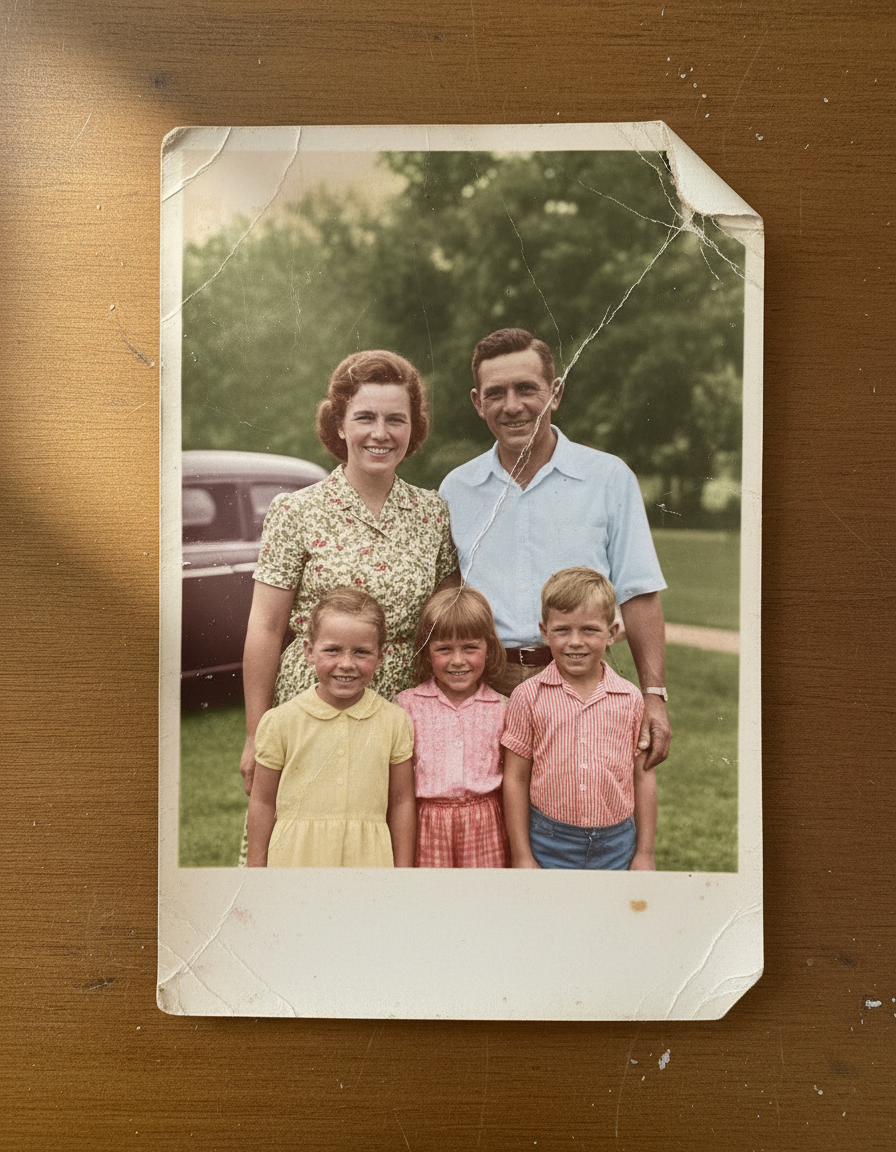
See it in action — real before & after
Why use B&W to Color Converter
What B&W to Color Converter does
Bring monochrome photos to life.
Grain and noise handled properly
Film grain is reduced without smearing away the fine detail that sits at the same scale — the usual failure of automatic denoising.
Colourisation available
Black-and-white originals can be colourised with period-plausible tones, and the monochrome version is still there afterwards.
Print-ready resolution
Enough resolution to reprint and frame, which is what most people restoring a photo intend to do with it.
The original is never altered
Your scan stays on your device untouched. The restoration is a separate file.
Physical damage repaired
Cracks, tears, creases, scratches and missing corners reconstructed from the surrounding image rather than blurred over.
What B&W to Color Converter changes
Add natural colour to this monochrome image, keeping the tonal structure of the original intact and choosing restrained, believable colours rather than saturated guesses.
Your face, bone structure and skin tone are held fixed on every generation — only what is described above is changed.
B&W to Color Converter for the damage prints actually have
Different decades fail differently. A 1940s silver print, a 1975 colour snapshot and a 1998 disposable-camera photo each need a different repair.
Very small or low-resolution scans
Photos that exist now only as a small digital copy, sharpened and enlarged as far as the data honestly allows.
Damaged group and wedding photos
Often the only surviving image of several people, which makes conservative face reconstruction the priority.
Torn and creased prints
Fold lines, corner losses and surface scratches from decades in an envelope or an album.
Faded colour from the 60s to the 80s
Dye layers fade at different rates, which is why these photos go magenta. Reversing the shift is the single biggest improvement available.
Key highlights of B&W to Color Converter
Benefits
No subscription
A one-time credit pack, credits that never expire, and no renewal.
Nothing to install
It runs in the browser on a phone or a laptop. No desktop app, no plugin, no account needed to look around.
Two models to choose from
Nano Banana and GPT Image handle the same job differently. If one result is not right, the other model often is.
Every aspect ratio
Square, 4:5, 9:16, 16:9 and more, chosen before generating so nothing important gets cropped away afterwards.
Full resolution, no watermark
The download is the full generated image with nothing overlaid — usable in print, in a listing or commercially.
What people use it for
What it is mainly used for
Bring monochrome photos to life. Pick a style, choose a model, and download the result at full resolution with no watermark.
Damaged wedding albums
Albums from the 70s and 80s where the adhesive pages have discoloured the prints themselves.
Reprinting for a frame
A restored file at print resolution, sent to any printing service.
Family photos from a loft box
The most common case by a wide margin: a shoebox of prints nobody has looked at in twenty years.
A single surviving photo of a relative
Where the photograph is the only image that exists of someone, restoration is worth doing carefully.
Prompt ideas
Describe the damage you can see and say what must not change. Restoration prompts fail when they are ambitious — asking for a photo to be "improved" invites the model to make a new one.
Address grain deliberately
"Reduce grain but keep detail in the fabric and hair" gets a better result than asking for it to be removed.
Mention the background separately
"Repair the water stain in the upper right of the background" isolates a fix that would otherwise affect the whole frame.
One area at a time
Repair the worst damage first, look at the result, then address the next. Compound requests compound the errors.
Be concrete, not complimentary
"Soft light from the left, plain grey background" gives the model something to act on. "Beautiful, high quality, 8k" gives it nothing at all.
Change one thing at a time
If a result is close, edit a single detail and run it again. Rewriting the whole prompt gives you an unrelated image and no information about what the change did.
Say what must not change
A short exclusion — "do not change the face", "keep the label text" — is often more effective than any amount of positive description.
More about B&W to Color Converter
There is an important distinction between restoration and improvement, and it is worth holding onto. Restoration returns a photograph to what it looked like when it was made; improvement makes a nicer picture. Where damage destroyed information entirely, what fills the gap is inference, and it should be recognised as such.
The practical bottleneck is almost never the model — it is the scan. A 600 dpi flatbed scan of a print, taken out from behind glass, gives a result that a phone photo shot at an angle in a lit room cannot approach, however good the restoration is.
Photographic prints fail in predictable ways. The emulsion cracks along a fold, silver-based blacks fade to brown, colour dyes from the 1970s shift magenta, and anything stored in a loft gains water stains and a curl that cannot be flattened. B&W to Color Converter addresses that damage from a phone photo or a flatbed scan of the print.
Getting the best result from B&W to Color Converter
- For faded colour, correct the cast before attempting anything else.
- Keep the unaltered scan permanently. It is the actual document; the restoration is an interpretation.
- Expect plausible reconstruction where damage destroyed detail, and look closely before treating those areas as recovered fact.
- For badly damaged photos, two conservative passes beat one aggressive one.
- If a face comes back wrong, re-run rather than accept it — variation between runs is significant on damaged sources.
- Start from the largest, least compressed original you have — a screenshot of a photo has already lost detail that cannot be recovered.
- Soft, even light in the source photo gives the best result almost regardless of what you are generating.
- Judge every result at full size, not zoomed out. Problems hide at small sizes.
It's free to try and runs online — nothing to install. Explore the rest of our AI Creative Apps, or open the full AI photo editor for more control.