Blemish Remover
Clear spots without erasing skin texture. Pick a style, choose a model, and download the result at full resolution with no watermark.
Pick a style on the left, then hit Apply. Your original stays untouched — you always see both.
How to use Blemish Remover
Upload the photo
Any JPG, PNG or WEBP. The more resolution the original has, the more the retouch has to work with — detail cannot be invented from a heavily compressed file.
Choose the fix
Pick the correction you need, or describe it in a sentence. Being specific about what to change, and what to leave alone, is most of the skill.
Compare, then download
Check the original against the result at full size before you commit. Download is full resolution, no watermark.
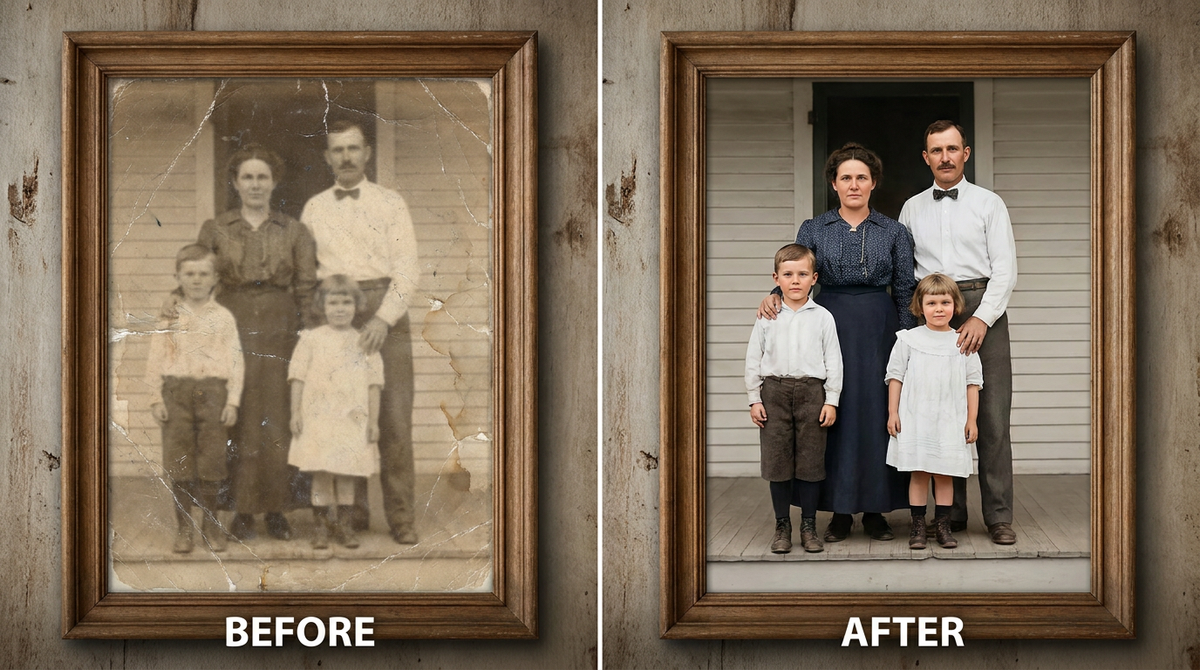
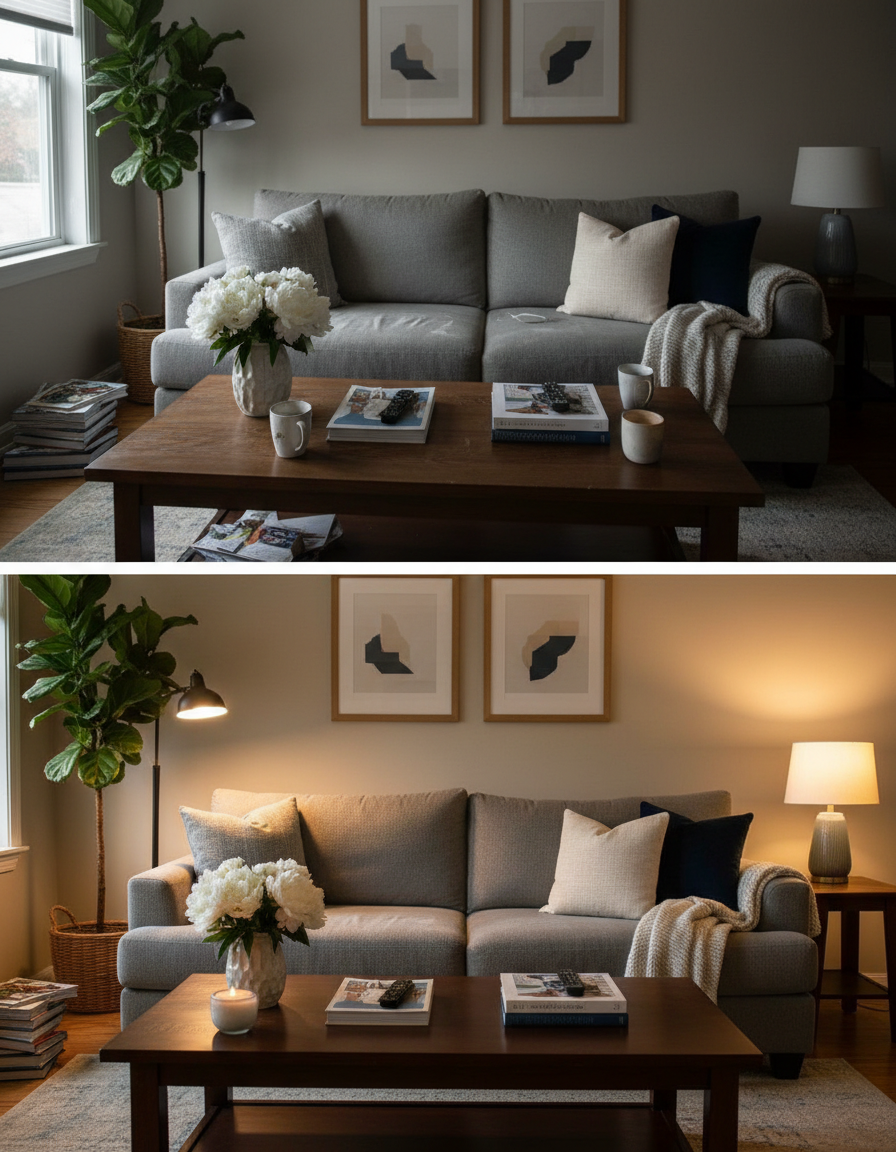
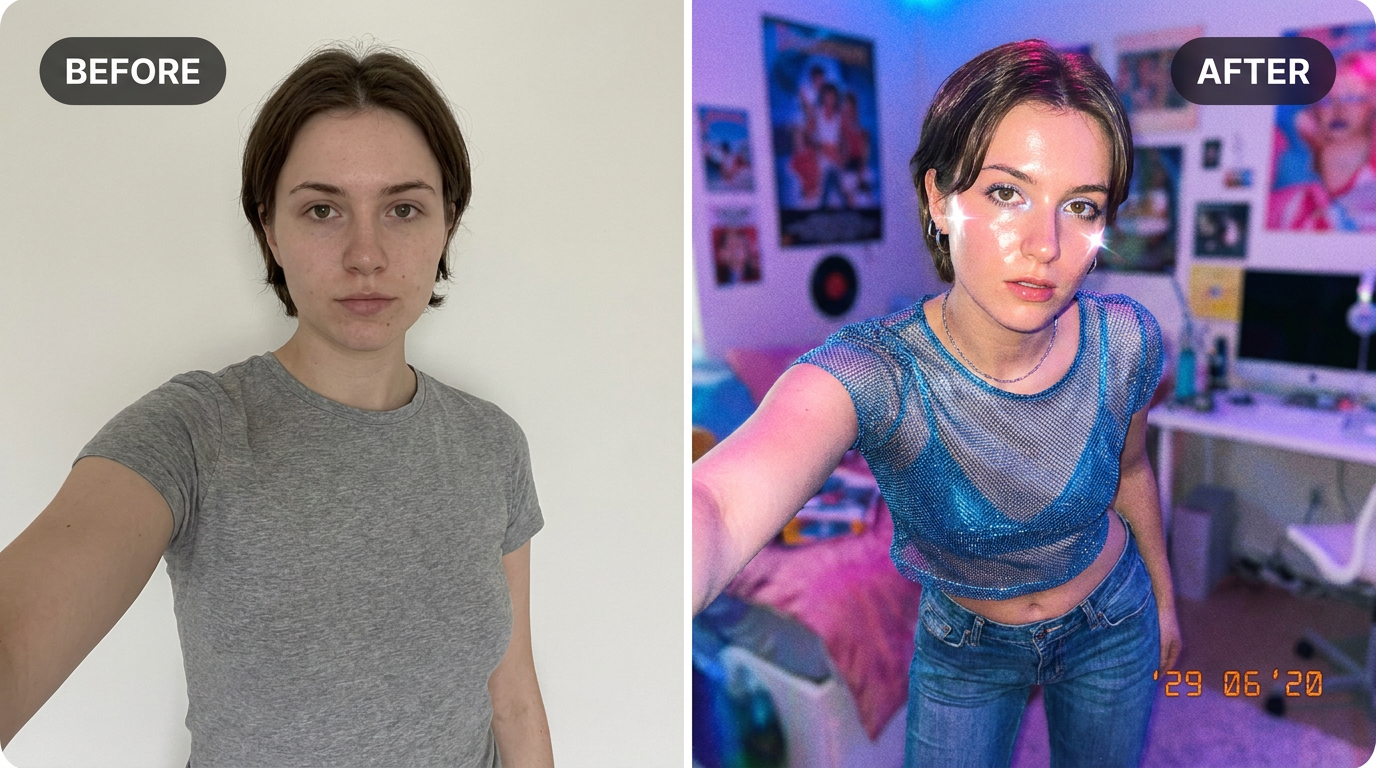
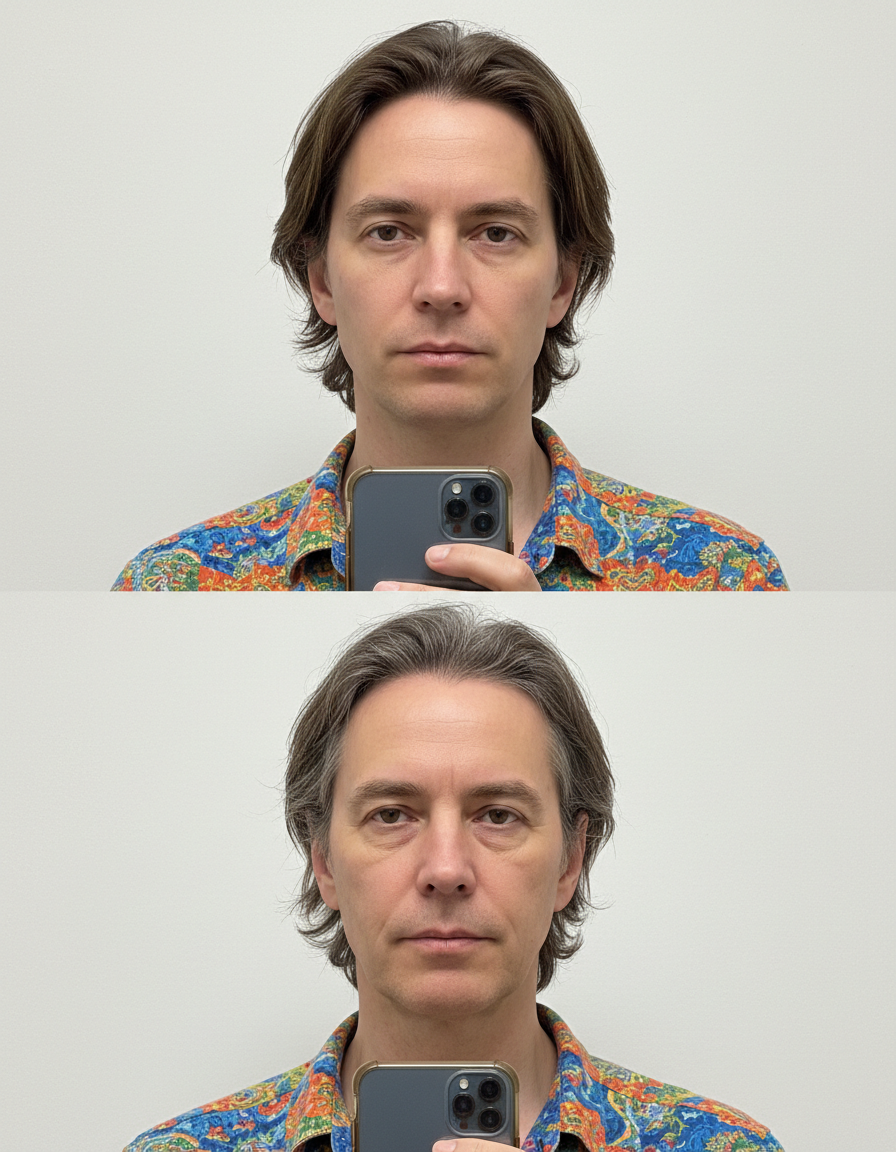
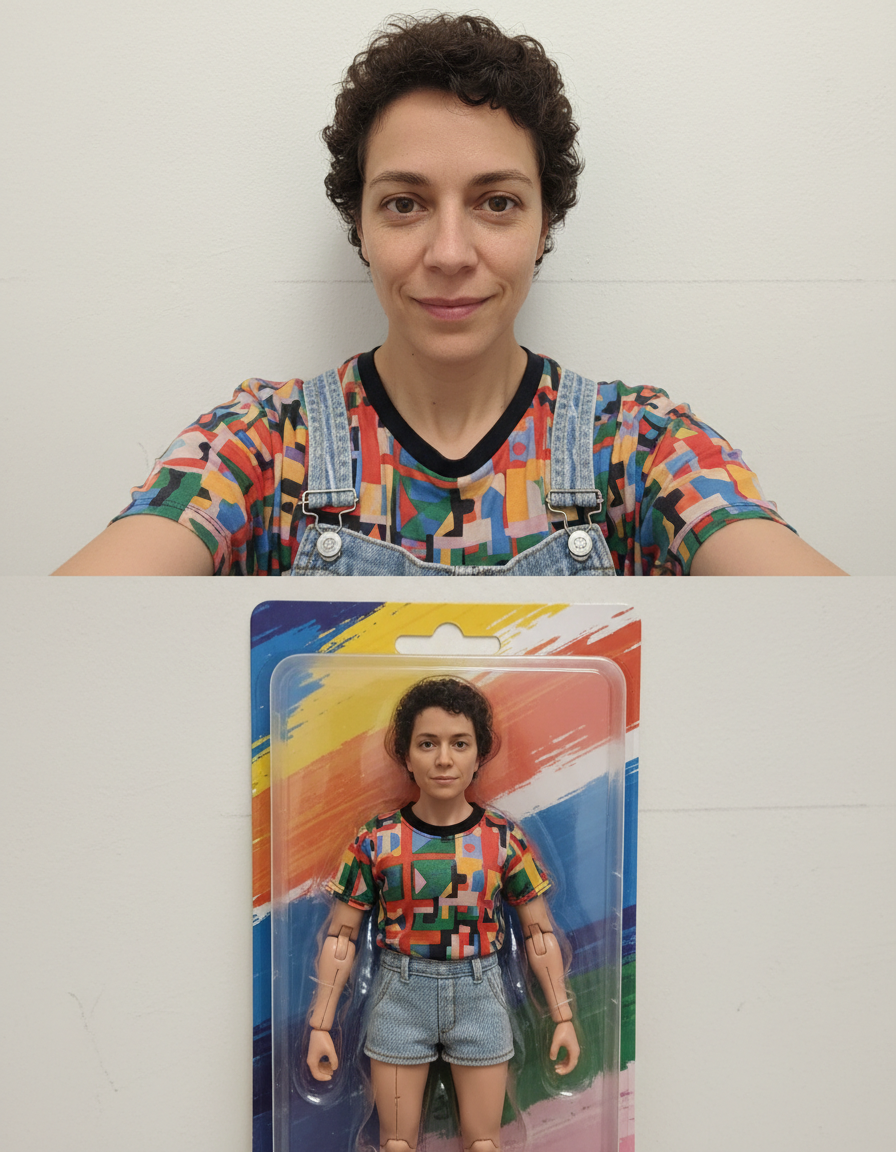
See it in action — real before & after


Why use Blemish Remover
What Blemish Remover does
Clear spots without erasing skin texture.
Skin texture survives
Pores, fine lines and natural variation are kept. The plastic look comes from tools that treat skin as a surface to blur; this one treats it as skin.
Identity untouched
Nothing about bone structure, eye shape, nose or jawline is reshaped. The photo is corrected, not the person in it.
Fixes what the camera got wrong
Colour casts, uneven exposure, flash shine, red eye, harsh shadow — the failures of the room and the lens rather than of the subject.
Restrained by default
Over-retouching is the most common mistake in the category. The defaults are deliberately conservative.
Consistent across a set
Apply the same correction to every photo from one event so the whole set matches rather than each frame looking individually processed.
What Blemish Remover changes
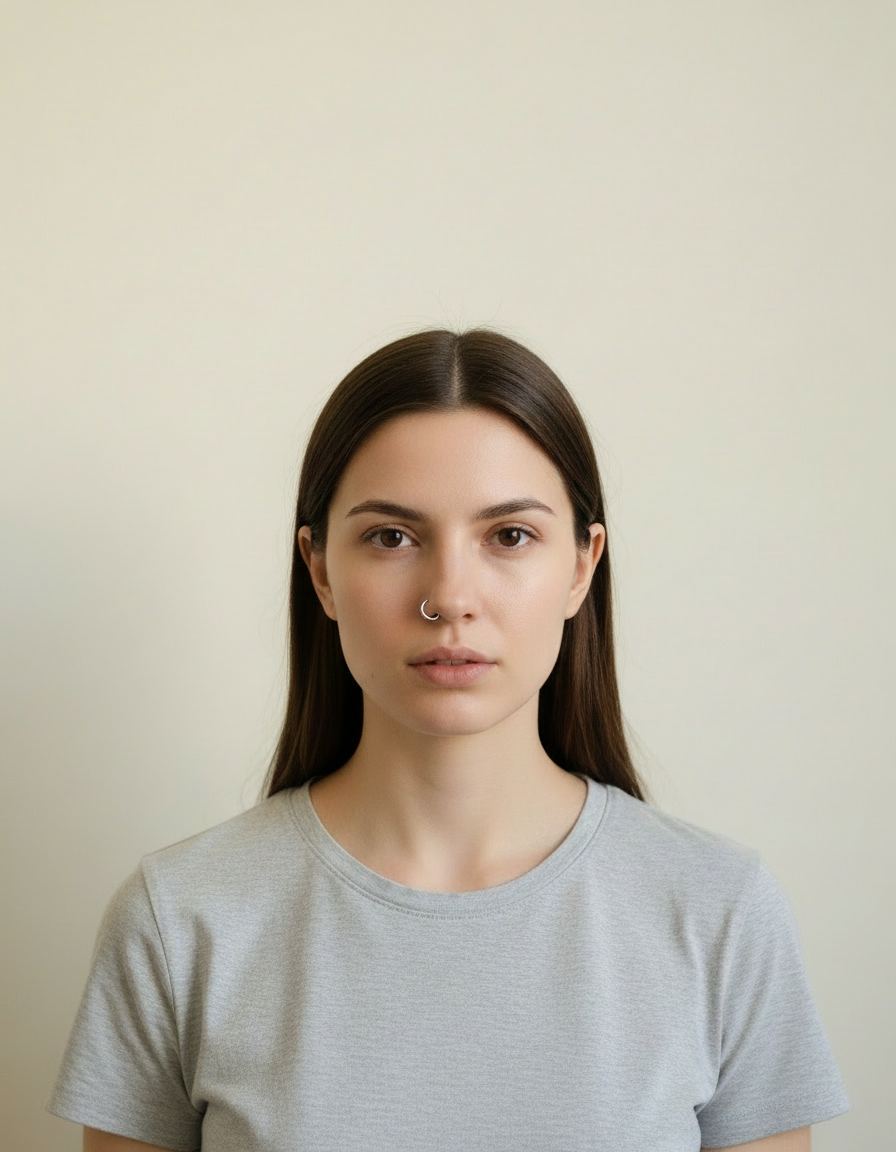
Remove temporary blemishes, spots and minor marks from the skin, matching surrounding tone and keeping pores, fine lines and natural texture fully intact.
Your face, bone structure and skin tone are held fixed on every generation — only what is described above is changed. Add your own brief in the Custom tab to take it further.
Blemish Remover for the fixes that actually come up
Most retouching is a handful of recurring problems. Each one has a specific fix rather than a general "enhance" slider.
Portraits and profile photos
Temporary blemishes, shine, stray hair and flash red-eye — the four things that stop an otherwise good photo of a person being usable.
Colour and exposure correction
Fluorescent green, tungsten orange, a flat grey day. Getting the white balance right fixes photos people assume are unfixable.
Event and group photos
One consistent pass across a whole set, so the album reads as a single shoot.
Product and listing photos
Dust, fingerprints, glare and colour accuracy, which is what marketplace returns are usually argued over.
Key highlights of Blemish Remover
Benefits
Credits never expire
Buy once, use them whenever the next batch of photos turns up.
No subscription
Credits are a one-time purchase, they never expire, and nothing renews on its own. Buy once and use them whenever.
Two models to choose from
Nano Banana and GPT Image handle the same job differently. If one result is not right, the other model often is.
Every aspect ratio
Square, 4:5, 9:16, 16:9 and more, chosen before generating so nothing important gets cropped away afterwards.
Full resolution, no watermark
The download is the full generated image with nothing overlaid — usable in print, in a listing or commercially.
What people use it for
What it is mainly used for
Clear spots without erasing skin texture. Pick a style, choose a model, and download the result at full resolution with no watermark.
Flash portraits
Direct flash produces shine, harsh shadow behind the head and red eye, all at once.
Marketplace listings
Clean, colour-accurate product photos convert better and get disputed less.
Event albums
Hundreds of frames from one room, all needing the same correction rather than individual attention.
Dating profiles
Corrected colour and exposure, without the smoothing that reads instantly as filtered.
Prompt ideas
Name the specific problem and, just as importantly, say what to leave alone. Retouching prompts fail by being too broad — "make it better" invites the model to change things you were happy with.
One change per run
Fix one thing, look at it, then fix the next. Stacked instructions are where retouching goes wrong.
Be concrete, not complimentary
"Soft light from the left, plain grey background" gives the model something to act on. "Beautiful, high quality, 8k" gives it nothing at all.
Change one thing at a time
If a result is close, edit a single detail and run it again. Rewriting the whole prompt gives you an unrelated image and no information about what the change did.
Say what must not change
A short exclusion — "do not change the face", "keep the label text" — is often more effective than any amount of positive description.
Keep it short
Three or four specific clauses beat a paragraph. Long prompts dilute every instruction in them, including the one you cared about.
Name the framing
Close-up, head and shoulders, full body, centred, offset. Framing decides what the image is actually of.
More about Blemish Remover
Almost every photo that gets deleted is technically fixable. A colour cast from office lighting, a shine across the forehead from a flash, one temporary blemish the eye goes straight to. None of those are problems with the subject; they are problems with the room, and rooms are fixable.
The professional version of this work is called a beauty pass, it takes a skilled retoucher ten to thirty minutes an image, and it consists almost entirely of restraint. Knowing what to leave alone is the craft, and it is what the conservative defaults here are trying to encode.
Retouching is the part of photography nobody outside it can see and everybody notices. A distracting blemish, a shine across the forehead, a colour cast from a fluorescent tube — individually small, collectively the difference between a photo you post and a photo you delete. Blemish Remover handles that pass without opening an editor.
Getting the best result from Blemish Remover
- If a result is nearly right, say what is wrong with it in the next run rather than starting over.
- Start from the largest, least compressed version of the photo you have — a screenshot of a photo has already lost what the retouch needs.
- Fix one thing per run and check it at full size before moving on.
- Always add "keep skin texture" for anything involving a face.
- Correct colour before anything else. A cast makes every other judgement unreliable.
- Resist stacking: two conservative passes look better than one aggressive one.
- For a set of photos, use the same instruction on every frame so the album stays consistent.
- Zoom in on eyes, teeth, hair edges and hands — the first places over-processing shows.
It's free to try and runs online — nothing to install. Explore the rest of our AI Creative Apps, or open the full AI photo editor for more control.