Face Blur Tool
Anonymise faces before sharing. Pick a style, choose a model, and download the result at full resolution with no watermark.
Pick a style on the left, then hit Apply. Your original stays untouched — you always see both.
How to use Face Blur Tool
Upload the photo
JPG, PNG or WEBP at the highest resolution you have. The fill is built from surrounding detail, so there needs to be surrounding detail to build from.
Say what to remove
Name the object and where it is: "the person on the right", "the watermark across the centre", "the bin in the bottom left". Location does most of the work.
Check the fill, then download
Look at the filled area at full size before using it. Full resolution out, no watermark added.
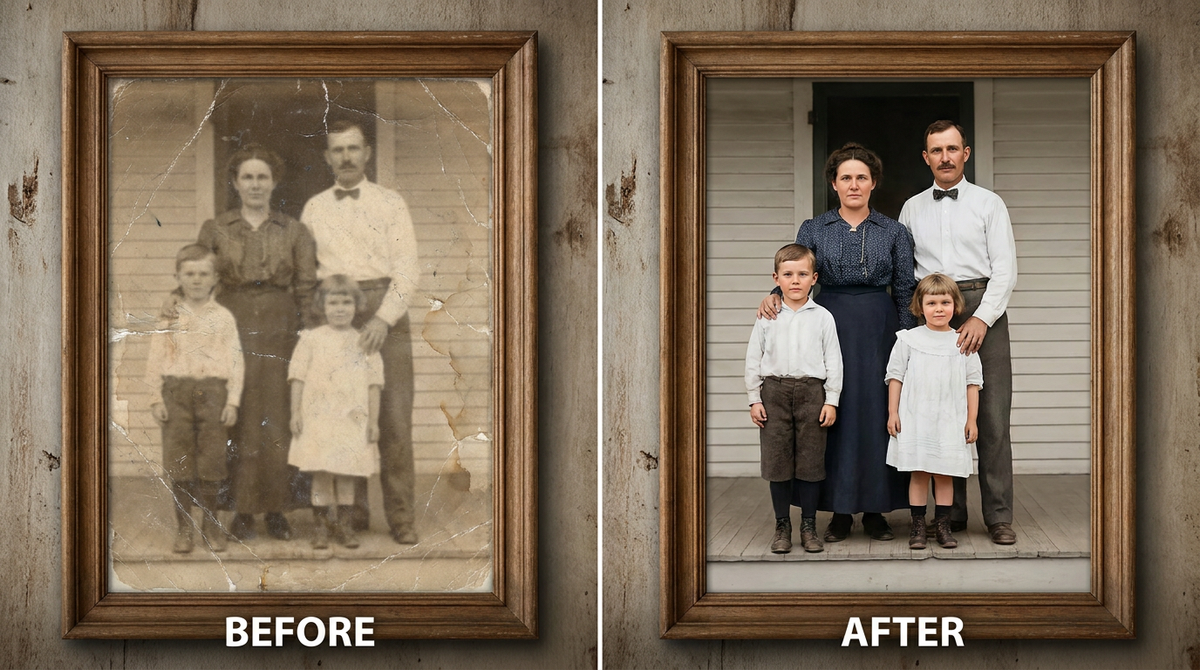
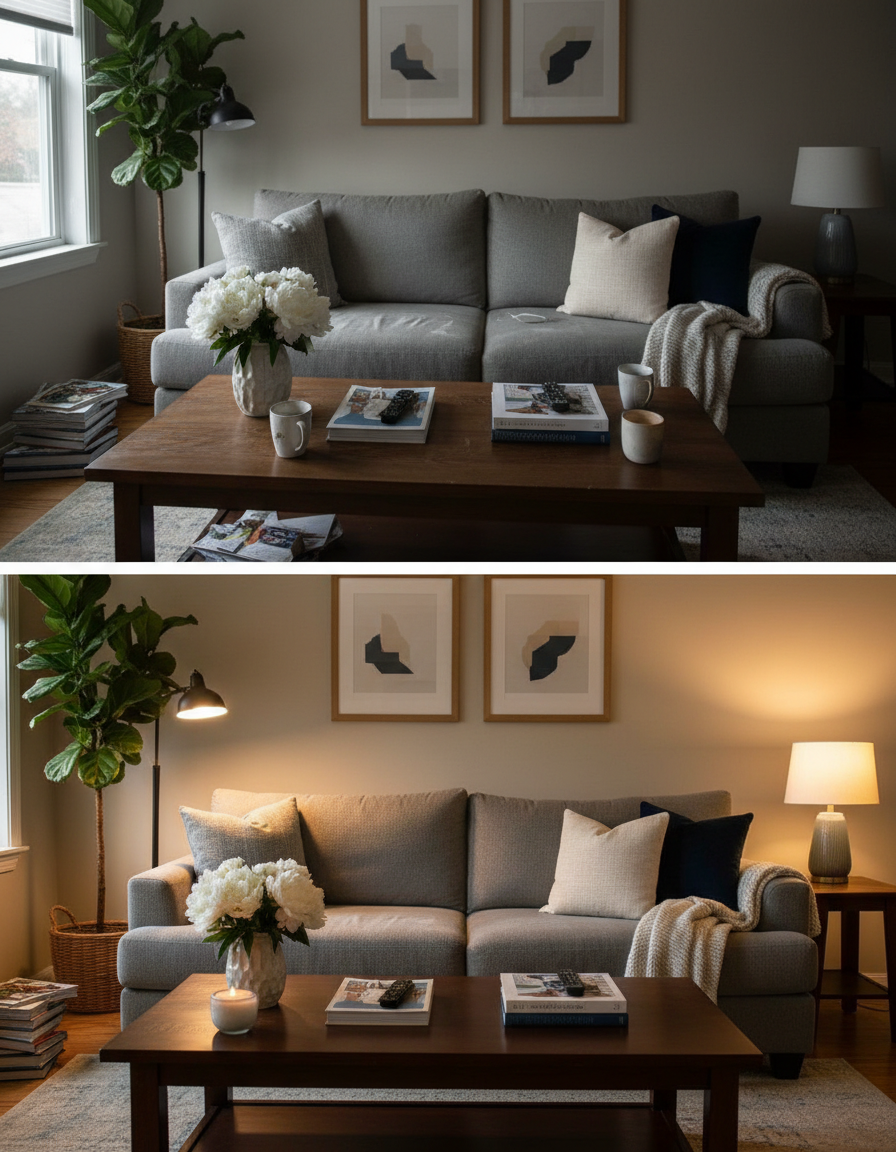
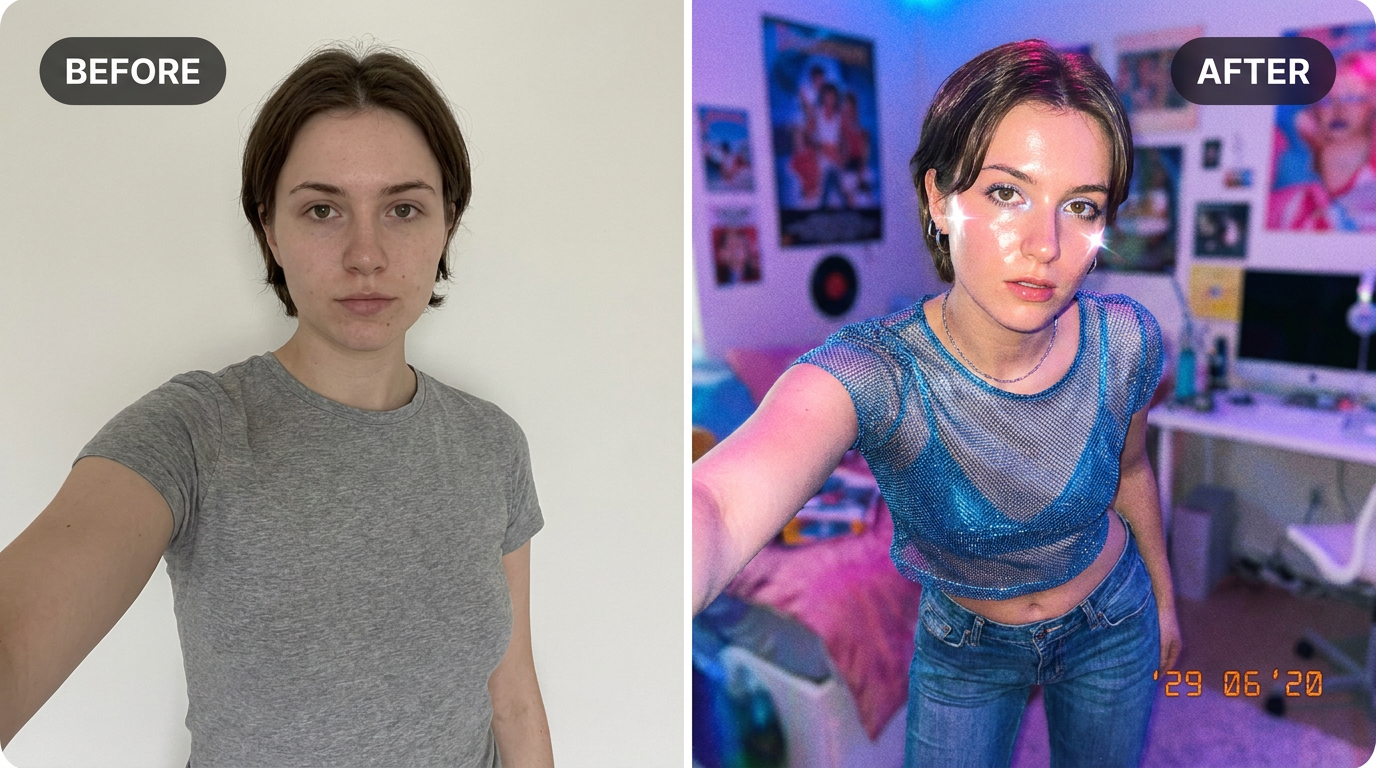
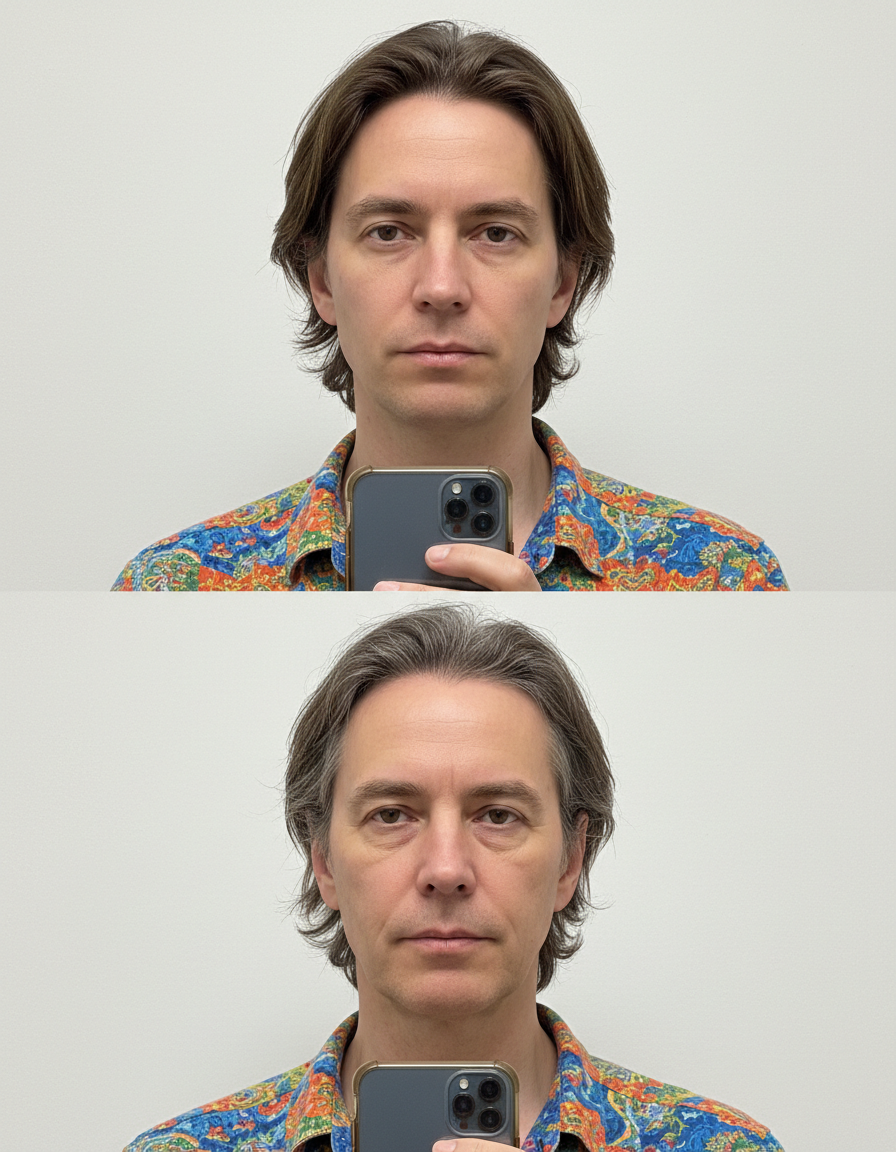
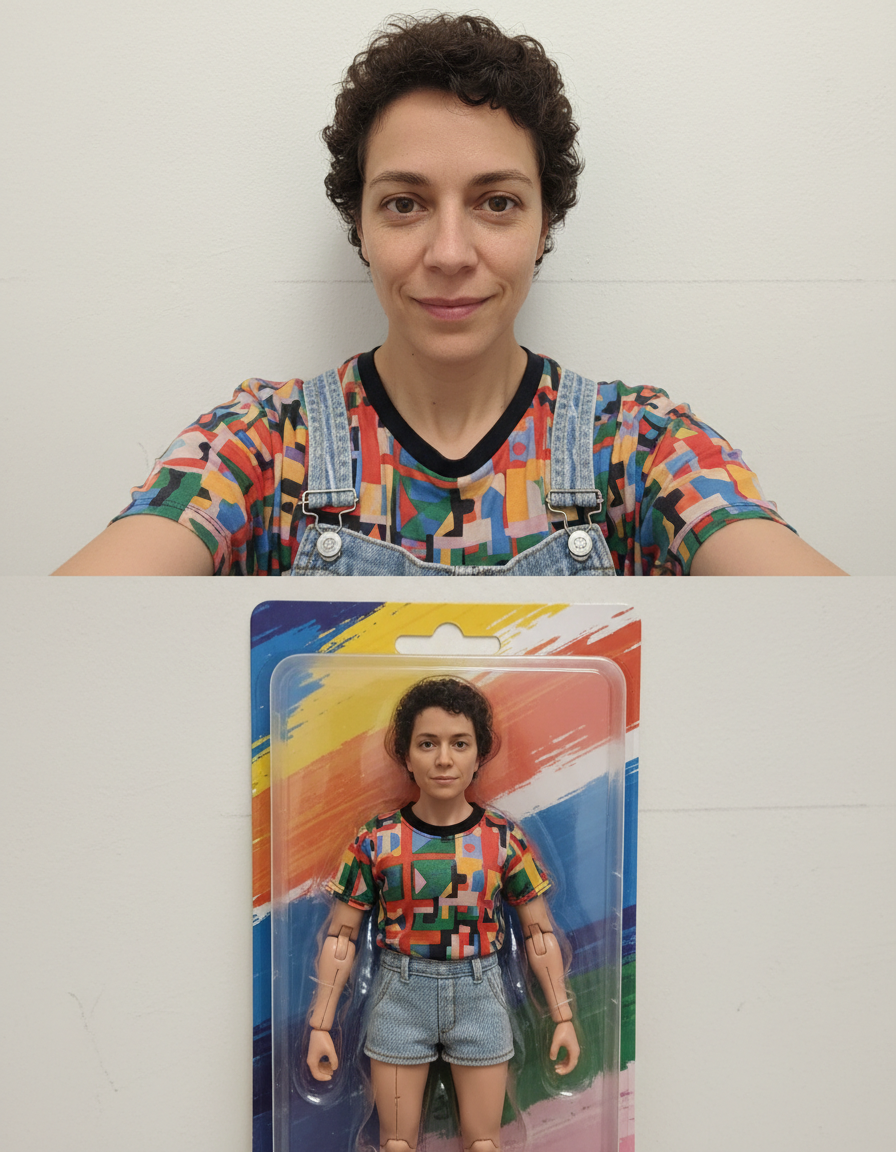
See it in action — real before & after


Why use Face Blur Tool
What Face Blur Tool does
Anonymise faces before sharing.
Full resolution output
The removal is applied at the original size, not to a downscaled preview that then gets enlarged.
Non-destructive
The original file stays on your device. Every removal is a new image.
The fill continues the scene
Walls keep their texture, pavements keep their lines, skies keep their gradient. The area is reconstructed rather than smudged.
Anything can go
People, vehicles, bins, signs, poles, reflections, text, watermarks, timestamps, logos and stickers.
Text and watermarks handled properly
Overlaid text sits on top of real detail, so removing it means rebuilding what was underneath rather than painting over it.
What Face Blur Tool changes
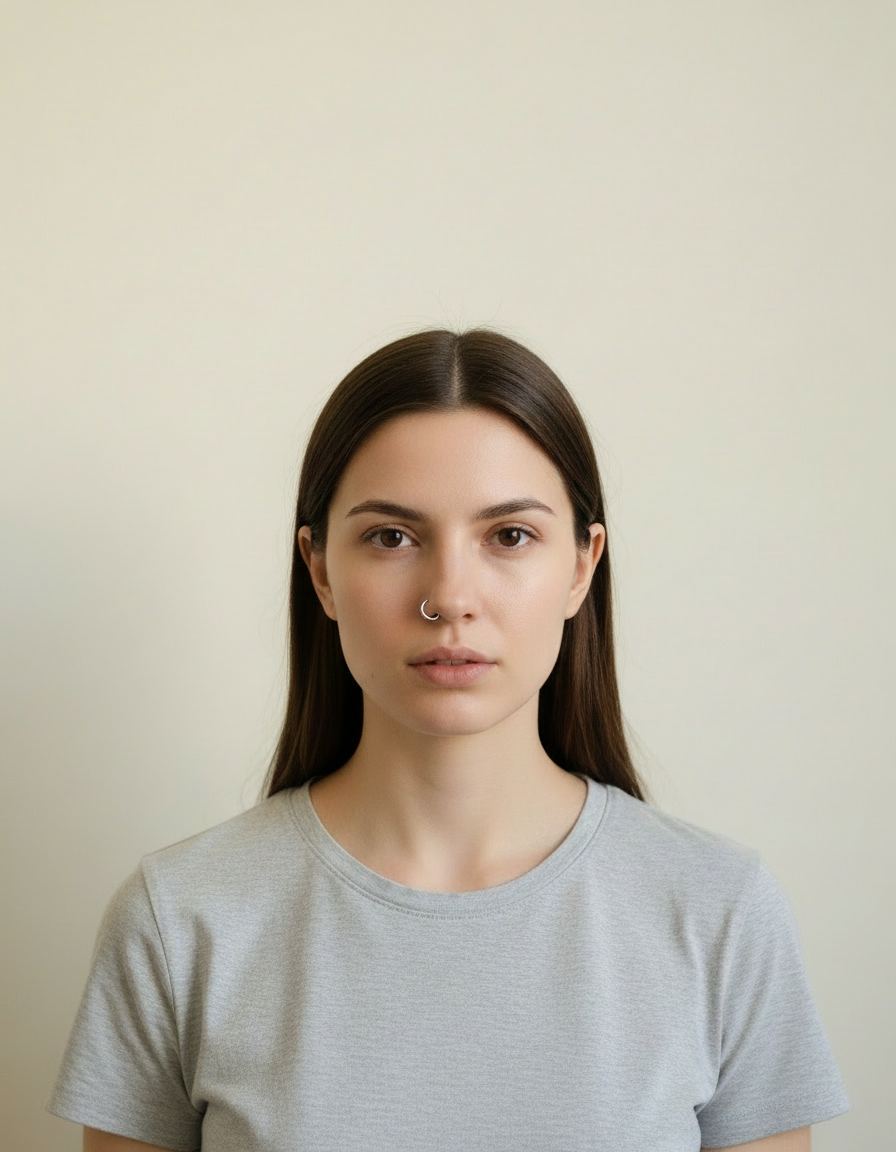
Blur the faces in this image sufficiently to prevent identification, with a clean boundary that follows the head shape, leaving the rest of the photograph sharp and unaltered.
Your face, bone structure and skin tone are held fixed on every generation — only what is described above is changed. Add your own brief in the Custom tab to take it further.
Face Blur Tool for the things that ruin otherwise good photos
Most unwanted objects fall into a few recurring categories, and each has its own difficulty.
Objects and clutter indoors
Cables, chargers, laundry and anything on a surface that should be clear — the staple of property photography.
Reflections and glare
A flash bouncing off glass or a window reflecting the photographer, the hardest case because there are two images overlapped.
People in the background
Tourists, passers-by and anyone who walked into the shot at the wrong moment — the single most common request.
Watermarks and stamps
Logos, signatures and semi-transparent overlays that sit across real image detail.
Key highlights of Face Blur Tool
Benefits
No subscription
Credits are a one-time purchase, they never expire, and nothing renews on its own. Buy once and use them whenever.
Two models to choose from
Nano Banana and GPT Image handle the same job differently. If one result is not right, the other model often is.
Every aspect ratio
Square, 4:5, 9:16, 16:9 and more, chosen before generating so nothing important gets cropped away afterwards.
Full resolution, no watermark
The download is the full generated image with nothing overlaid — usable in print, in a listing or commercially.
The free tools stay free
Compress, convert, crop, resize, rotate and the rest run on your device, unlimited, with no account and no credit cost.
What people use it for
What it is mainly used for
Anonymise faces before sharing. Pick a style, choose a model, and download the result at full resolution with no watermark.
Holiday photos full of strangers
The landmark shot with six people in it, which is every landmark shot.
Property listings
Bins, cars, cables and clutter removed so the room or the building is what the photo is about.
Old photos with date stamps
Burned-in camera text removed from prints from the 90s and 2000s.
Product photos with distractions
Reflections, stray cables, price stickers and anything else that ended up in frame.
Prompt ideas
Name the object and its position, and remove one thing per run. A list of five removals in one instruction produces one mediocre result instead of five good ones.
Try the other model
If a prompt is being ignored, switching between Nano Banana and GPT Image often resolves it faster than rewording.
Describe the light
Direction, softness and colour temperature. Light does more to how a photograph feels than any other single thing you can specify.
Re-run before rewriting
Generation is not deterministic. The same prompt twice gives two different results, and the second is sometimes simply better.
Name the object and where it is
"Remove the person standing on the right edge" gives the model an unambiguous target.
Say what should be there instead
"Fill with the brick wall that continues behind" is far more reliable than leaving the fill open to interpretation.
Remember the shadow
"Remove the object and its shadow on the floor" — a leftover shadow is what makes a removal obvious.
More about Face Blur Tool
Each removal costs 2 credits from a one-time pack, and the original is never modified. Removing three separate objects one at a time is usually better than asking for all three at once.
Somewhere in every camera roll is a photo that would be the best one of the trip if a stranger had not walked into it. Face Blur Tool exists for that photo, and for the bin at the edge of the frame, and for the date stamp a 2003 camera burned into the corner.
Erasing is easy; filling is not. The difficulty of a removal is decided almost entirely by what was behind the thing being removed. A wall, a sky, grass or pavement fills invisibly because the pattern continues. A face, a sign or a unique object does not, and the fill becomes an educated guess.
Getting the best result from Face Blur Tool
- Keep the original. Each removal should start from the cleanest available file.
- Start from the largest, least compressed original you have — a screenshot of a photo has already lost detail that cannot be recovered.
- Soft, even light in the source photo gives the best result almost regardless of what you are generating.
- Judge every result at full size, not zoomed out. Problems hide at small sizes.
- Generate two or three times before deciding. Results vary between runs, and the first is not reliably the best.
- Check hands, text, jewellery and glasses in any result before sharing it — those are still where image models most often slip.
- Choose the aspect ratio before generating rather than cropping afterwards.
- If one model ignores part of your instruction, switch to the other and run it again.
It's free to try and runs online — nothing to install. Explore the rest of our AI Creative Apps, or open the full AI photo editor for more control.