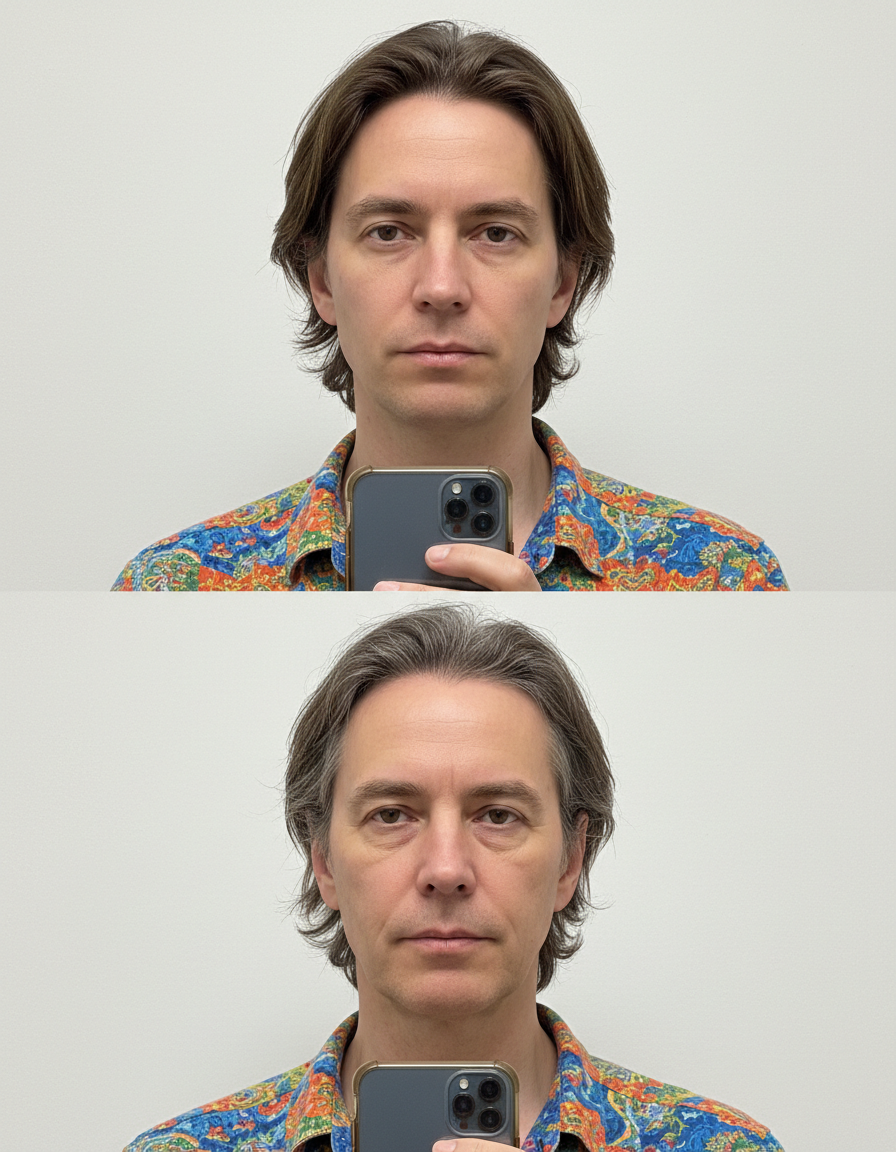
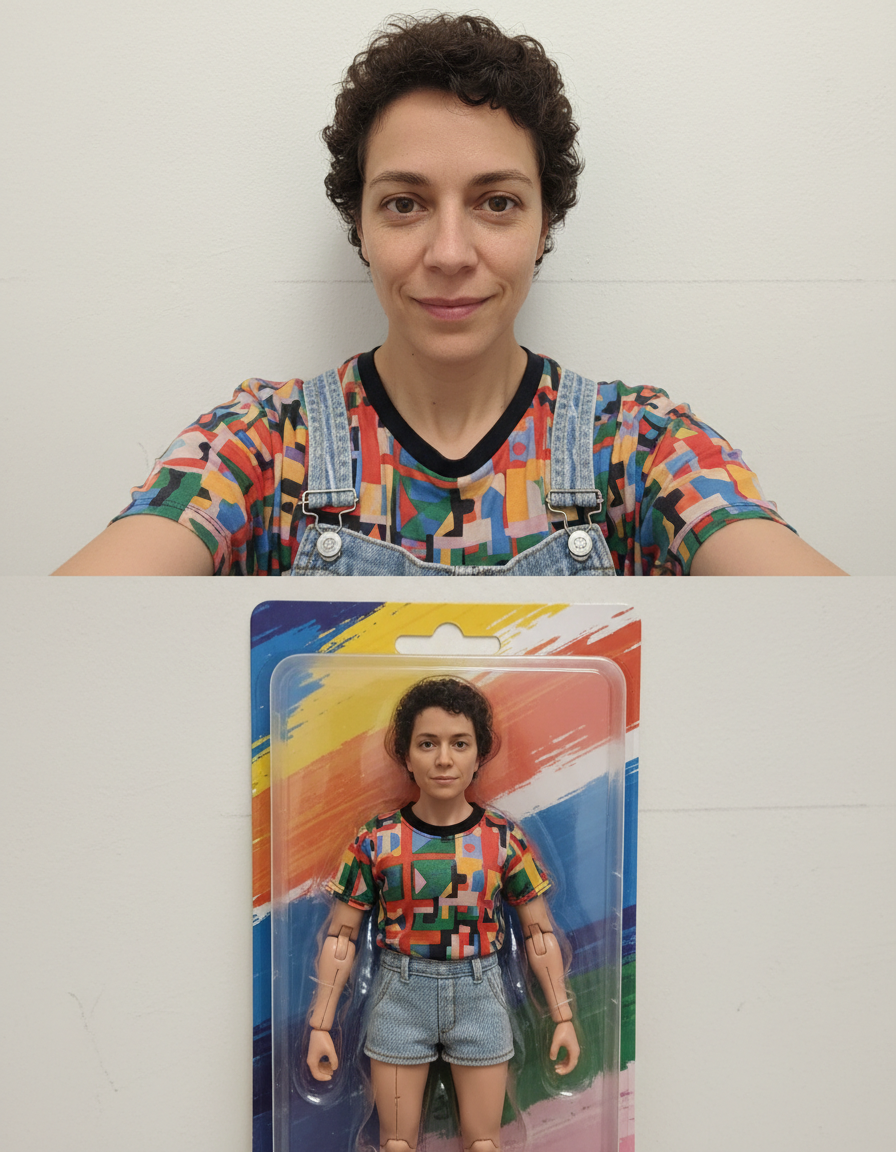
Glitch Effect Generator
RGB shift, scanlines and datamosh. Pick a style, choose a model, and download the result at full resolution with no watermark.
Pick a style on the left, then hit Apply. Your original stays untouched — you always see both.
How to use Glitch Effect Generator
Upload the photo
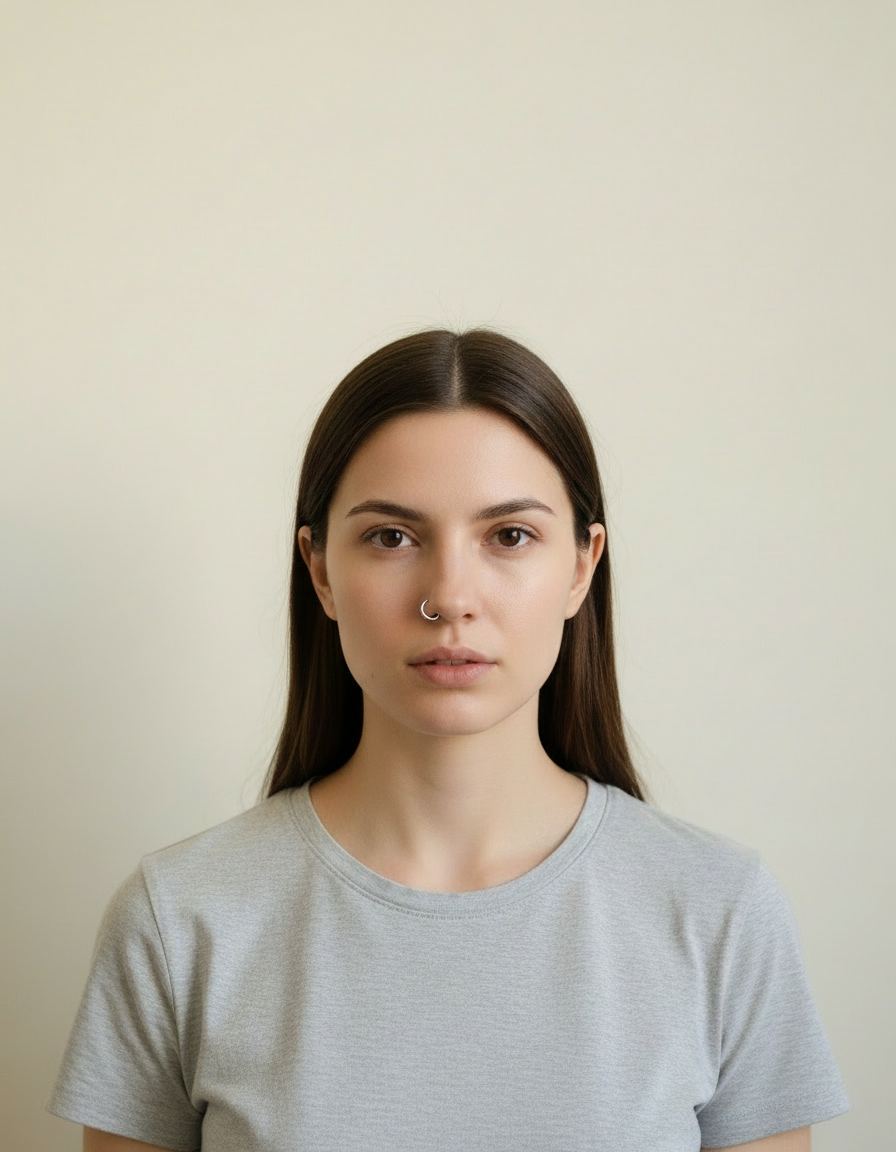
A clear JPG, PNG or WEBP. Portraits work best when the face fills a reasonable part of the frame — a distant full-body shot gives the model very little face to work from.
Pick the style or write your own
Choose a preset, or describe the medium you want: line weight, palette, texture, era. Naming the medium precisely is what separates a good result from a vague one.
Generate and download
Full resolution, no watermark. Good enough to print, use as an avatar, or send to someone as a gift.
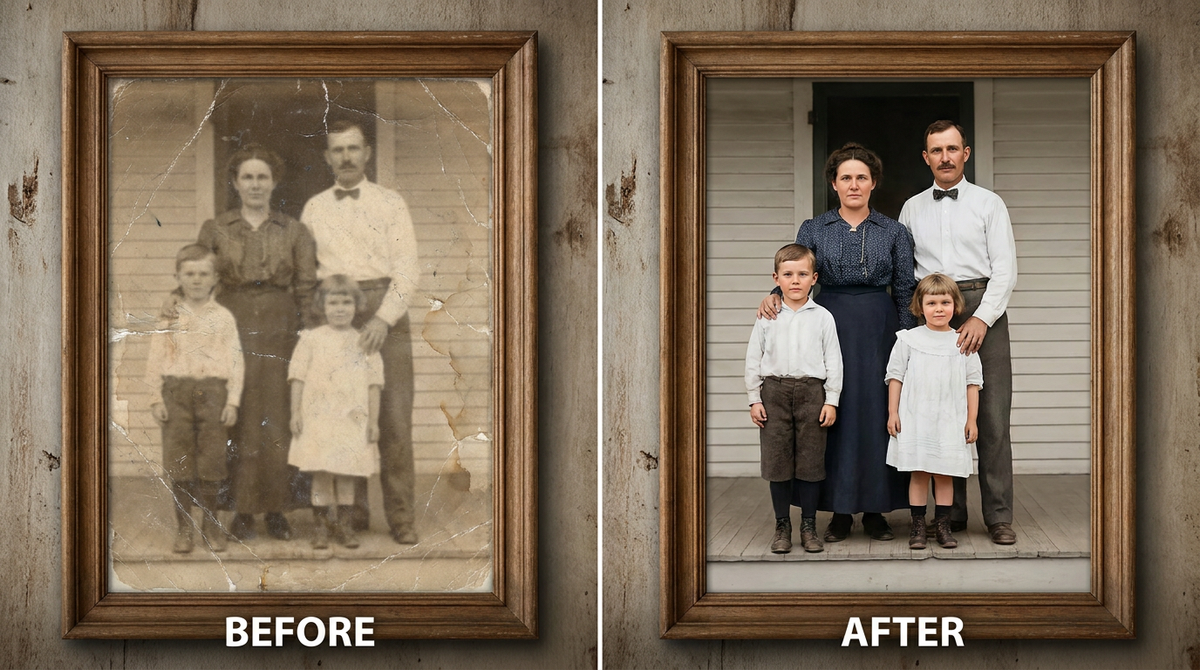
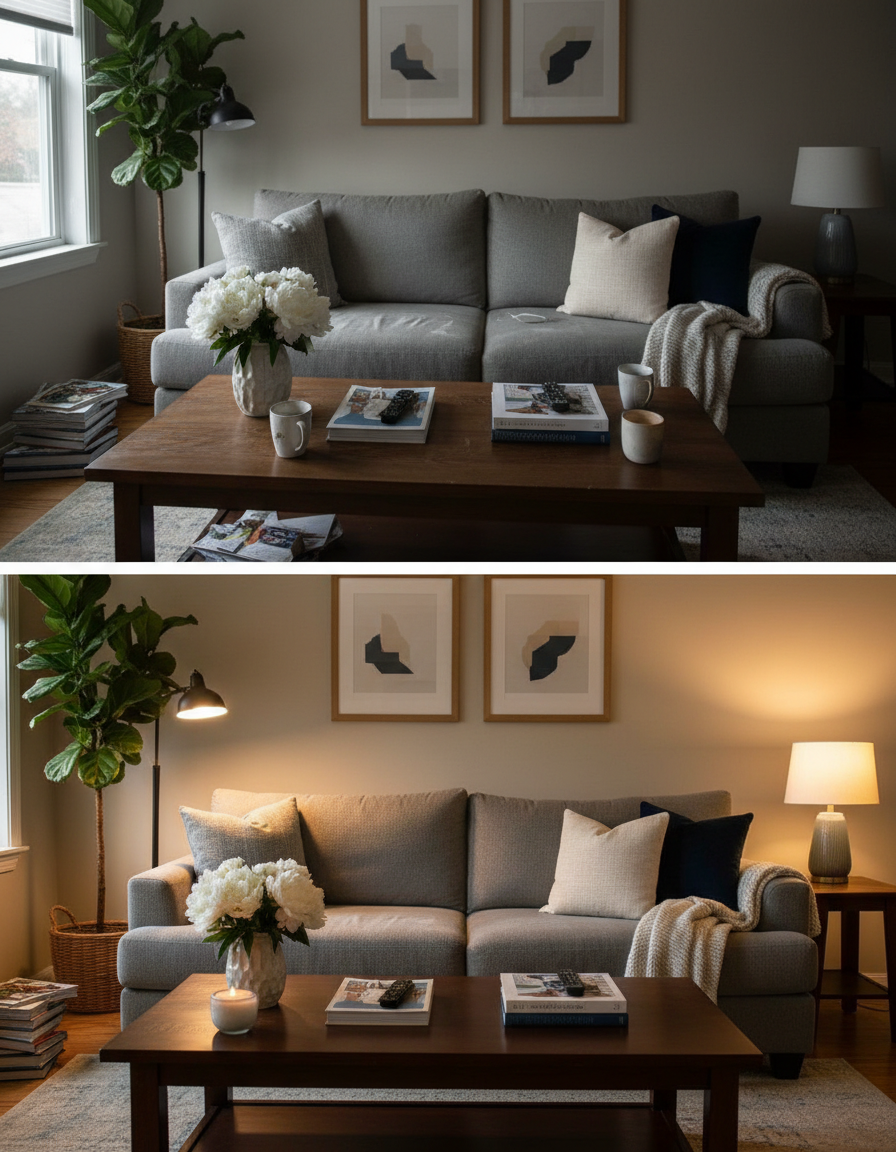
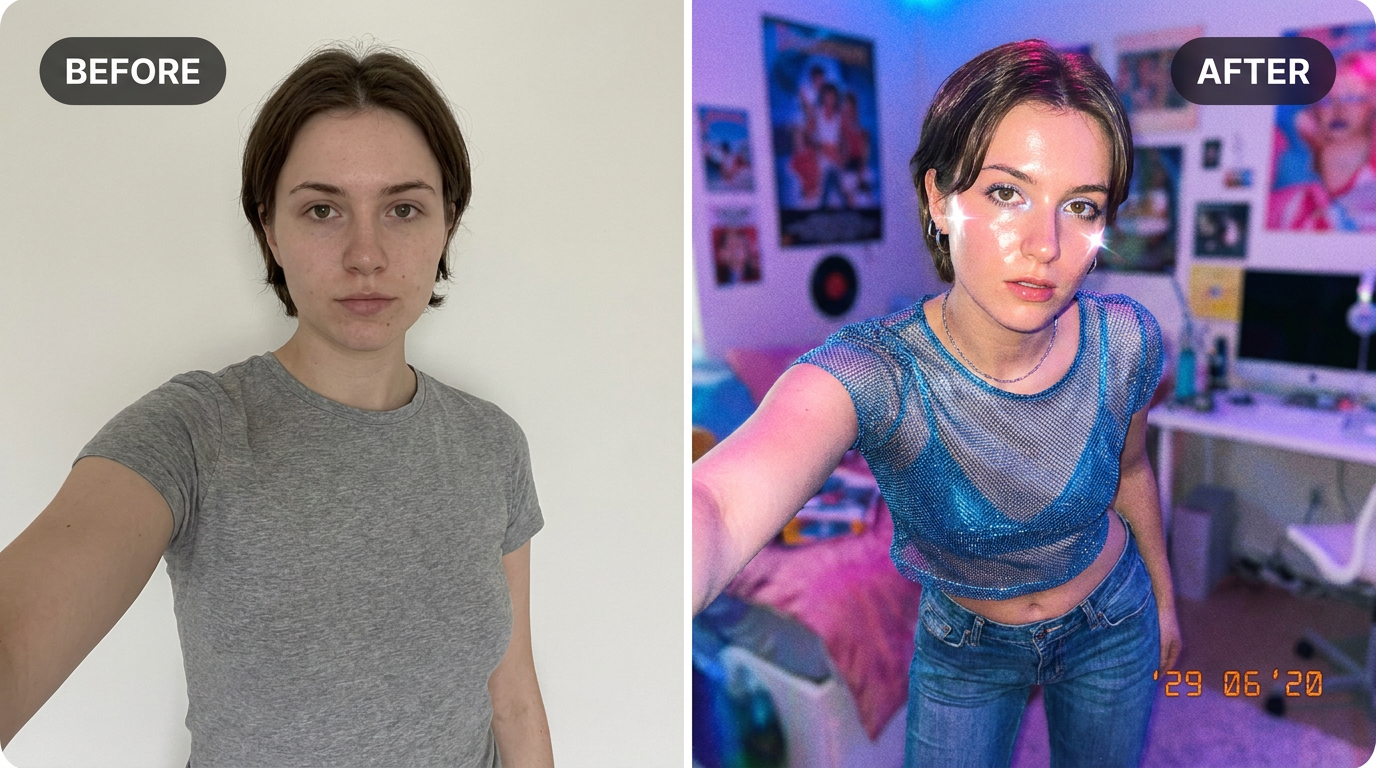
See it in action — real before & after

Why use Glitch Effect Generator
What Glitch Effect Generator does
RGB shift, scanlines and datamosh.
Consistent across a set
Run several photos through the same style and they look like one commission rather than a pile of unrelated experiments.
Backgrounds restyled to match
A stylised subject on a photographic background looks pasted in. The whole frame is converted together.
Print-quality output
Resolution holds up as a framed print or a card, which is what most people end up doing with a portrait they like.
No drawing skill needed
No tablet, no brushes, no layers. The skill required is choosing a good source photo.
Any ratio you need
Square for an avatar, portrait for a print, wide for a banner or a cover. Set before generating.
What Glitch Effect Generator changes
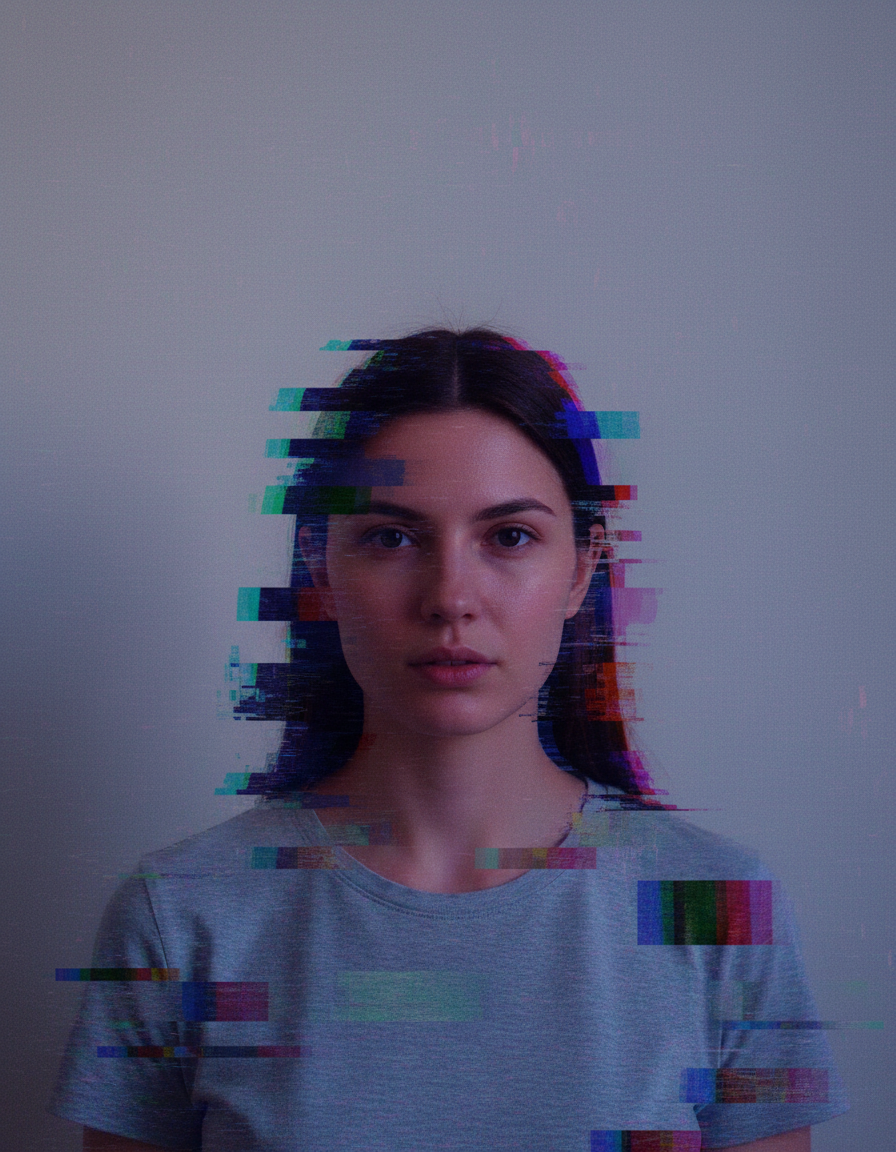
Apply a digital glitch treatment: horizontal datamosh tearing, RGB channel separation, scanlines and block corruption artefacts, over a high-contrast cyberpunk grade.
Your face, bone structure and skin tone are held fixed on every generation — only what is described above is changed. Add your own brief in the Custom tab to take it further.
Glitch Effect Generator for prints, avatars and gifts
The same conversion serves very different ends — a profile picture, a framed print, a card, a set of matching avatars for a group.
Cards and invitations
An illustrated portrait sits on a card in a way a photograph usually does not, without needing a designer.
Matching sets for a group
A team, a family or a friend group converted in one style, which looks deliberate in a way individual photos never do.
Covers and thumbnails
A stylised image survives text overlaid on it far better than a photograph does — the flat areas give the type somewhere to sit.
Creative reference
A quick look at a concept in a given medium before committing to commissioning it properly.
Key highlights of Glitch Effect Generator
Benefits
Full resolution, no watermark
The download is the full generated image with nothing overlaid — usable in print, in a listing or commercially.
The free tools stay free
Compress, convert, crop, resize, rotate and the rest run on your device, unlimited, with no account and no credit cost.
Your original is never modified
Every result is a new image. The file you uploaded stays exactly as it was on your device.
Cheap enough to iterate
Packs start at $2. Generating the same image three ways and keeping the best is the intended workflow, not an expensive mistake.
Done in under a minute
No brief, no back and forth, no revision round. Upload and generate.
What people use it for
What it is mainly used for
RGB shift, scanlines and datamosh. Pick a style, choose a model, and download the result at full resolution with no watermark.
Merch and sticker art
Flat, high-contrast styles are what actually survive being printed small on a sticker or a shirt.
Book, album and playlist covers
A stylised portrait as cover art, with room for a title to sit over it.
Party and event invitations
The host, illustrated, on the invitation. Faster than finding clip art that is not terrible.
Social content and trends
Style trends move in days. Generating the look while it is current beats commissioning it for after it has passed.
Prompt ideas
Presets cover the common styles. If you write your own, describe the medium as a maker would: line, colour, texture, era. Vague adjectives like "beautiful" or "high quality" do nothing; "thick ink outlines, flat colour, halftone shading" does a great deal.
Re-run before rewriting
Generation is not deterministic. The same prompt twice gives two different results, and the second is sometimes simply better.
Name the medium explicitly
"Oil on canvas with visible brush texture" or "cel-shaded animation still". The medium does more work than any other part of the prompt.
Describe the line
"Thick uniform ink outline" reads completely differently from "soft pencil with no outline", even in the same palette.
Constrain the palette
"Muted earth tones, four colours only" produces a coherent image. Left open, most models reach for saturated everything.
Give an era or school
"1970s screen print", "Renaissance oil", "90s anime cel". Era carries a whole set of conventions in two words.
Say what happens to the background
"Flat single-colour background" for an avatar, "stylised landscape behind" for a print.
More about Glitch Effect Generator
A stylised portrait does something a photograph cannot: it survives being shrunk. At forty pixels in a comment thread a photograph becomes a smudge, while flat colour and a strong outline stay legible. That is why illustrated avatars outlast the trend that produced them.
The failure mode worth knowing about is the generic character. Plenty of tools will produce a competent illustration that is recognisably nobody. Keeping the proportions of a specific face inside a new medium is the harder problem, and the only one worth solving.
Turning a photograph into another medium used to be a commission. You found an illustrator, described what you wanted, waited a week and paid for it. Glitch Effect Generator does the same conversion from a photo you already have, in about a minute.
Getting the best result from Glitch Effect Generator
- Simple backgrounds convert better. A cluttered room becomes visual noise in the styled version.
- For avatars, generate square and ask for a plain background, or the crop will cut into the head.
- Regenerate a few times: stylised output varies more between runs than photographic output does.
- Check hands, glasses and any lettering — these are where stylised results most often break down.
- If you want a matching set, keep the style and the prompt identical and change only the source photo.
- For printing, generate at the largest ratio you can and crop afterwards rather than upscaling later.
- Keep the original photo. A generated image is a poor starting point for a different style.
- Start from the largest, least compressed original you have — a screenshot of a photo has already lost detail that cannot be recovered.
It's free to try and runs online — nothing to install. Explore the rest of our AI Creative Apps, or open the full AI photo editor for more control.