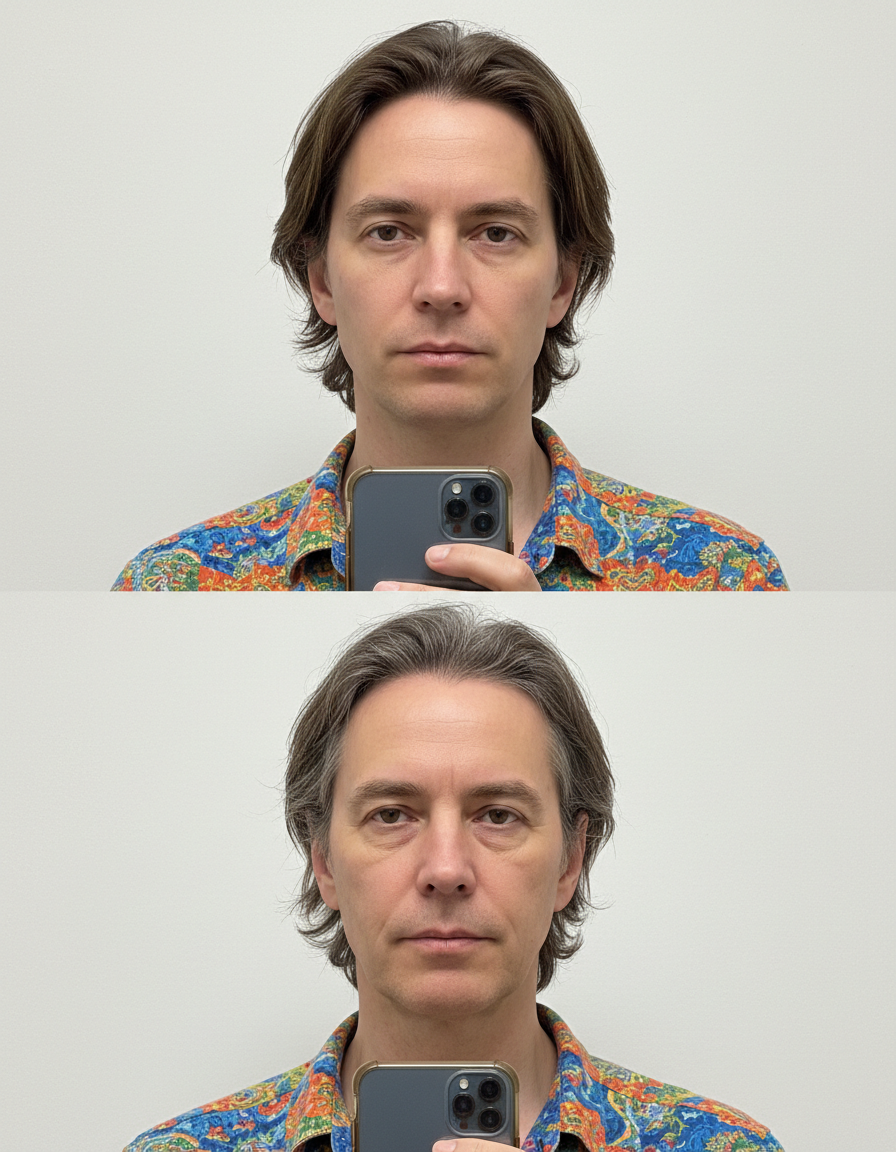
HD Photo Converter
Turn a low-quality file into an HD one. Pick a style, choose a model, and download the result at full resolution with no watermark.
Pick a style on the left, then hit Apply. Your original stays untouched — you always see both.
How to use HD Photo Converter
Upload the image
JPG, PNG or WEBP. Start from the largest, least compressed copy you have — a screenshot of a photo has already thrown away detail that cannot be brought back.
Choose the enhancement
Upscale, sharpen, denoise or unblur. They are different operations with different failure modes, so pick the one that matches the actual problem.
Compare at full size, then download
Judge the result at 100%, not zoomed out. Full resolution, no watermark.
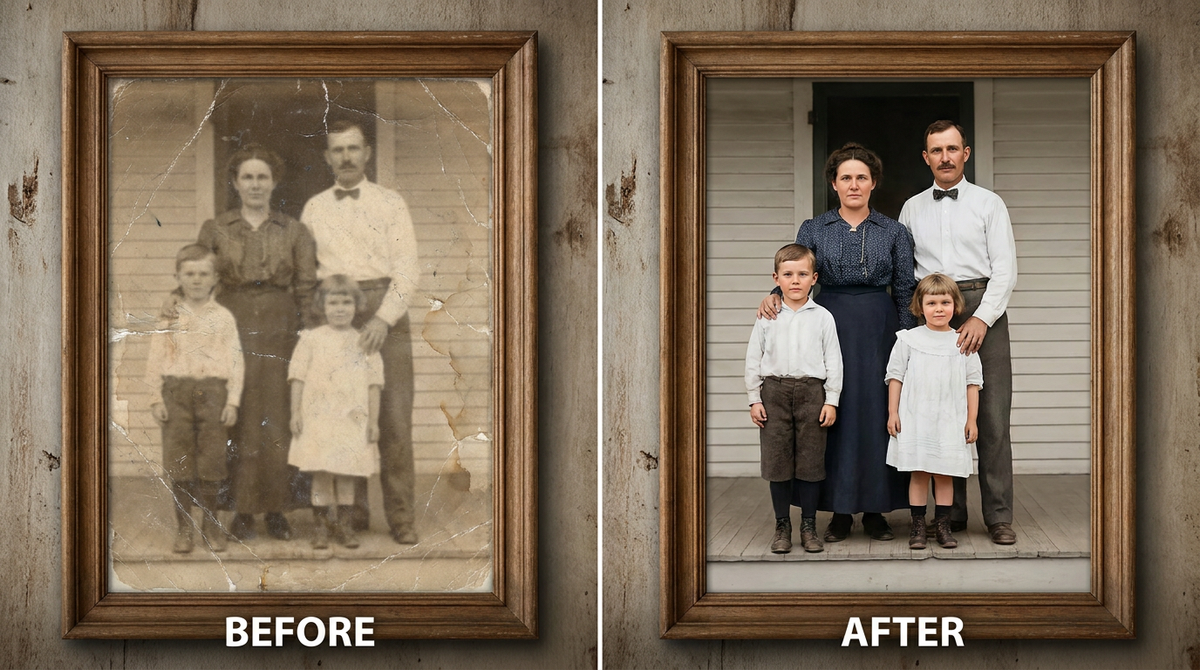
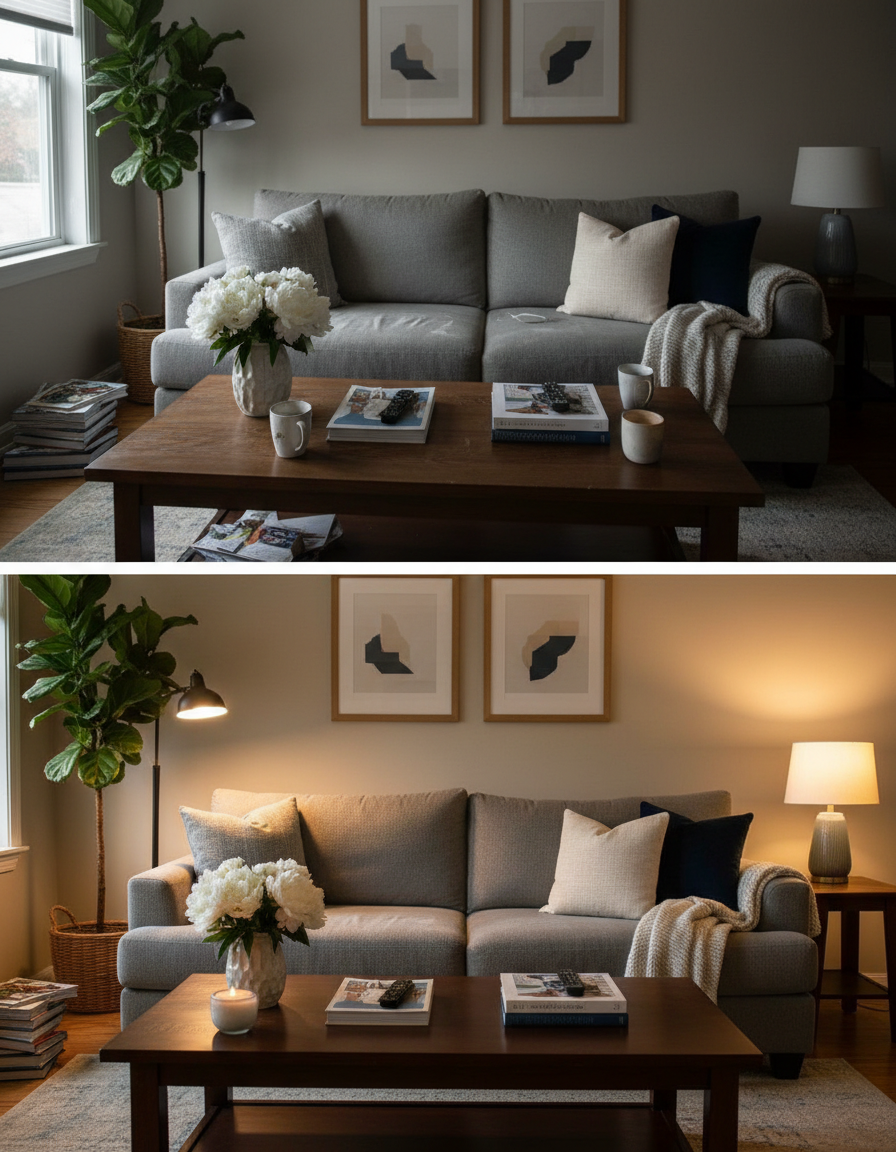
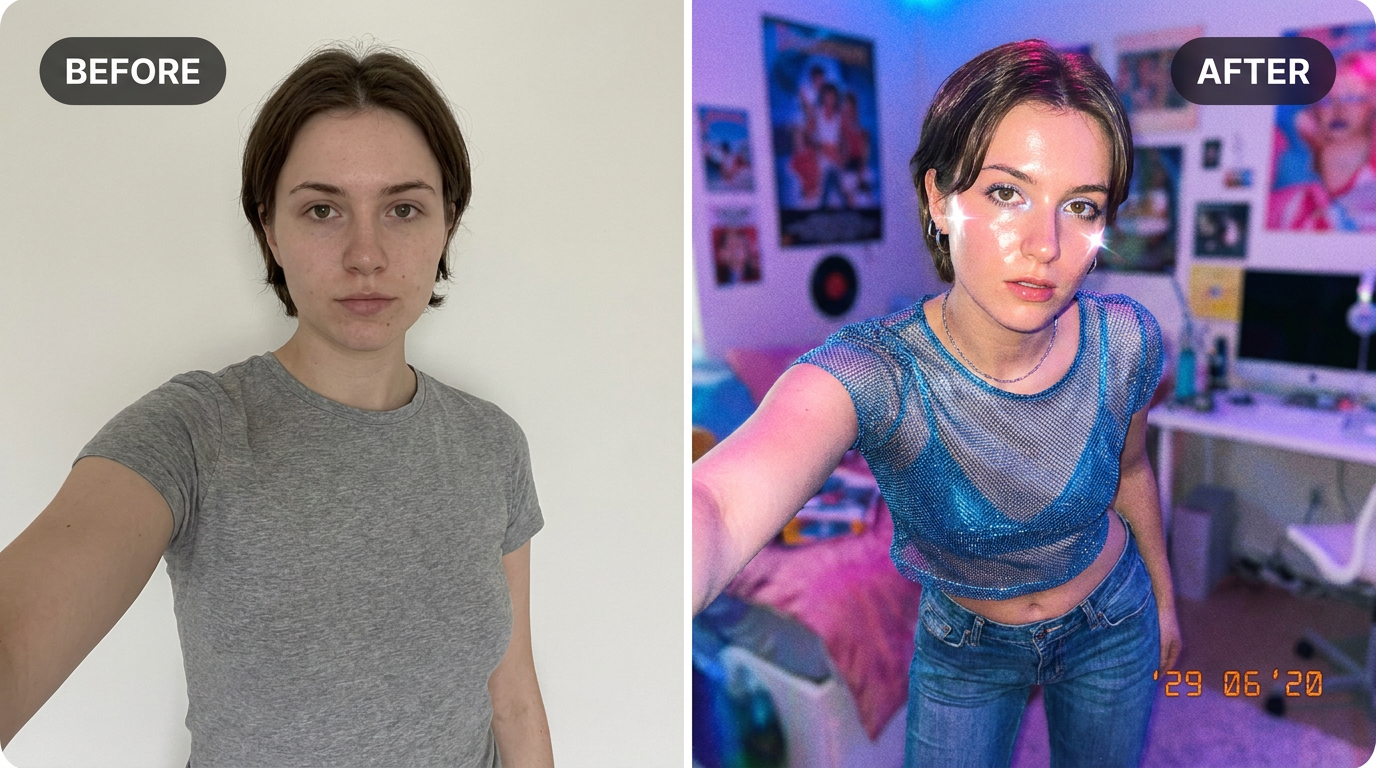
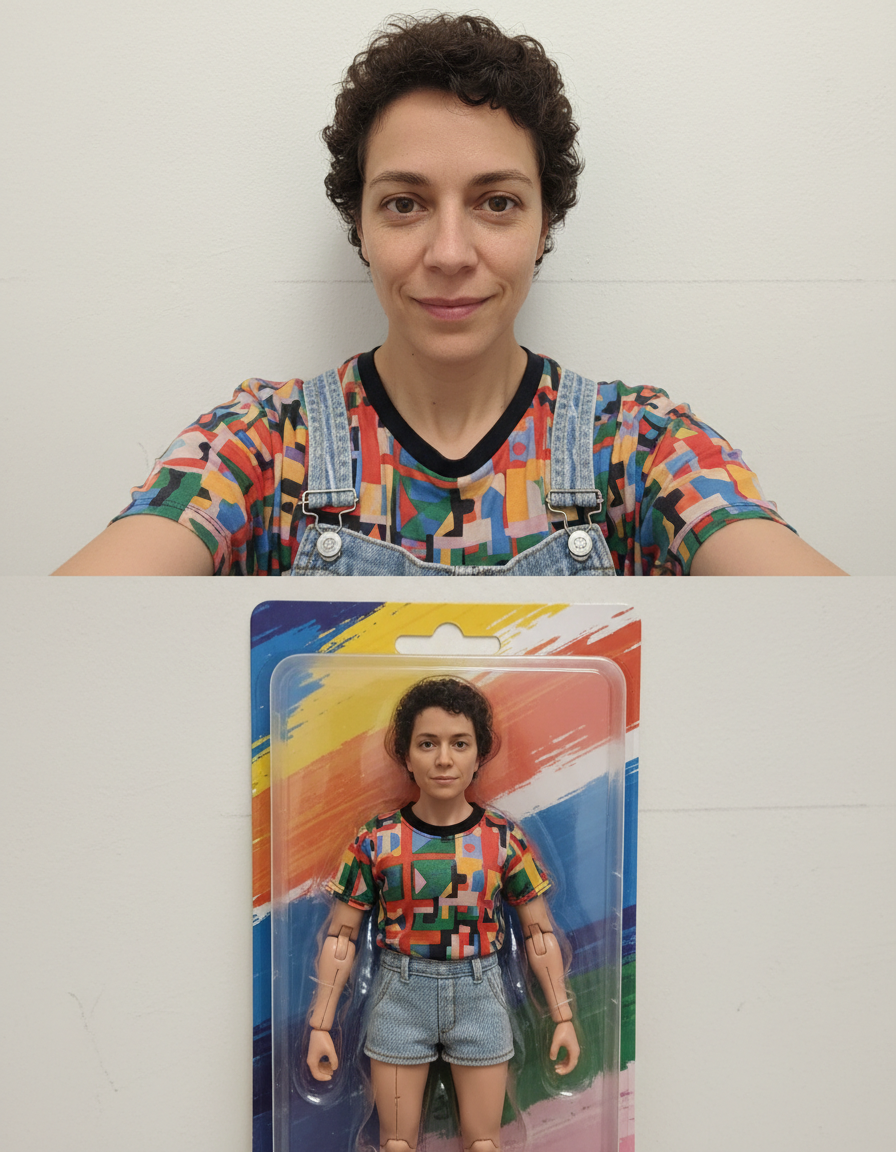
See it in action — real before & after

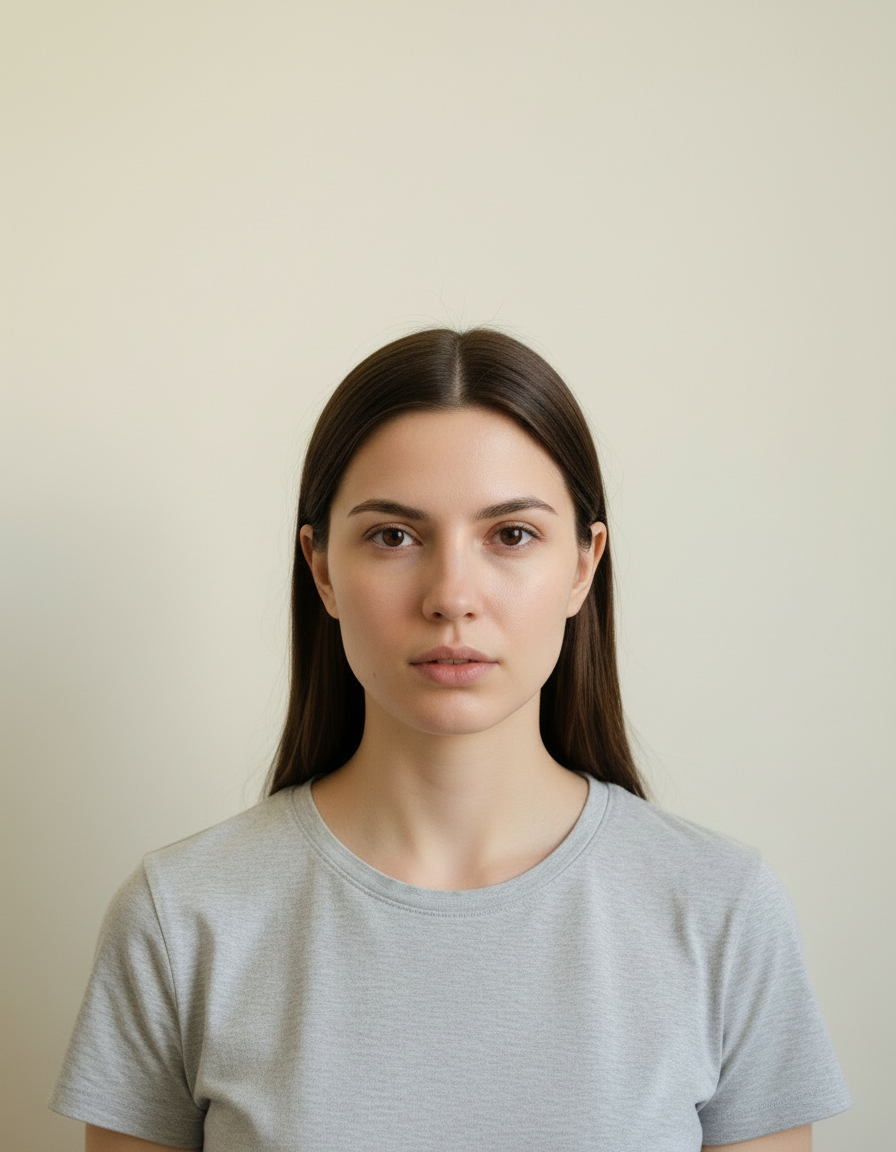
Why use HD Photo Converter
What HD Photo Converter does
Turn a low-quality file into an HD one.
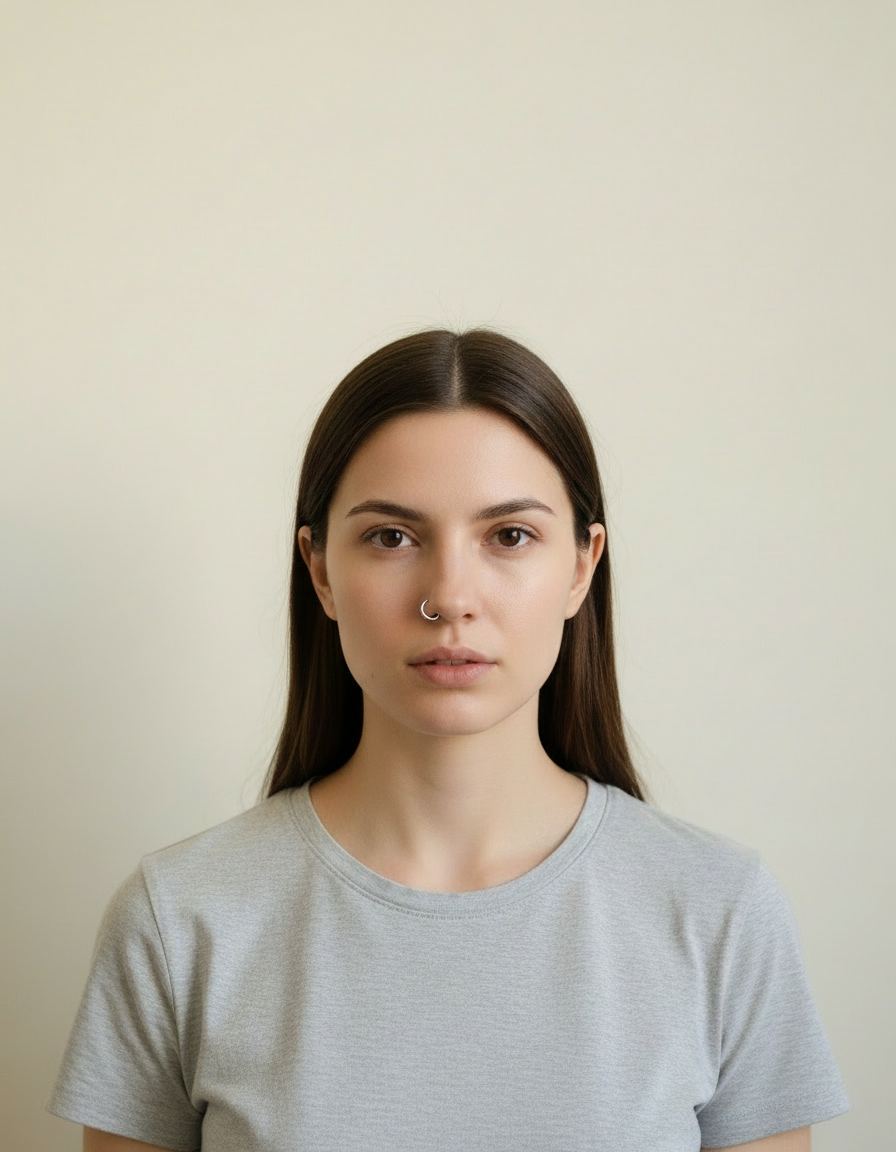
Faces handled with a strong prior
Skin texture, hair strands, eyelashes and iris detail are the areas where reconstruction is most convincing.
Noise reduced without smearing
Grain and sensor noise sit at the same scale as fine detail, which is why aggressive denoising destroys texture. This separates the two.
Compression artefacts cleaned
The blocky edges and colour banding of a heavily saved-and-resaved JPG are recognised as artefacts and removed.
Sharpening without halos
Naive sharpening produces bright fringes along every edge. Reconstruction avoids the halo because it is not just raising local contrast.
Print sizes become possible
A web-sized image enlarged enough to print at a useful size, which is the most common reason people need this.
What HD Photo Converter changes
Convert this low-quality image to HD: increase resolution, recover detail and contrast, remove compression blocking and banding, and produce a clean modern-looking file.
Your face, bone structure and skin tone are held fixed on every generation — only what is described above is changed.
HD Photo Converter for the images you actually need bigger
Softness, noise, compression and small size are four different problems. Treating them as one is why generic "enhance" buttons disappoint.
Old phone photos
A 2010 phone camera at 3 megapixels, enlarged for a print.
Scans and archive images
Low-resolution scans made before anyone expected them to be used at size.
Noisy low-light photos
High-ISO grain reduced without turning fabric and hair into a smooth blur.
Over-compressed files
Images that have been sent through messaging apps repeatedly and carry the artefacts of every round trip.
Key highlights of HD Photo Converter
Benefits
The free tools stay free
Compress, convert, crop, resize, rotate and the rest run on your device, unlimited, with no account and no credit cost.
Your original is never modified
Every result is a new image. The file you uploaded stays exactly as it was on your device.
Cheap enough to iterate
Packs start at $2. Generating the same image three ways and keeping the best is the intended workflow, not an expensive mistake.
Rescues images you would otherwise abandon
The common alternative is not using the photo at all.
Print becomes possible
A file that was too small for anything but a thumbnail becomes usable at poster size.
What people use it for
What it is mainly used for
Turn a low-quality file into an HD one. Pick a style, choose a model, and download the result at full resolution with no watermark.
Enlarging old family photos
Low-resolution scans made years ago, brought up to a printable size.
Product photos for print collateral
Web-resolution listing images needed for a catalogue, a banner or packaging.
Restoring compressed images
Photos degraded by repeated sharing, cleaned of the accumulated artefacts.
Low-light and event photos
Grainy indoor shots denoised enough to be usable.
Prompt ideas
Most of the work is choosing the right operation rather than writing a prompt. Where you can describe the intent, say what kind of image it is and what to protect.
Do not ask for style
Enhancement should not restyle. If the result looks more saturated or contrasty than the original, say "no stylisation, keep the original colour".
Go in one step
Enhance once from the best original rather than enhancing an already-enhanced file, which compounds invented detail.
Be concrete, not complimentary
"Soft light from the left, plain grey background" gives the model something to act on. "Beautiful, high quality, 8k" gives it nothing at all.
Change one thing at a time
If a result is close, edit a single detail and run it again. Rewriting the whole prompt gives you an unrelated image and no information about what the change did.
Say what must not change
A short exclusion — "do not change the face", "keep the label text" — is often more effective than any amount of positive description.
Keep it short
Three or four specific clauses beat a paragraph. Long prompts dilute every instruction in them, including the one you cared about.
More about HD Photo Converter
The word enhance has been ruined by television, where a technician types on a keyboard and a blurred reflection resolves into a face. HD Photo Converter does something real but different: it reconstructs plausible detail at a larger size, using a strong sense of what images of that kind normally look like.
The most useful thing to understand is where the technique is reliable and where it is not. Faces, skin, hair and fabric reconstruct convincingly, because there is a strong prior for how those look. Text, numbers and licence plates do not — the output is legible, confident and frequently wrong.
The common case is mundane and worth solving: one good photo that only exists at the size a website served it, now wanted as a print. Interpolation just makes that softer as it grows, and reconstruction is what makes the larger size usable.
Getting the best result from HD Photo Converter
- Do not enhance an enhanced file. Go back to the original each time.
- Do not trust reconstructed text, numbers or licence plates — they are plausible, not accurate.
- For faces, ask explicitly for skin texture to be kept or the result can look waxy.
- A genuinely out-of-focus photo can be improved but not made sharp; motion blur is even harder.
- If the result looks over-processed, ask for a more conservative pass rather than accepting it.
- For simple 2× enlargement with no reconstruction, use the free on-device upscaler instead.
- Check hair, fabric and foliage: these are where reconstruction artefacts show first.
- Save the enhanced file separately. Keeping the original is what makes a second attempt possible.
It's free to try and runs online — nothing to install. Explore the rest of our AI Creative Apps, or open the full AI photo editor for more control.