Color Inverter
Photographic negative inversion. Pick a style, choose a model, and download the result at full resolution with no watermark.
Pick a style on the left, then hit Apply. Your original stays untouched — you always see both.
How to use Color Inverter
Upload the photo
Any JPG, PNG or WEBP. The more resolution the original has, the more the retouch has to work with — detail cannot be invented from a heavily compressed file.
Choose the fix
Pick the correction you need, or describe it in a sentence. Being specific about what to change, and what to leave alone, is most of the skill.
Compare, then download
Check the original against the result at full size before you commit. Download is full resolution, no watermark.
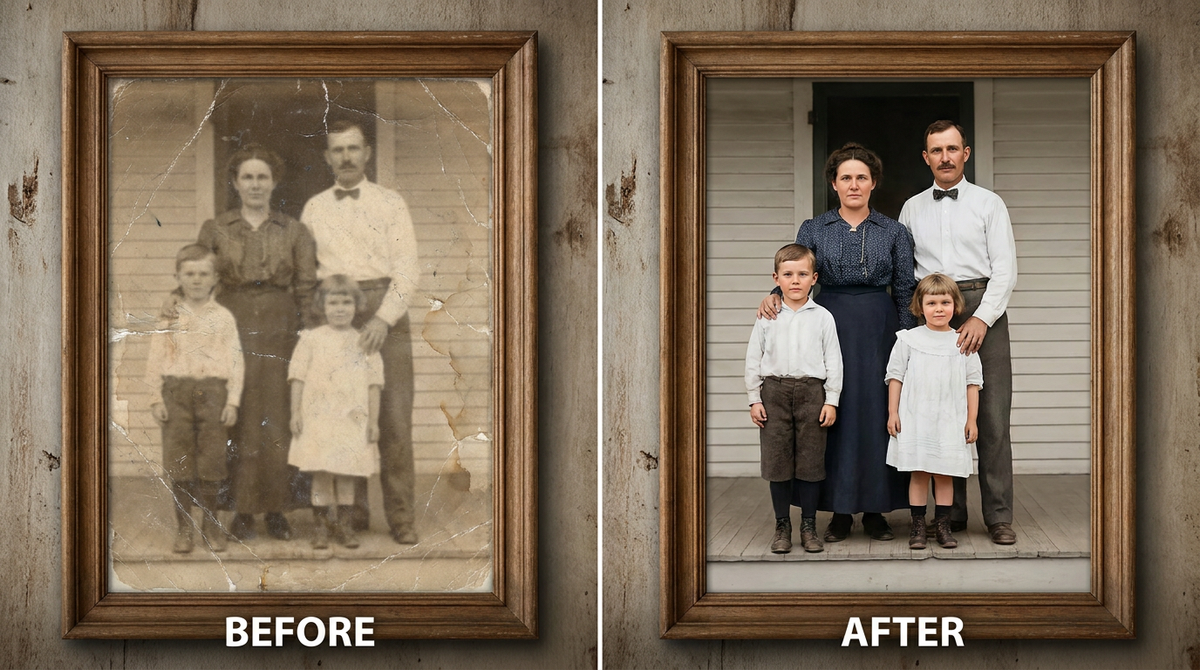
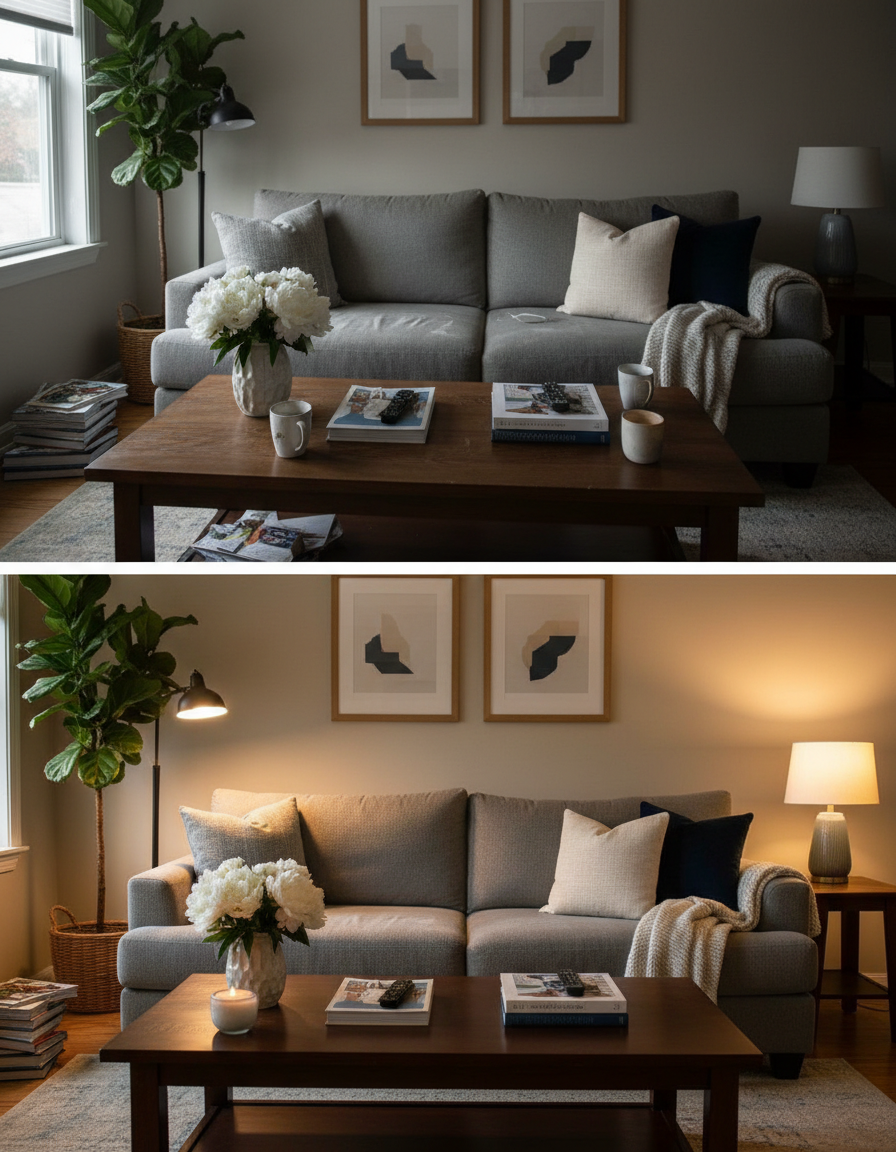
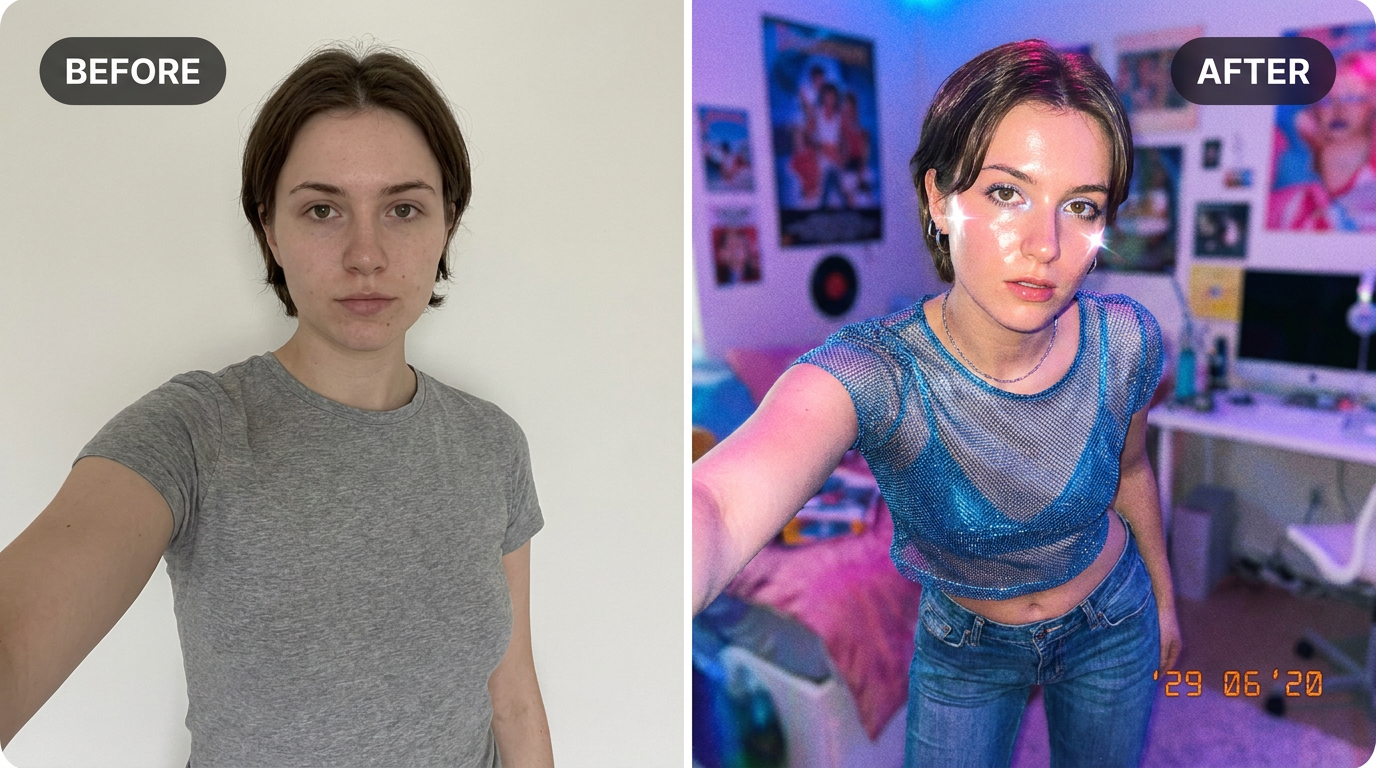
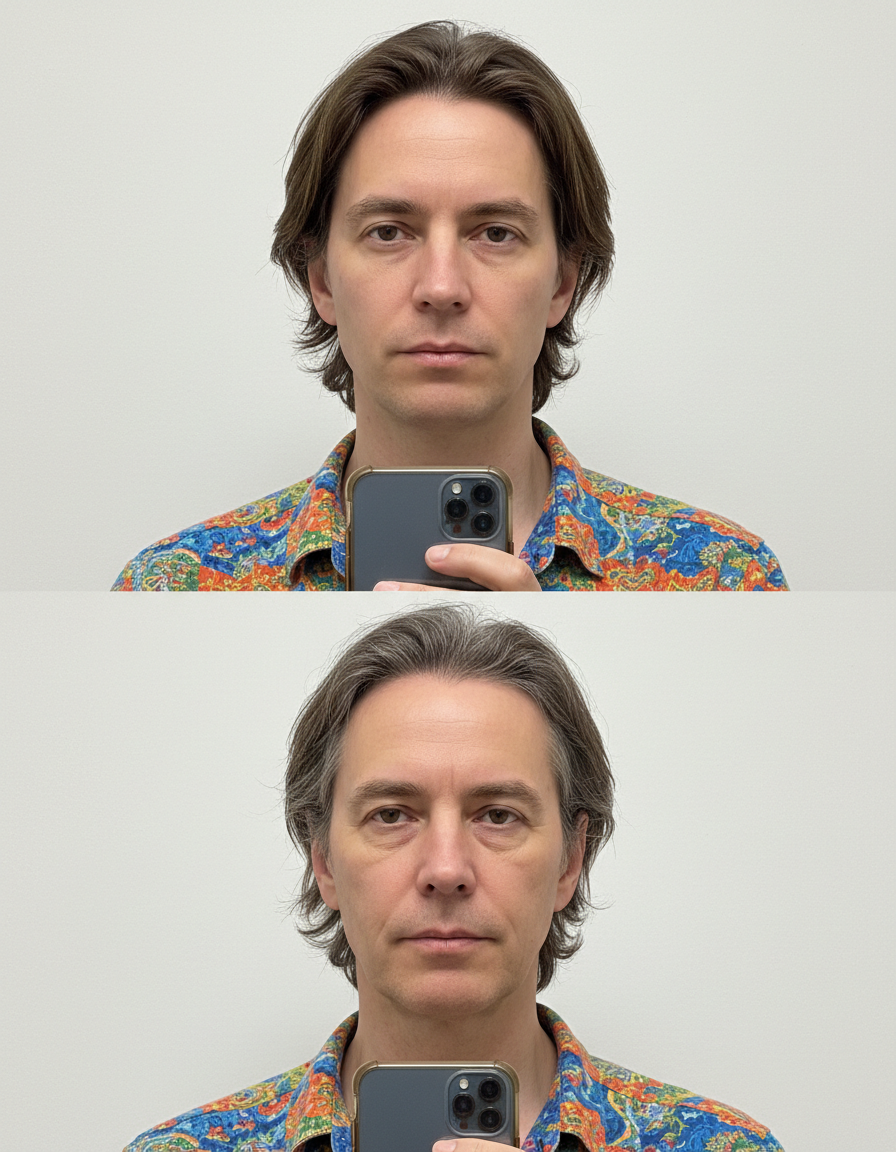
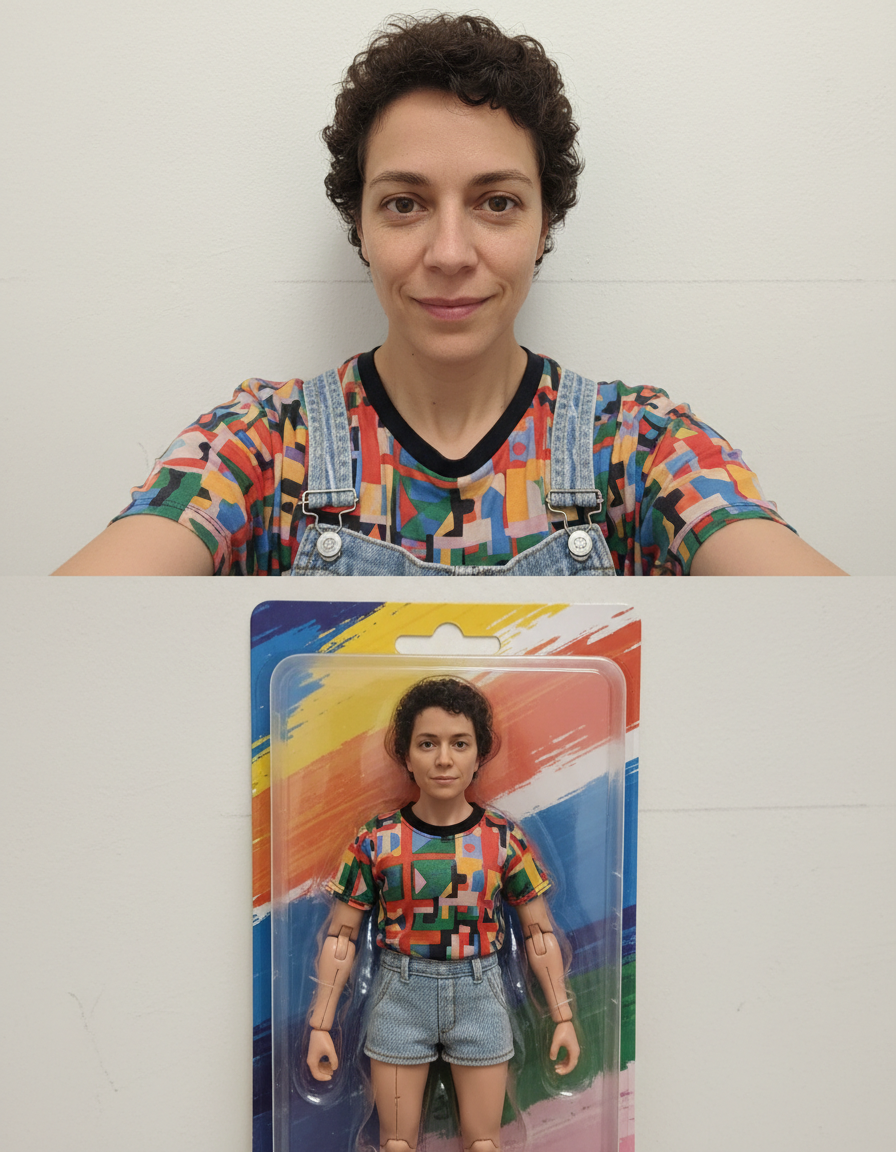
See it in action — real before & after


Why use Color Inverter
What Color Inverter does
Photographic negative inversion.
Reversible, because you keep the original
Nothing is overwritten. If a correction goes too far, the original is still on your device.
Skin texture survives
Pores, fine lines and natural variation are kept. The plastic look comes from tools that treat skin as a surface to blur; this one treats it as skin.
Identity untouched
Nothing about bone structure, eye shape, nose or jawline is reshaped. The photo is corrected, not the person in it.
Fixes what the camera got wrong
Colour casts, uneven exposure, flash shine, red eye, harsh shadow — the failures of the room and the lens rather than of the subject.
Restrained by default
Over-retouching is the most common mistake in the category. The defaults are deliberately conservative.
What Color Inverter changes
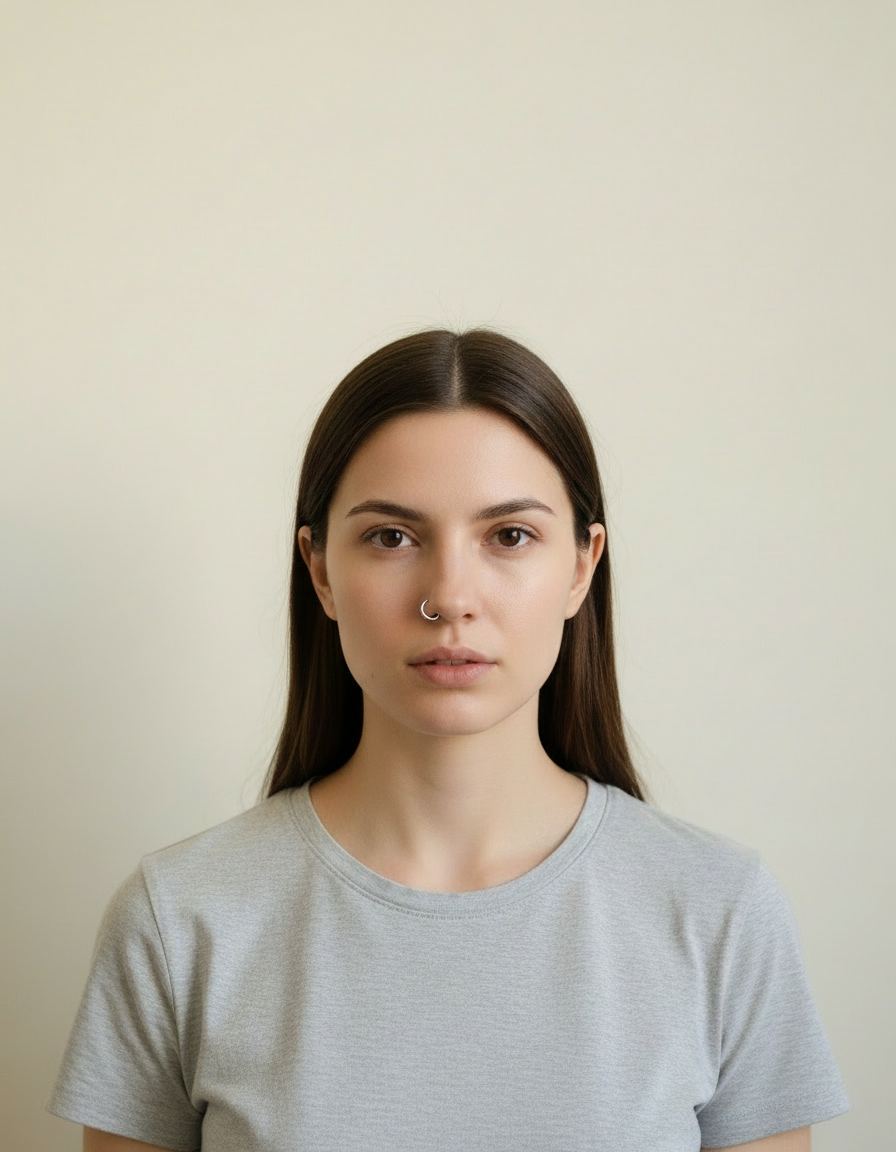
Invert the colours of this image to produce a photographic negative, preserving full tonal range and detail throughout.
Your face, bone structure and skin tone are held fixed on every generation — only what is described above is changed.
Color Inverter for the fixes that actually come up
Most retouching is a handful of recurring problems. Each one has a specific fix rather than a general "enhance" slider.
Product and listing photos
Dust, fingerprints, glare and colour accuracy, which is what marketplace returns are usually argued over.
Old scans and phone photos
Grain, noise and compression artefacts reduced without smearing away the detail that was actually captured.
Before-and-after documentation
Fitness, dental, cosmetic and renovation photos, where matching the lighting between two frames is the whole job.
Portraits and profile photos
Temporary blemishes, shine, stray hair and flash red-eye — the four things that stop an otherwise good photo of a person being usable.
Key highlights of Color Inverter
Benefits
No plastic-skin look
The most common complaint about automatic retouching, and the specific thing the defaults are tuned against.
Cheap enough for a whole set
A pack starts at $2, so fixing every photo from an event is realistic rather than something you do to one and give up on.
Nothing to install
Runs in the browser, on a phone as readily as a laptop.
Predictable results
A named fix does the named thing. There is no single mystery "enhance" button doing five things at once.
Print and marketplace ready
Full resolution with no watermark, which is what a listing or a printer actually needs.
What people use it for
What it is mainly used for
Photographic negative inversion. Pick a style, choose a model, and download the result at full resolution with no watermark.
Older phone photos
Noise and compression from an earlier phone, cleaned up enough to print.
A profile photo with one distracting spot
The single most common reason a good photo of someone goes unused.
Indoor photos with a colour cast
Office and restaurant lighting turns skin green or orange. Correcting the white balance rescues photos people had written off.
Flash portraits
Direct flash produces shine, harsh shadow behind the head and red eye, all at once.
Prompt ideas
Name the specific problem and, just as importantly, say what to leave alone. Retouching prompts fail by being too broad — "make it better" invites the model to change things you were happy with.
Fix light and colour separately
"Correct the green fluorescent cast" and "lift the shadow on the right side" are two different jobs; asking for both at once gives you a compromise.
Be explicit about limits
"Do not change face shape, do not slim anything, do not whiten teeth" prevents the drift towards a generic beauty look.
Point at the area
Left, right, background, foreground, upper third. A location narrows the edit enormously.
Ask for realism
"Keep it looking like an unretouched photograph" pulls the result back when a style is creeping in.
Handle noise carefully
"Reduce noise but keep fine detail in the hair and fabric" avoids the smeared look of aggressive denoising.
One change per run
Fix one thing, look at it, then fix the next. Stacked instructions are where retouching goes wrong.
More about Color Inverter
The line a good retouch walks is restraint. Removing a temporary spot is invisible; smoothing skin until it has no pores is obvious to everyone and flattering to nobody. This tool is tuned to keep skin texture, real pores and the asymmetry that makes a face look like a face, and to fix only what was genuinely wrong in the frame.
Upload the photo, pick what needs fixing, and download. Each pass costs 2 credits from a one-time pack, which means fixing a set of photos one at a time is affordable rather than a project.
Retouching has a reputation problem, and it is deserved — most automatic tools smooth skin into plastic and call it enhancement. Color Inverter is built on the opposite assumption: the best retouch is the one nobody can point at.
Getting the best result from Color Inverter
- Always add "keep skin texture" for anything involving a face.
- Correct colour before anything else. A cast makes every other judgement unreliable.
- Resist stacking: two conservative passes look better than one aggressive one.
- For a set of photos, use the same instruction on every frame so the album stays consistent.
- Zoom in on eyes, teeth, hair edges and hands — the first places over-processing shows.
- If the result looks smoothed, say so explicitly in the next run and ask for less.
- Keep the original. Retouching from an already-retouched file compounds the artefacts.
- Do not expect detail to appear that the camera never recorded; a blurred photo can be sharpened, not reconstructed.
It's free to try and runs online — nothing to install. Explore the rest of our AI Creative Apps, or open the full AI photo editor for more control.