AI Room Redesign
Restyle a room from a photo. Pick a style, choose a model, and download the result at full resolution with no watermark.
Pick a style on the left, then hit Apply. Your original stays untouched — you always see both.
How to use AI Room Redesign
Upload the image
JPG, PNG or WEBP. A subject that is reasonably separated from what is behind it gives the cleanest edge — a dark jacket against a dark wall is the hardest case.
Pick a background
Transparent, plain white, studio, office, outdoor, gradient or a described scene. Transparent is the right answer whenever the image is going into another layout.
Download
PNG with real alpha for transparent results, or a flattened image for a replaced scene. Full resolution, no watermark.
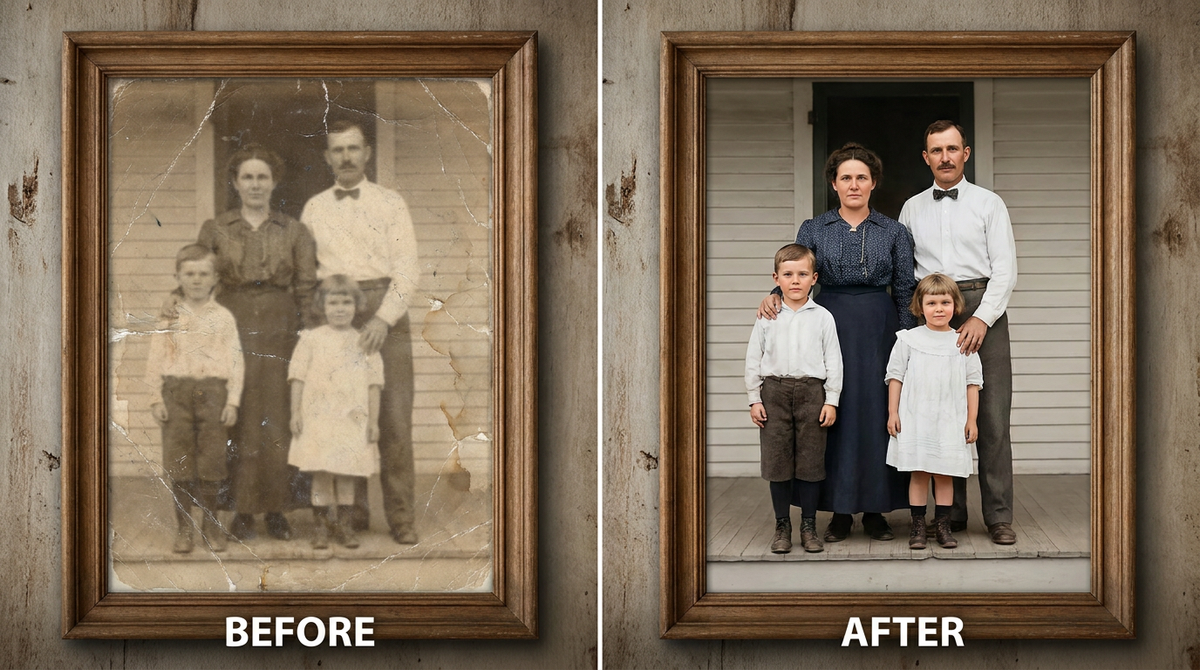
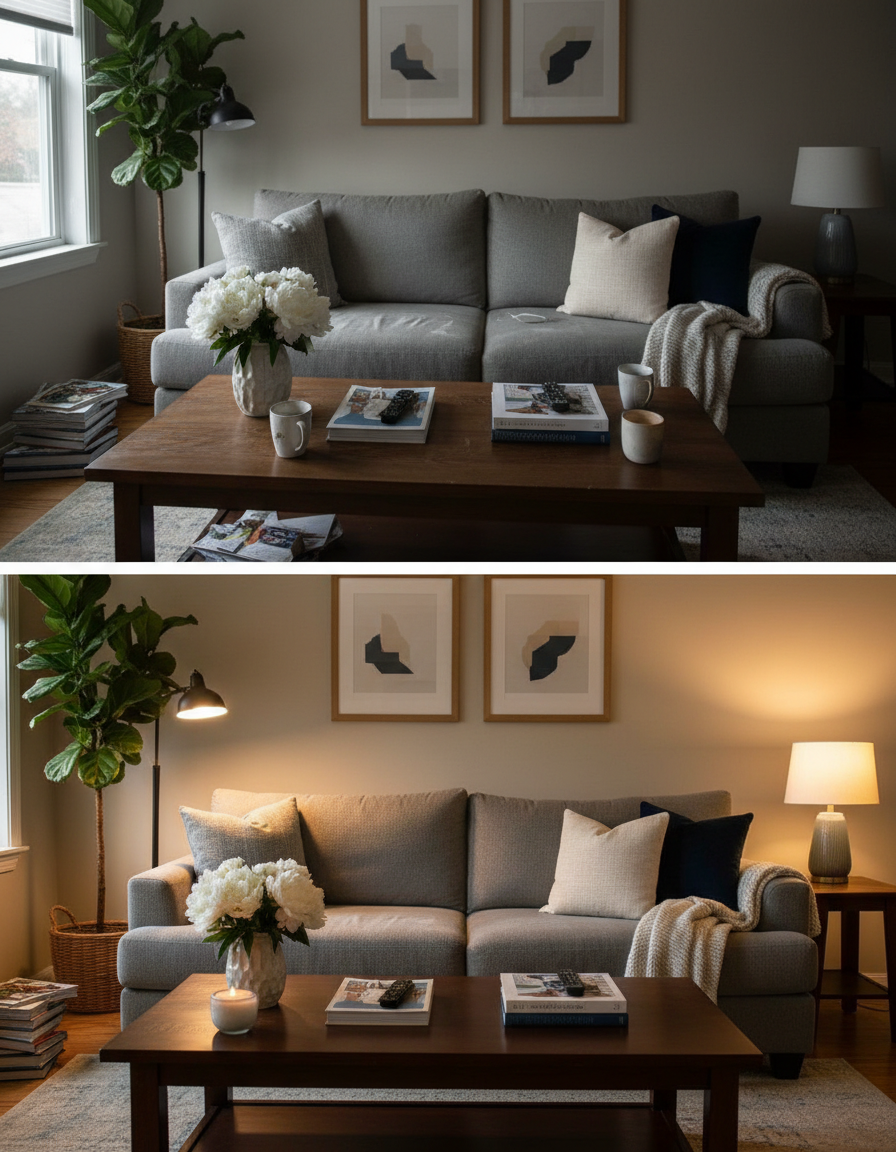
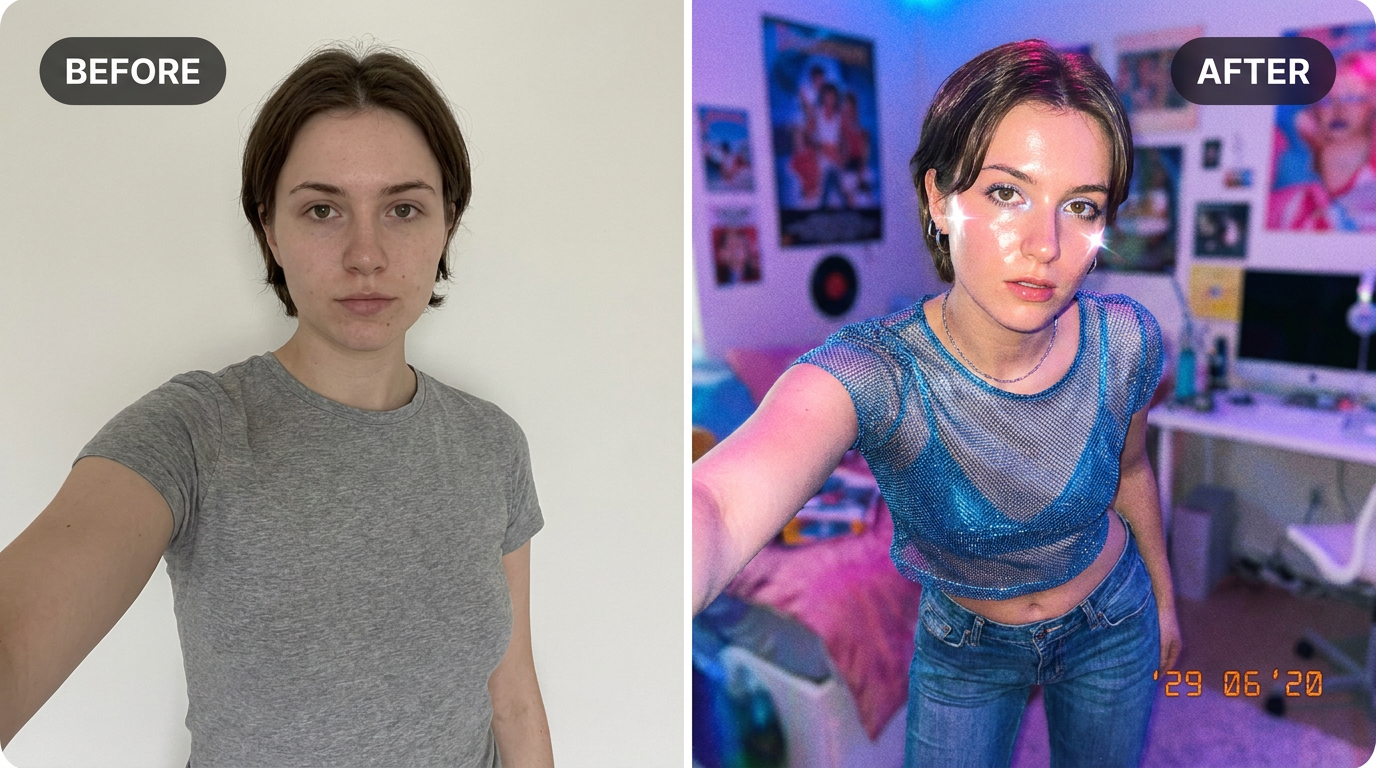
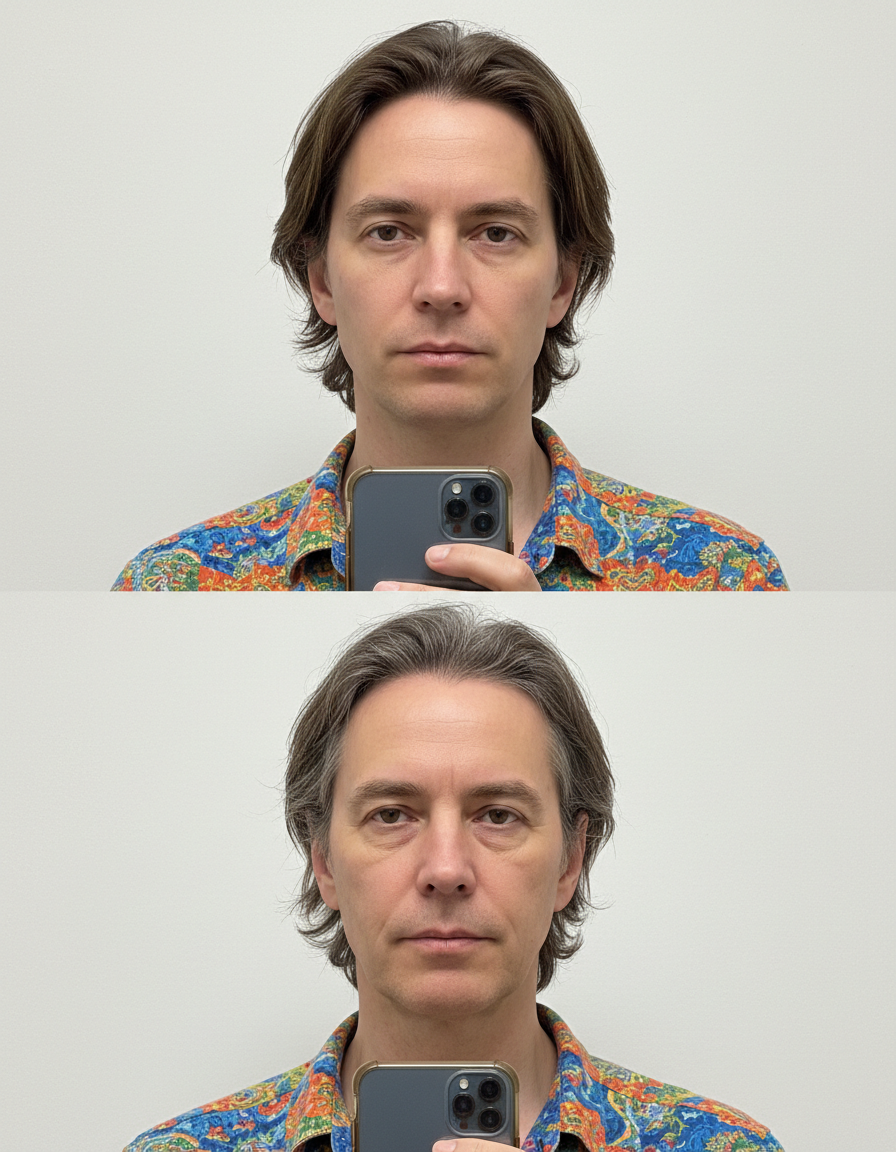
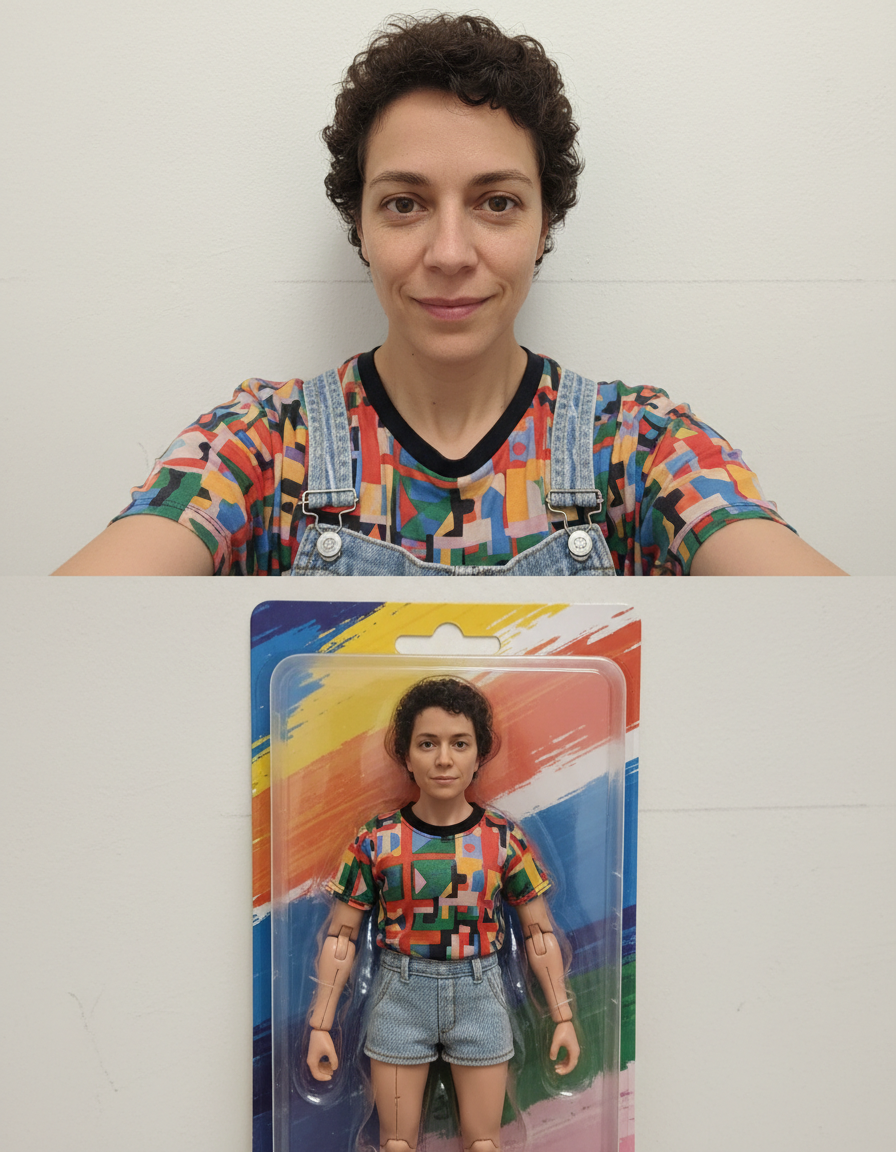
See it in action — real before & after


Why use AI Room Redesign
What AI Room Redesign does
Restyle a room from a photo.
Contact shadows
A subject with no shadow floats. A soft contact shadow is what makes a product look like it is sitting on a surface.
Marketplace-ready white
Pure #FFFFFF with the subject centred and evenly margined, which is what Amazon and most marketplaces actually require of a main image.
Described scenes, not a stock list
Ask for a specific setting and get it, rather than choosing from twelve preset backdrops that nearly fit.
Any subject
People, products, pets, vehicles, furniture, documents. The approach is the same; only the edge difficulty changes.
Full resolution
The download is not a downscaled preview, so it works in print as well as on a listing.
What AI Room Redesign changes
Redesign this room in the described style: change furniture, finishes, lighting and decor while keeping the architecture, window positions and camera perspective exactly as they are.
Your face, bone structure and skin tone are held fixed on every generation — only what is described above is changed. Add your own brief in the Custom tab to take it further.
AI Room Redesign for every background problem
Removing a background and replacing one are different jobs with different failure modes. Both are here, along with the awkward cases in between.
Office and professional settings
A softly defocused workplace behind a portrait, for headshots and team pages.
Outdoor and lifestyle scenes
Real environments with depth behind the subject, for product and lifestyle photography.
Described custom scenes
Anything you can specify in a sentence, matched for light and perspective to the subject you uploaded.
Transparent PNGs
For logos, signatures, product cutouts and anything being placed into a design where the page colour has to show through.
Key highlights of AI Room Redesign
Benefits
Consistent across a catalogue
The same background applied to every product so a listing page looks like one shoot.
Real alpha, so it composites properly
The output drops into a design tool or a web page without a white box around it.
Works on hard edges
Hair, fur, foliage and transparency are the cases most tools quietly fail at.
Credits never expire
Buy a pack once and use it whenever the next batch of photos needs it.
Nothing to install
It runs in the browser on a phone or a laptop. No desktop app, no plugin, no account needed to look around.
What people use it for
What it is mainly used for
Restyle a room from a photo. Pick a style, choose a model, and download the result at full resolution with no watermark.
Team and About pages
Photos taken in a dozen different rooms unified onto one background.
Property and interior listings
Cleaner, less distracting backgrounds behind the detail being sold.
Social and ad creative
The same subject dropped into several scenes for A/B testing without reshooting anything.
Passport and ID photos
The plain background with no shadow behind the head that ID photos are most often rejected for.
Prompt ideas
For a described background, specify the scene, the light and the perspective. The light is the part people forget, and it is the part that makes a composite convincing.
Specify pure white when it is required
"Pure white #FFFFFF, no gradient" for marketplace images — "white" alone often comes back very slightly grey.
Protect the edges
"Preserve fine hair detail and any transparency" helps on the genuinely hard subjects.
Keep the subject untouched
"Do not change the subject, only the background" prevents drift in the thing you were happy with.
Leave room for text
"Empty space on the right third" if the image is going into an ad or a banner with a headline on it.
Be concrete, not complimentary
"Soft light from the left, plain grey background" gives the model something to act on. "Beautiful, high quality, 8k" gives it nothing at all.
Change one thing at a time
If a result is close, edit a single detail and run it again. Rewriting the whole prompt gives you an unrelated image and no information about what the change did.
More about AI Room Redesign
The second half of the job is light. A subject lit from the left, placed on a background lit from the right, looks wrong to everyone and almost nobody can say why. Matching direction and colour temperature is what makes a replacement read as a photograph rather than a composite.
The background is usually the reason a photo cannot be used. The subject is fine; behind it is a cluttered room, a car park, or a wall in the wrong colour. AI Room Redesign replaces what is behind the subject without touching the subject itself.
The part that decides whether this looks real is the edge. Hair, fur, fabric, glass and anything semi-transparent are where cheap cutouts fail — a halo of the old background, or a jaw line that has been shaved flat. Matching the light is the second half: a subject lit from the left, dropped onto a background lit from the right, reads as wrong even to someone who cannot say why.
Getting the best result from AI Room Redesign
- Good separation in the original helps most — a subject that contrasts with what is behind it gives a cleaner edge.
- Even lighting on the subject produces a better cutout than harsh directional light.
- For transparency, download PNG. JPG cannot carry an alpha channel at all.
- State "pure white #FFFFFF" for marketplace images; a near-white background is a common rejection.
- Ask for the contact shadow on any product shot — without it the product looks stuck on.
- Match the light direction between subject and background, or the result will look wrong for reasons viewers cannot articulate.
- Check hair, fur and glass edges at full size before using the result.
- For a catalogue, use one background description across every product.
It's free to try and runs online — nothing to install. Explore the rest of our AI Creative Apps, or open the full AI photo editor for more control.