Image Unblur Tool
Recover detail from a soft photo. Pick a style, choose a model, and download the result at full resolution with no watermark.
Pick a style on the left, then hit Apply. Your original stays untouched — you always see both.
How to use Image Unblur Tool
Scan or photograph the print
A flatbed scan at 600 dpi is ideal. A phone photo works: lay the print flat, use indirect daylight, avoid your own shadow and any glare from the surface.
Choose the repair
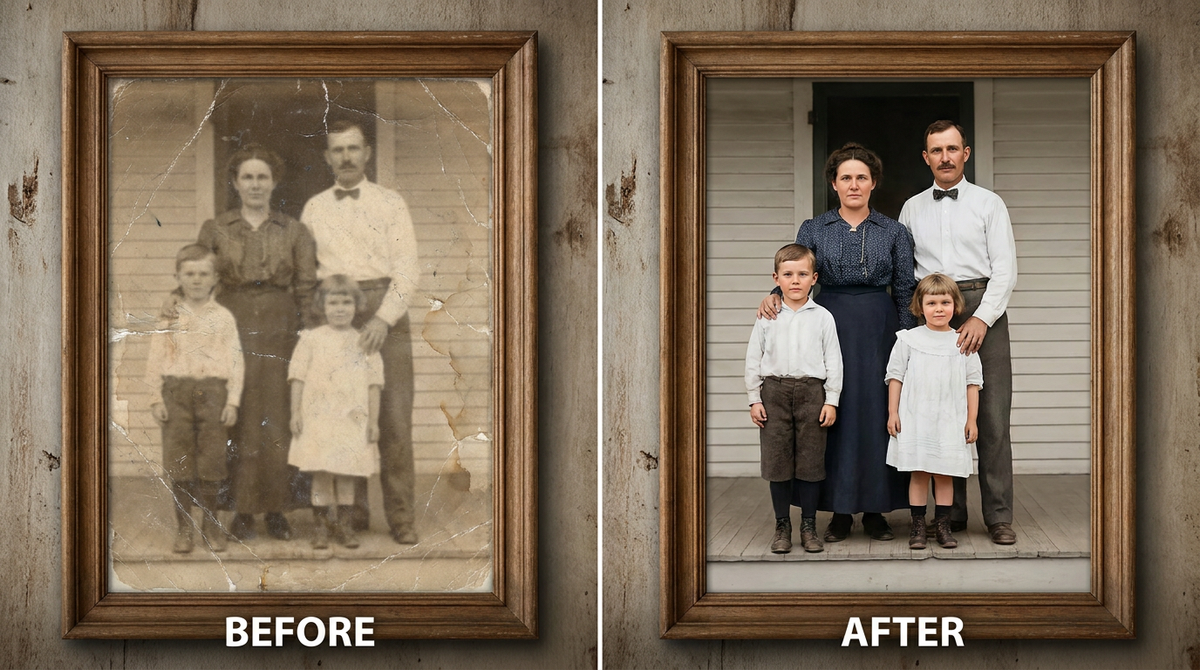
Repair damage, correct faded colour, colourise a black-and-white original, or describe what the photo needs in a sentence.
Compare and download
Check the result against the scan at full size, then download at full resolution. Keep both — the scan is the document, the restoration is the reading of it.
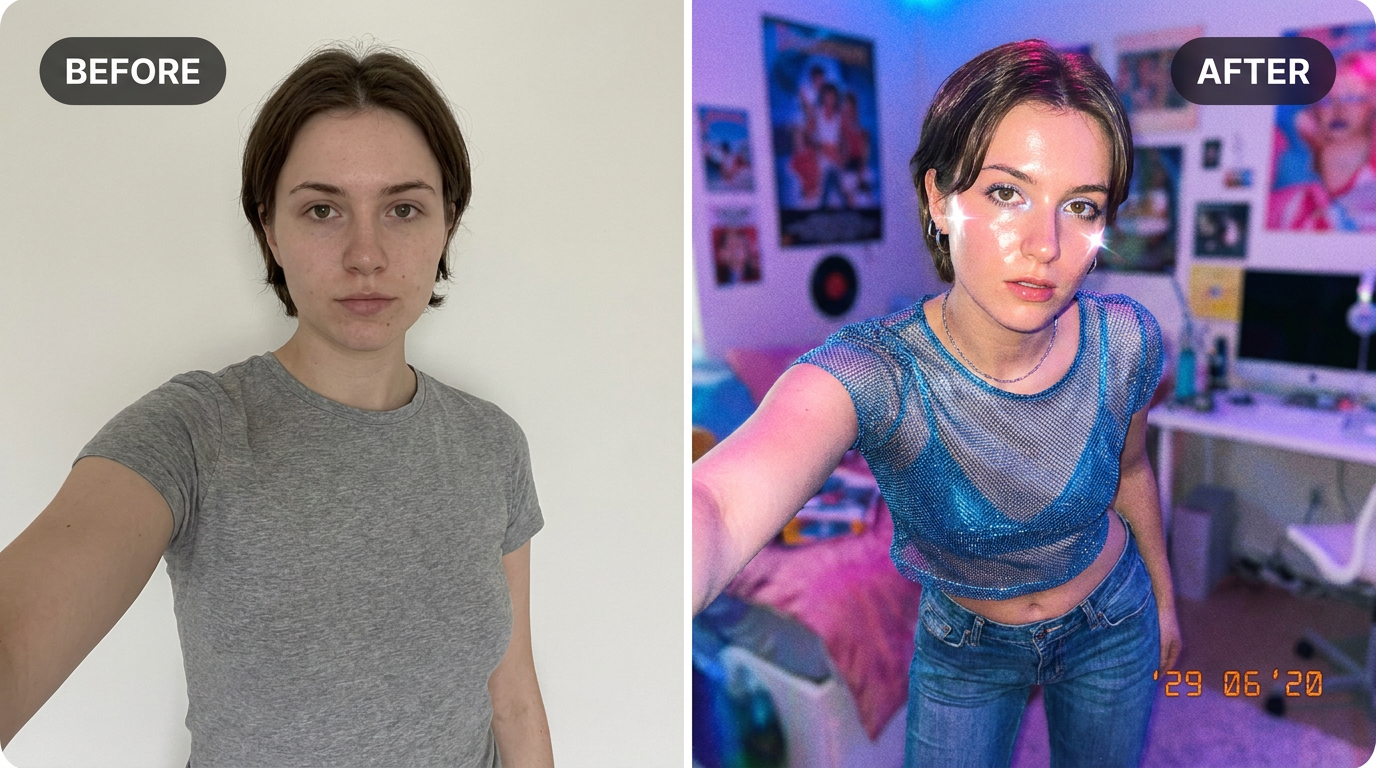
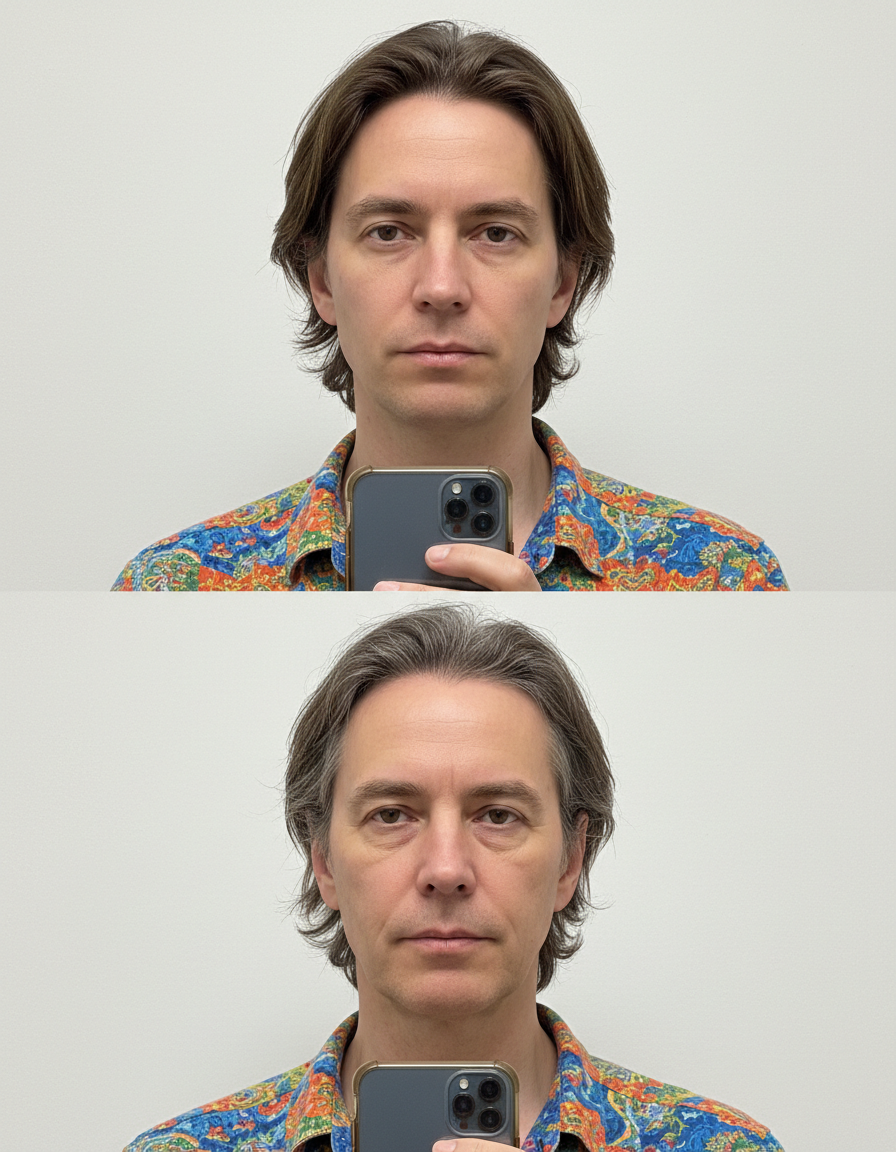
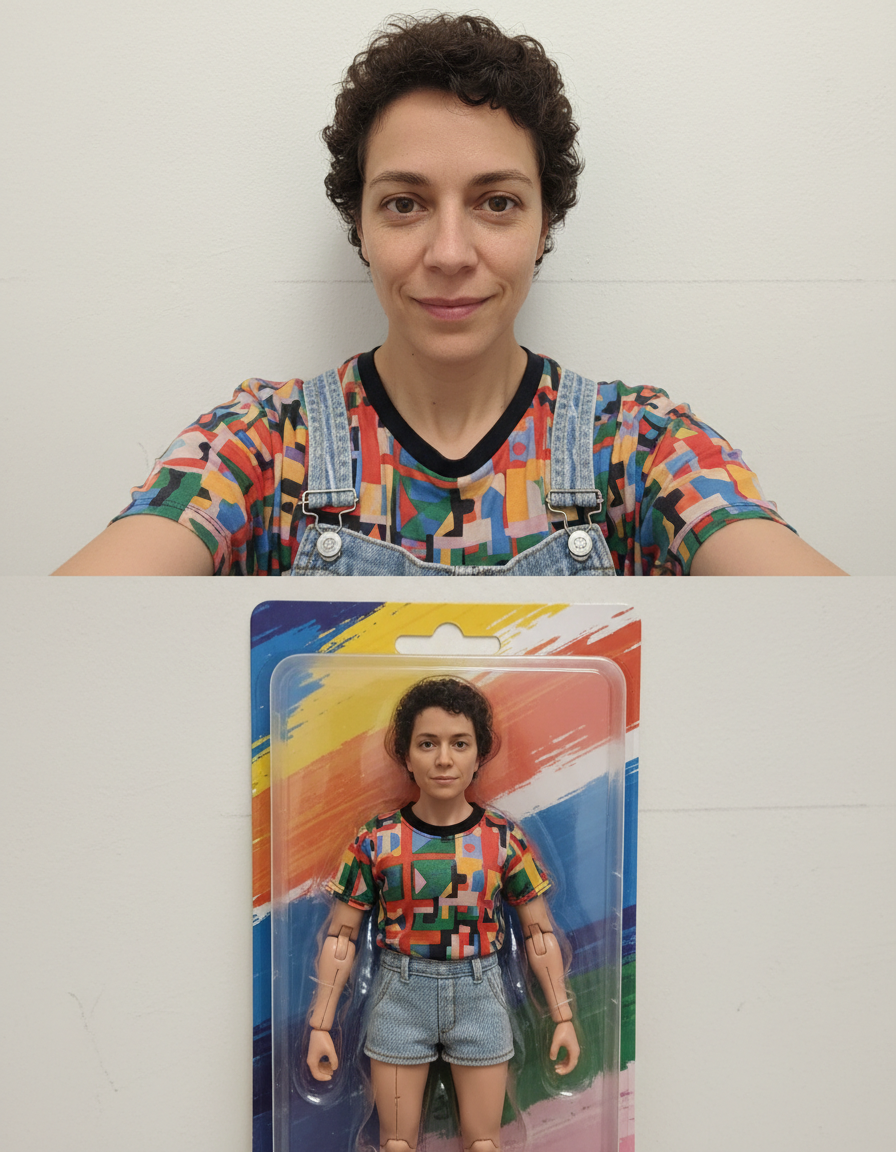
See it in action — real before & after


Why use Image Unblur Tool
What Image Unblur Tool does
Recover detail from a soft photo.
Faces treated with care
The face is the reason the photo is being restored. Features are reconstructed conservatively rather than replaced with a generic plausible face.
Grain and noise handled properly
Film grain is reduced without smearing away the fine detail that sits at the same scale — the usual failure of automatic denoising.
Colourisation available
Black-and-white originals can be colourised with period-plausible tones, and the monochrome version is still there afterwards.
Print-ready resolution
Enough resolution to reprint and frame, which is what most people restoring a photo intend to do with it.
The original is never altered
Your scan stays on your device untouched. The restoration is a separate file.
What Image Unblur Tool changes
Sharpen and deblur this image: recover edge definition and fine detail, counteract motion or focus blur, and avoid halos, ringing or over-sharpened texture.
Your face, bone structure and skin tone are held fixed on every generation — only what is described above is changed. Add your own brief in the Custom tab to take it further.
Image Unblur Tool for the damage prints actually have
Different decades fail differently. A 1940s silver print, a 1975 colour snapshot and a 1998 disposable-camera photo each need a different repair.
Faded colour from the 60s to the 80s
Dye layers fade at different rates, which is why these photos go magenta. Reversing the shift is the single biggest improvement available.
Black-and-white originals
Contrast restored, dust and scratches removed, and colourisation offered as an option rather than forced on you.
Water and mould damage
Staining and bloom from damp storage, which is what loft and basement boxes almost always produce.
Very small or low-resolution scans
Photos that exist now only as a small digital copy, sharpened and enlarged as far as the data honestly allows.
Key highlights of Image Unblur Tool
Benefits
Work through a whole box
Because the per-photo cost is small, restoring forty prints is a realistic weekend rather than a commission.
Nothing is risked
The print is never handled beyond being scanned, and the digital original is not modified.
Reprintable output
Resolution sufficient to reprint at a useful size and frame it.
Shareable with family immediately
The usual reason for restoring a photo is to send it to relatives who have never seen it clearly.
Colour and monochrome versions
Colourise for impact, keep the monochrome for accuracy. There is no need to choose one.
What people use it for
What it is mainly used for
Recover detail from a soft photo. Pick a style, choose a model, and download the result at full resolution with no watermark.
Anniversary and birthday gifts
A restored and reprinted wedding photo is a better gift than almost anything bought new.
Genealogy and family archives
Restored images attached to a family tree, alongside the unaltered scans.
Local history and archive projects
Faded documentary photographs made legible for display or publication.
Damaged wedding albums
Albums from the 70s and 80s where the adhesive pages have discoloured the prints themselves.
Prompt ideas
Describe the damage you can see and say what must not change. Restoration prompts fail when they are ambitious — asking for a photo to be "improved" invites the model to make a new one.
Name the damage
"Repair the vertical crease through the left side" is far more effective than "fix this old photo".
Describe the colour shift
"Remove the magenta cast from faded colour film and restore neutral skin tones" names the actual chemistry of the problem.
Protect the faces
"Reconstruct conservatively and keep the faces exactly as they are" is the most important line in any family restoration.
Say whether to colourise
"Keep it black and white" or "colourise with natural period-appropriate tones" — leaving it unsaid means the model decides.
Ask for era-plausible colour
"1950s colour palette, muted, no modern saturation" avoids a restoration that looks like a photo taken last year.
Address grain deliberately
"Reduce grain but keep detail in the fabric and hair" gets a better result than asking for it to be removed.
More about Image Unblur Tool
Photographic prints are chemistry, and chemistry has a shelf life. Dyes shift, silver tarnishes, gelatine cracks, and damp does the rest. Most family boxes hold photographs that are twenty years from being unreadable. Image Unblur Tool is for the ones still legible enough to work from.
There is an important distinction between restoration and improvement, and it is worth holding onto. Restoration returns a photograph to what it looked like when it was made; improvement makes a nicer picture. Where damage destroyed information entirely, what fills the gap is inference, and it should be recognised as such.
The practical bottleneck is almost never the model — it is the scan. A 600 dpi flatbed scan of a print, taken out from behind glass, gives a result that a phone photo shot at an angle in a lit room cannot approach, however good the restoration is.
Getting the best result from Image Unblur Tool
- Photographing a print works: lay it flat, use indirect daylight, and keep your shadow and any glare out of the frame.
- Remove the print from behind glass before scanning — reflections are read as part of the image.
- Crop to the photograph itself, not the album page or the mount around it.
- Do one repair at a time and check each result at full size.
- Always say "keep the faces as they are" for family photos. Faces are where invention is least welcome.
- For faded colour, correct the cast before attempting anything else.
- Keep the unaltered scan permanently. It is the actual document; the restoration is an interpretation.
- Expect plausible reconstruction where damage destroyed detail, and look closely before treating those areas as recovered fact.
It's free to try and runs online — nothing to install. Explore the rest of our AI Creative Apps, or open the full AI photo editor for more control.